RMM Integrations
RMM (Remote Monitoring and Management) tools watch the devices your team uses every day. Connecting your RMM to Asset Management means new devices appear automatically — no spreadsheet wrangling.
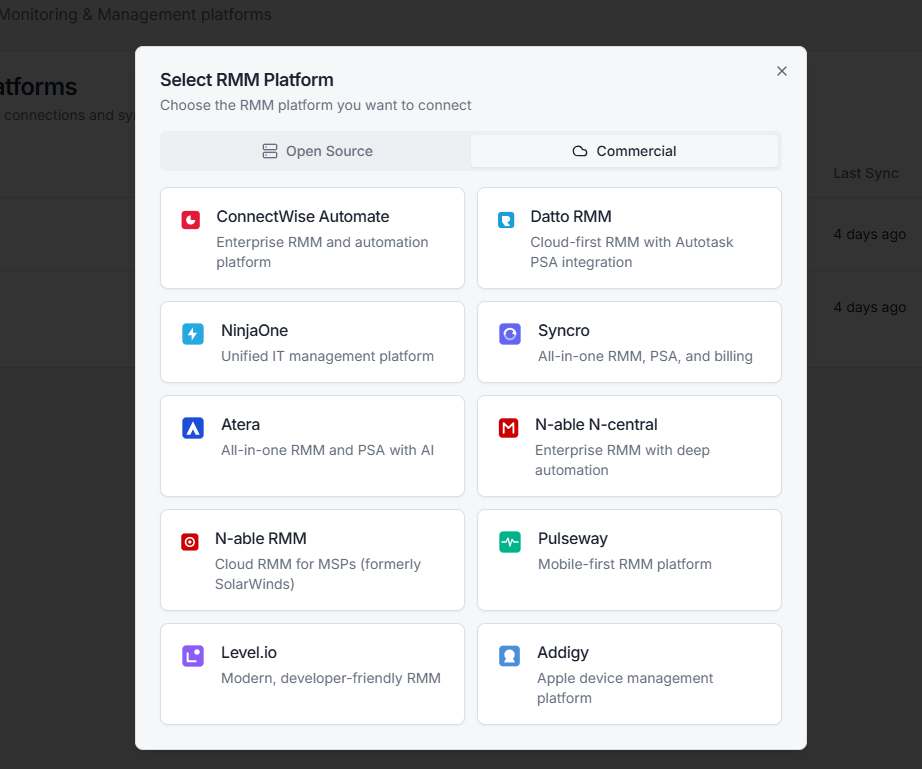
Supported platforms
- Tactical RMM
- MeshCentral
- ConnectWise Automate
- Datto RMM
- NinjaOne
- Syncro
- Atera
- N-able N-central
- N-able RMM
- Pulseway
- Level.io
- Addigy
How the sync works
- You configure an integration with API credentials.
- The system syncs — manually when you click Sync Now, or on a schedule you set.
- Devices land in a pending queue instead of appearing directly in your inventory.
- You review each device and decide: approve as a new asset, merge with an existing one, or reject.
The pending queue is the safety net. RMM tools see every endpoint, including loaner machines, retired devices, and the occasional ghost. You shouldn't trust it blindly.
Setting up an integration
Go to Integrations → RMM → Add Integration.
You'll need:
- Platform — pick from the list
- Connection details — API URL and credentials (the form shows what's needed for each platform)
- Sync schedule — manual, hourly, daily, or weekly
Click Test Connection before saving. The system reaches out to your RMM and confirms the credentials work.
Reviewing the pending queue
After a sync, go to Integrations → Pending Devices. You'll see each discovered device with:
- Hostname, serial number, manufacturer, model
- When the RMM last saw it
- Whether it might match an asset you already have
For each one, choose:
- Approve — create a new asset from this device
- Merge — combine with an existing asset (you pick which one)
- Reject — discard. The system remembers your choice and won't re-prompt.
Bulk actions
If a sync brings in 200 new devices, you don't want to click 200 times. Select multiple rows and use:
- Bulk Approve — create assets for all selected
- Bulk Reject �— discard all selected
Mapping fields
Each RMM platform names its fields differently. The integration handles the translation: hostname becomes the asset name, serial number becomes the asset's serial, etc.
If your RMM exposes custom fields (warranty, location, asset tag), they're imported too. You can map them to Asset Management custom fields under the integration settings.
Sync history
Every sync run is logged. Open the integration and click History to see:
- When the sync ran
- How many devices it found
- How many were new vs. matched existing
- Any errors
If a sync starts failing, this is where you'll spot it.
Switching RMM tools
You can have multiple RMM integrations active at once. If you're migrating from one tool to another, run both for a while. Use the pending queue to spot duplicates and merge them as you go.
When you're ready, deactivate the old integration. The historical sync data stays.
Related topics
- Integrations Overview
- ITSM Integrations
- Imports and Bulk Actions — for the manual alternative
- CMDB — RMM data can also populate the CMDB