Assignments and Status
Every asset has a status. Most of them switch between In Store (sitting in inventory) and Checked Out (someone is using it). Two terminal statuses — Retired and Lost — close out an asset's life.
The four default statuses
| Status | What it means |
|---|---|
| In Store | Available. Sitting in inventory. |
| Checked Out | Assigned to a user. |
| Retired | Out of service permanently. |
| Lost | Can't be located. |
You can add custom statuses (e.g. Ready to Deploy, In Repair) under Settings → Statuses. Custom statuses get their own colour for quick scanning.
Checking out to a user
On the asset's detail page, click Assign. Pick a user from your directory, or type a name and email if they're not in the directory yet.
What happens:
- Status changes to Checked Out.
- The user's name and email are saved on the asset.
- A history entry is recorded — who did it, when, and any notes.
If your organisation uses Microsoft 365 SSO, the people picker pulls users live from Azure AD so you don't have to remember email addresses.
Returning an asset
Click Unassign. Status flips back to In Store (or whichever status you specify), the assignment clears, and another history entry is recorded.
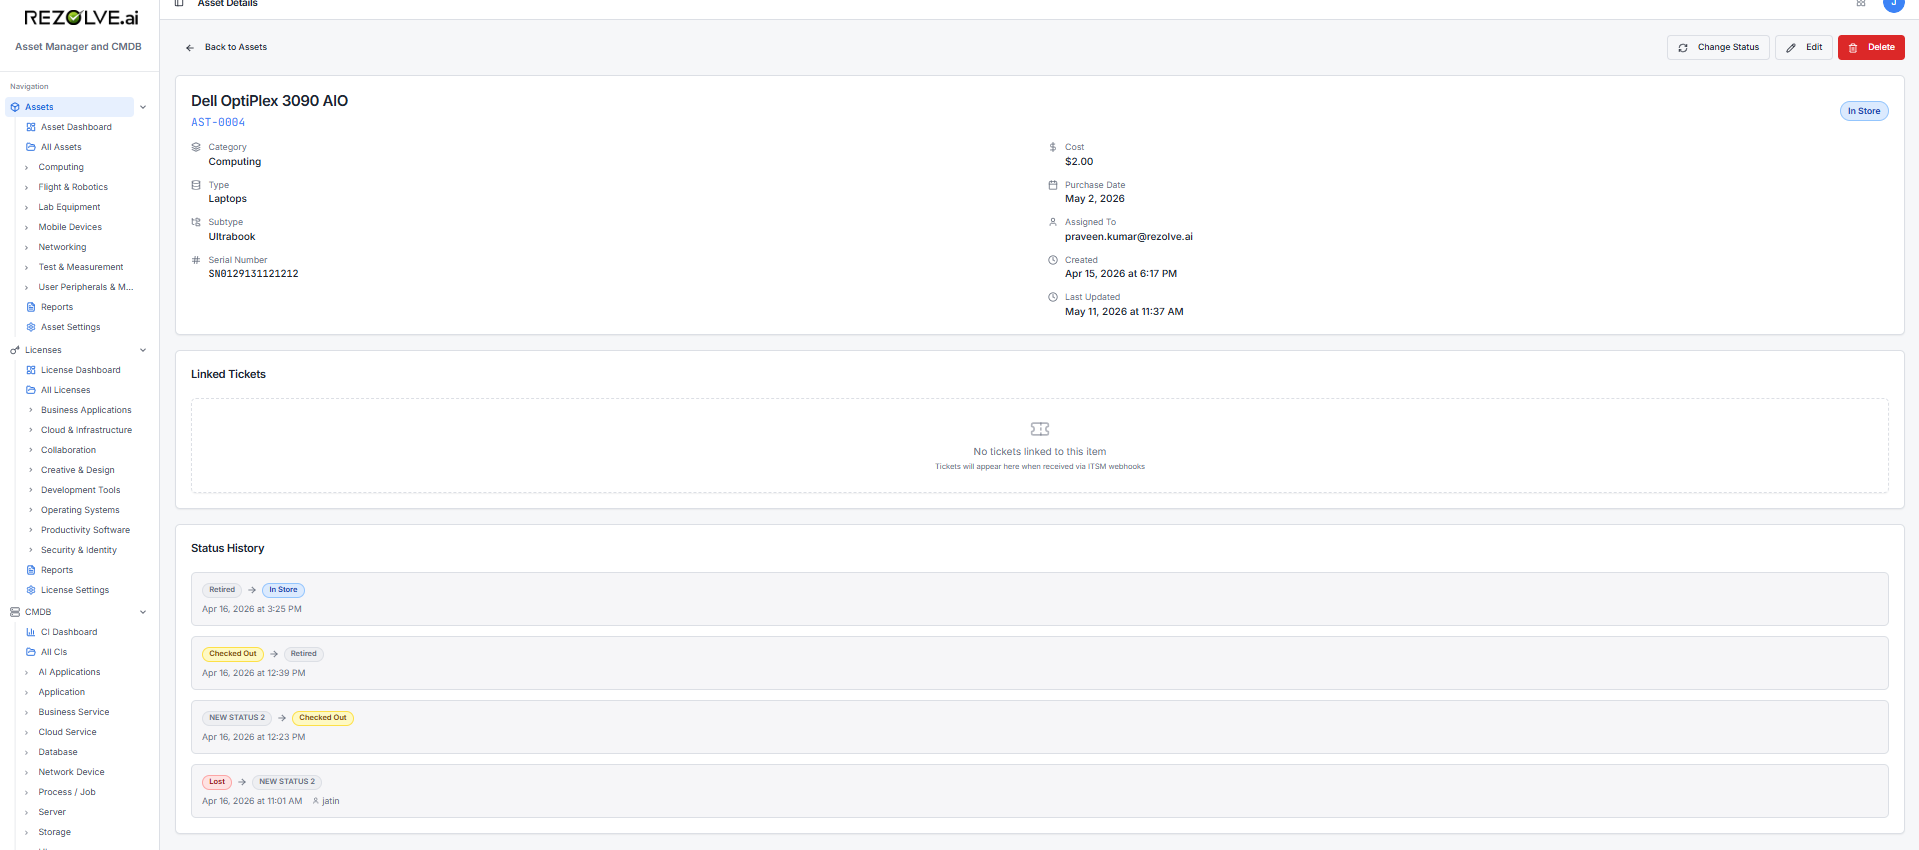
Status history
The history panel on the asset detail page shows every status change in order, with:
- Previous status → new status
- Who made the change
- Timestamp
- Optional comment
This is read-only by design. You can't edit history, only add to it.
Changing status without assigning
Sometimes you just want to move an asset between statuses without involving a person — sending it for repair, retiring it, marking it lost. Use Change Status from the asset detail page. You can add a comment explaining why.
Bulk status changes
If you're retiring 50 old laptops at once, do it from the asset list. Select all 50, choose Bulk Status Change, pick the new status, and confirm. One action, fifty history entries.
Related topics
- Assets
- Custom Fields and Templates
- Alerts — for notifications when assets enter specific statuses