Uploading Custom Bot
This guide provides step-by-step instructions for uploading a custom bot to Microsoft Teams and assigning access policies to individuals or groups within your organization.
Overview
The process consists of four main steps:
- Uploading the custom bot to your Teams environment
- Creating a permission policy for the bot
- Assigning the policy to individuals or groups
- Optionally pinning the bot for easier access
1. Uploading Custom Bot for Your Organization
-
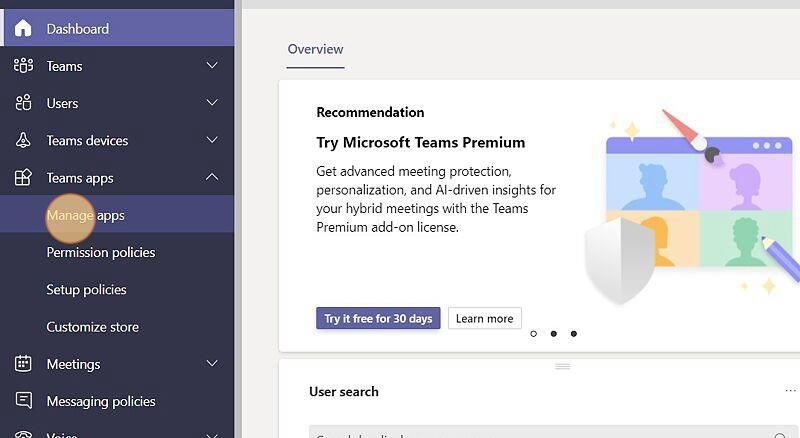
Navigate to Microsoft Teams Admin Center
-
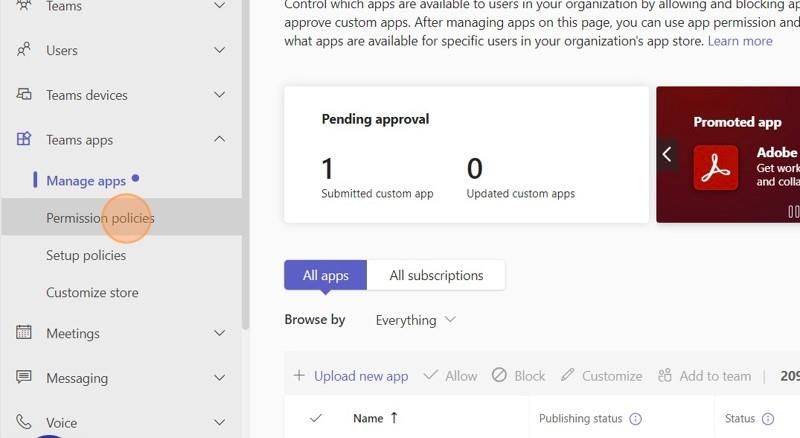
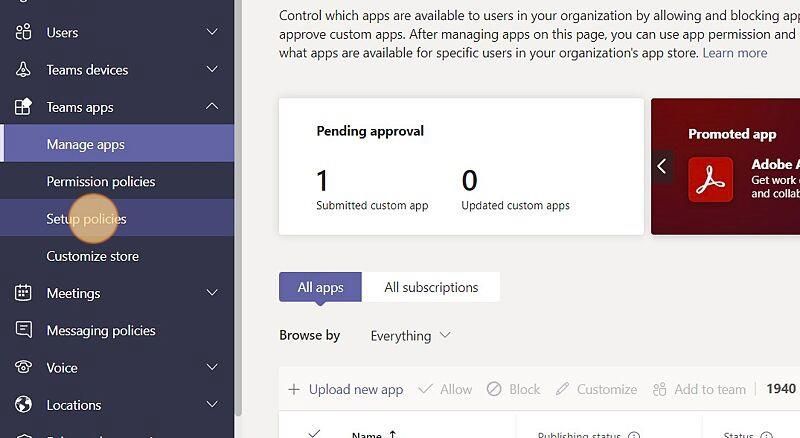
Click Manage apps
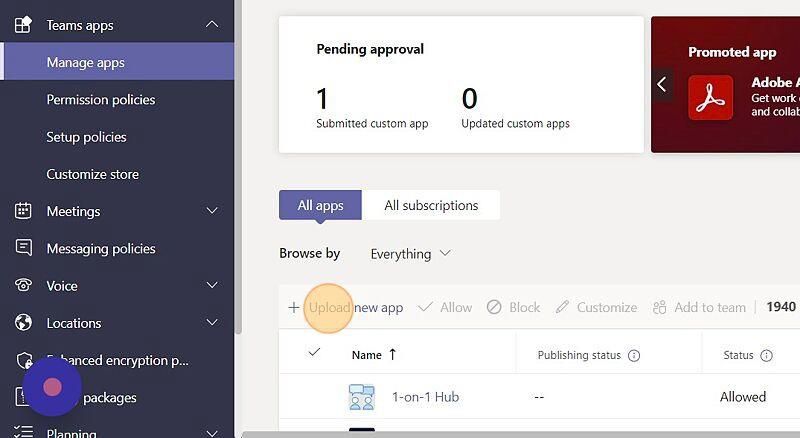
-
Click Upload new app
-
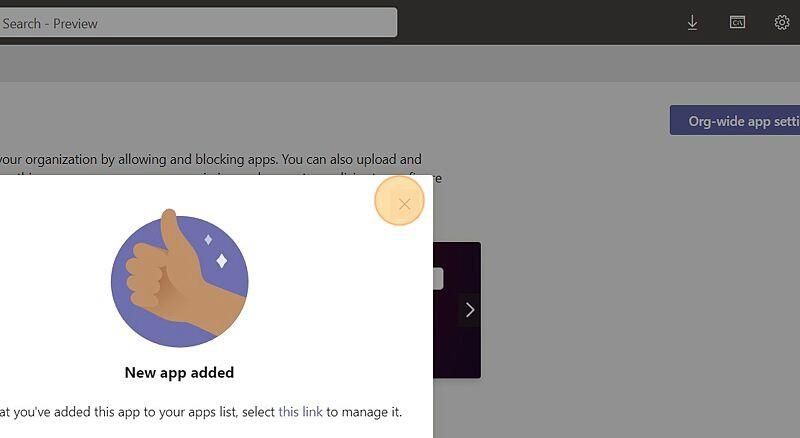
Click Upload

-
Search and select the zip file provided to you by Rezolve. Wait for the confirmation message and once received, close the popup box.
2. Creating the Permission Policy
-
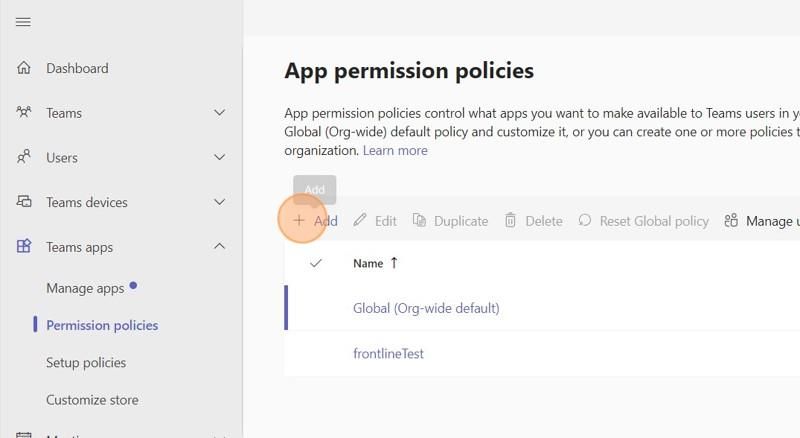
Click Permission policies
-
Click Add
-
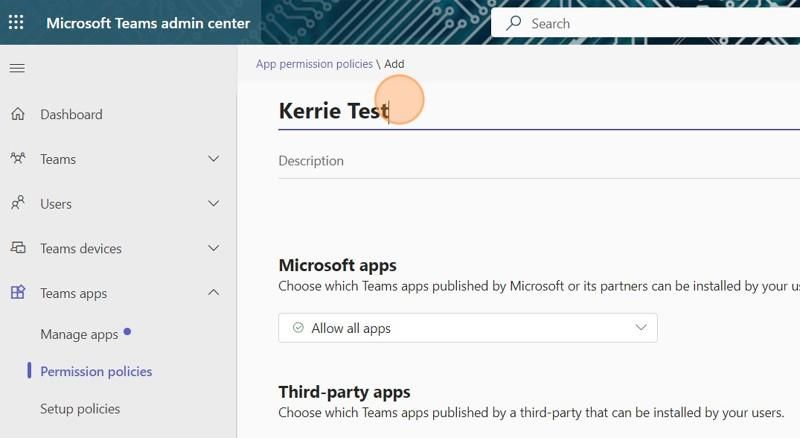
Give your Policy a Name and Description
-
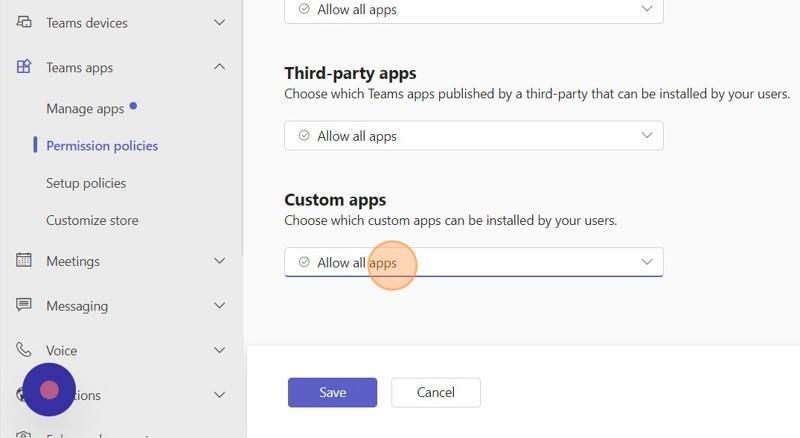
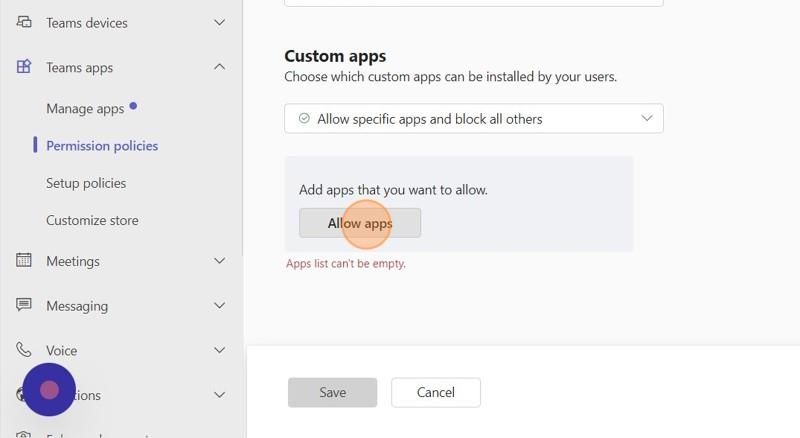
Under Custom apps, select Allow specific apps and block all others
-
Click Allowed Apps
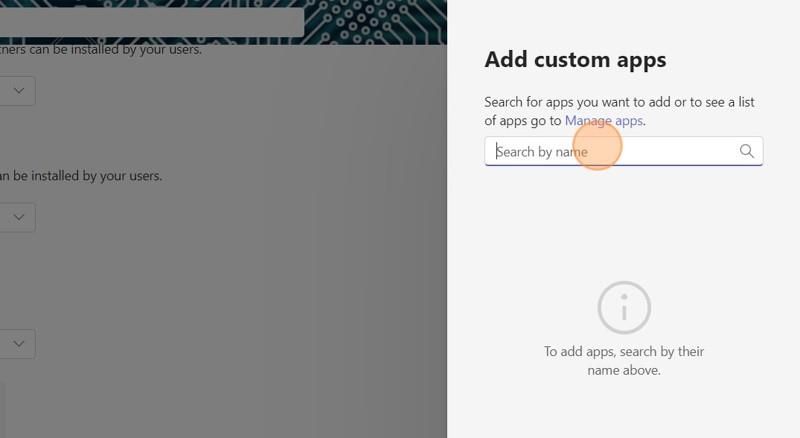
-
Click the "Search by name" field and enter your Bot name
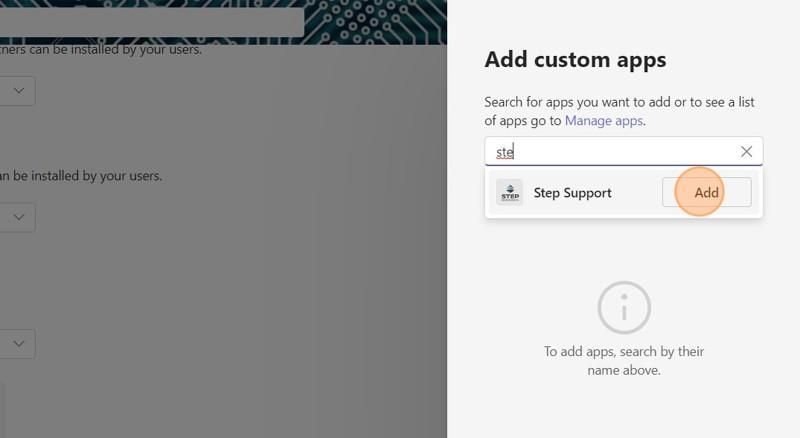
-
Click Add next to your bot when it shows
-
Click Allow
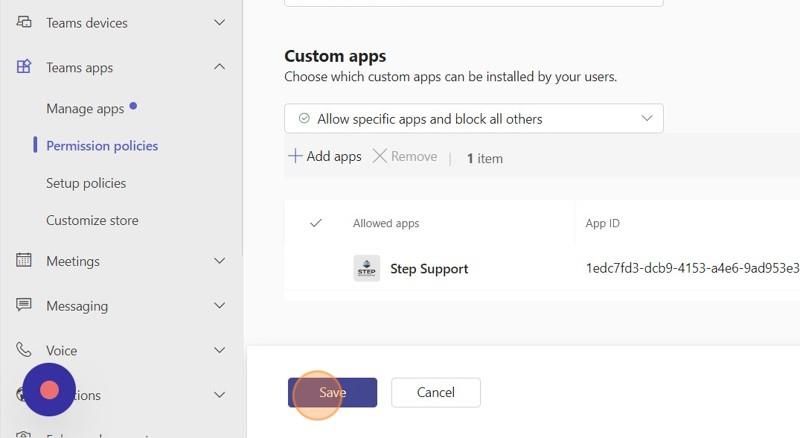
-
Click Save

3. Creating the Setup Policy
-
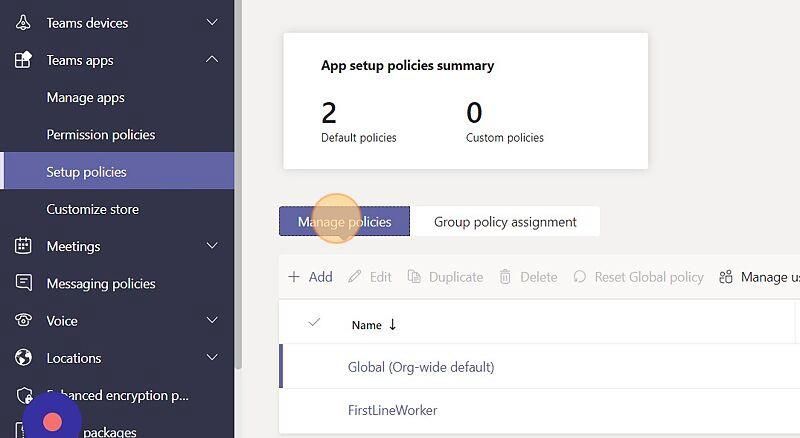
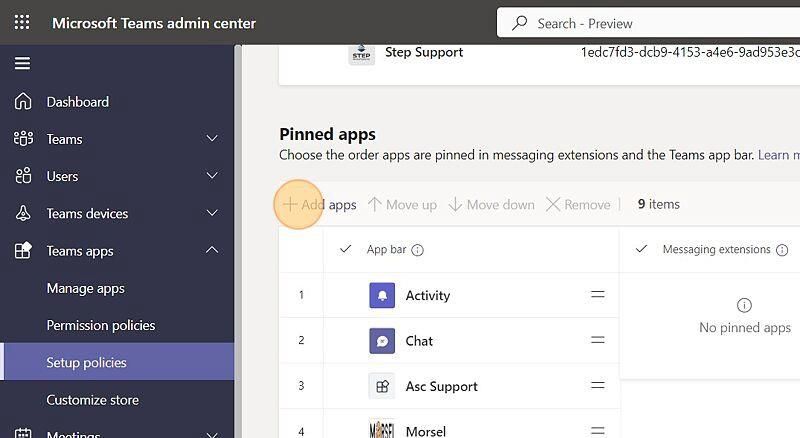
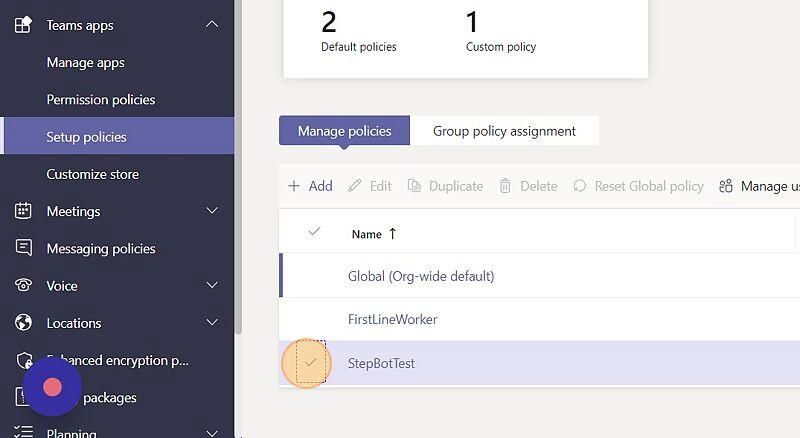
Click Setup policies
-
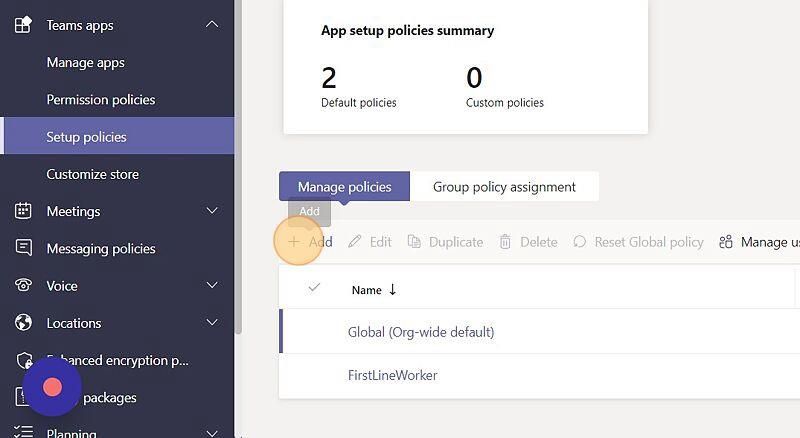
Click Manage policies
-
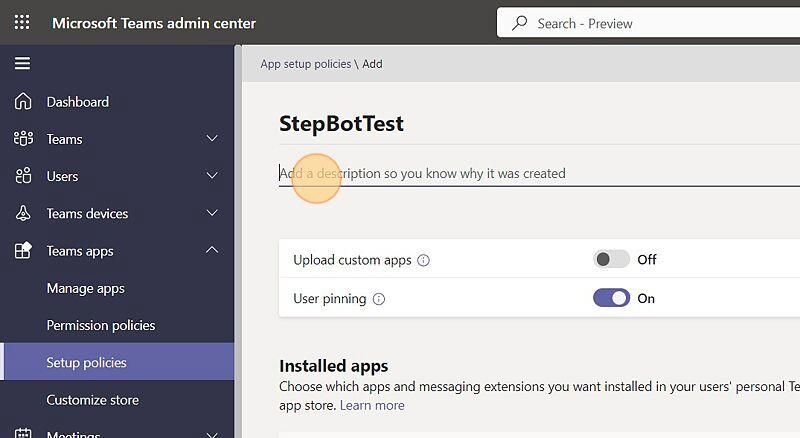
Click Add
-
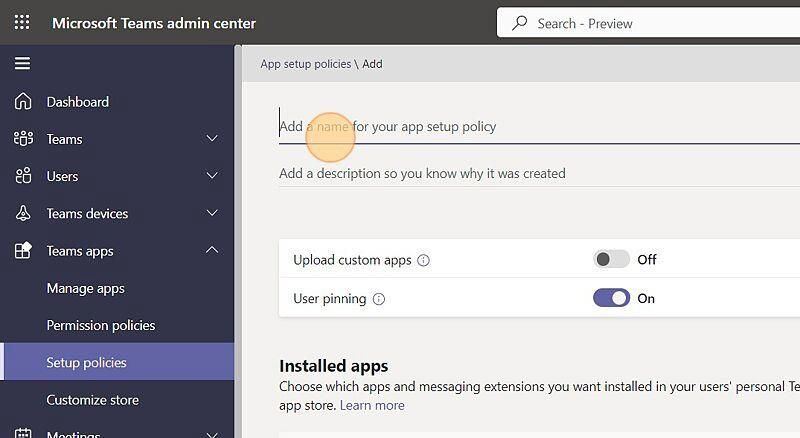
Enter a name for your app setup policy (e.g., BotNameAccessPolicy)
Note: Spaces are not allowed when creating your policy name.
-
Add a description (e.g., BotName Access Policy)
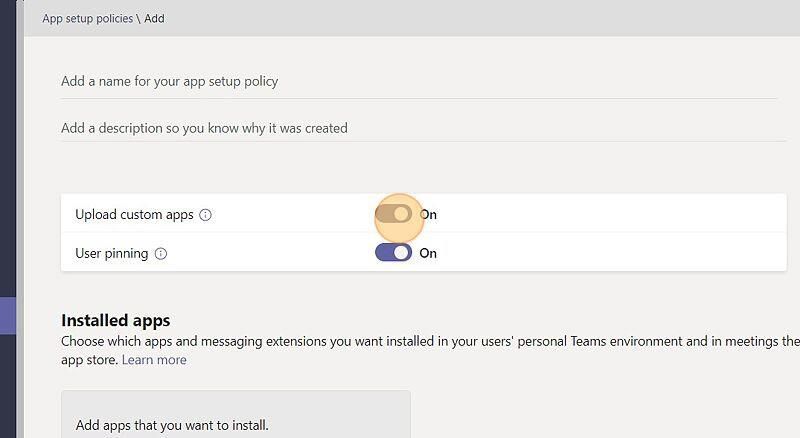
-
Choose your company's preferences for the Upload custom apps and User pinning options
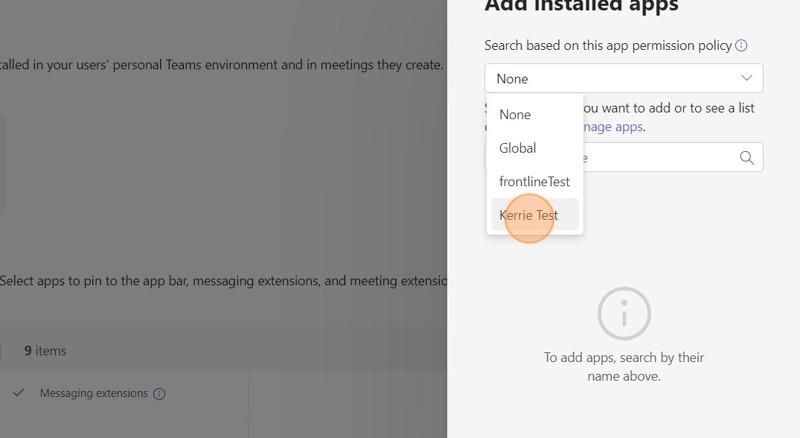
-
Click None and select the Permission Policy previously created
-
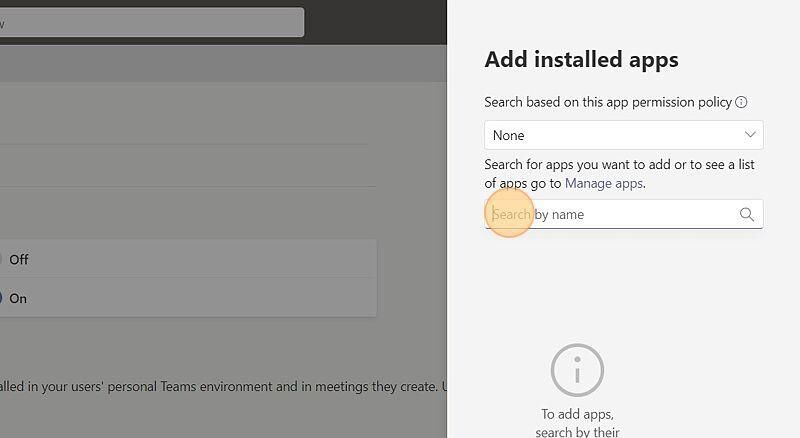
Click the Search by name field
-
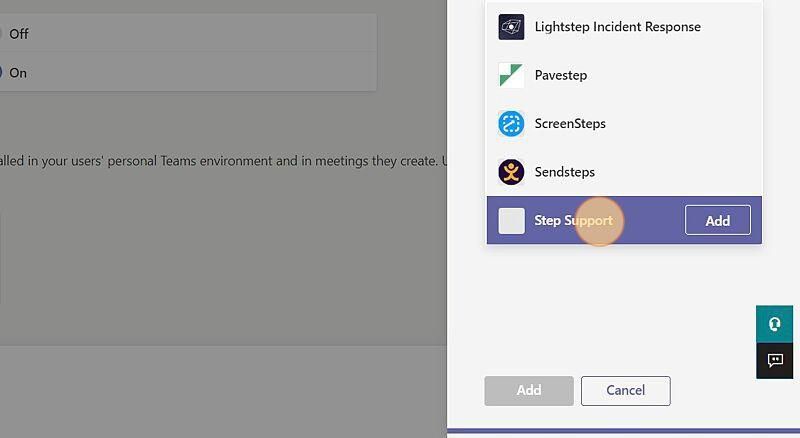
Type your bot's app name
-
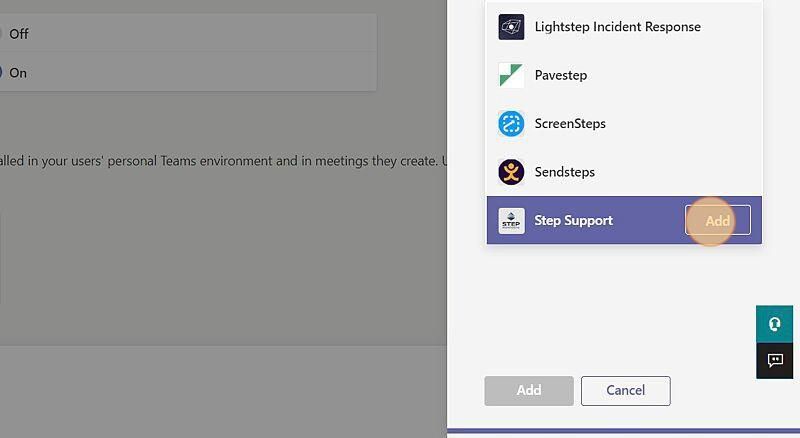
Click on your custom bot app
-
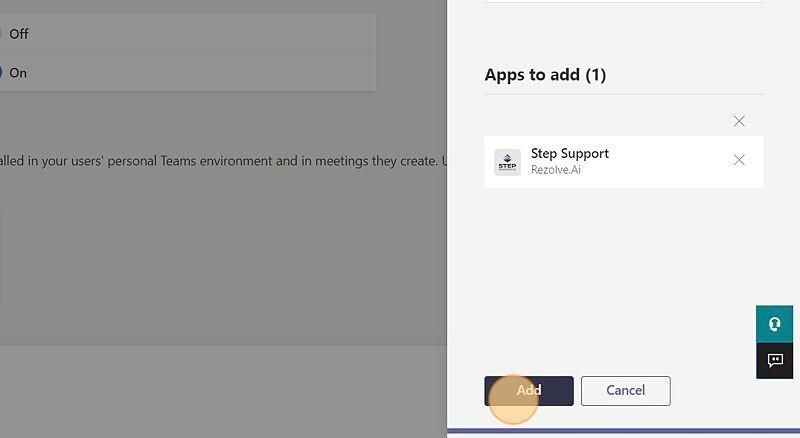
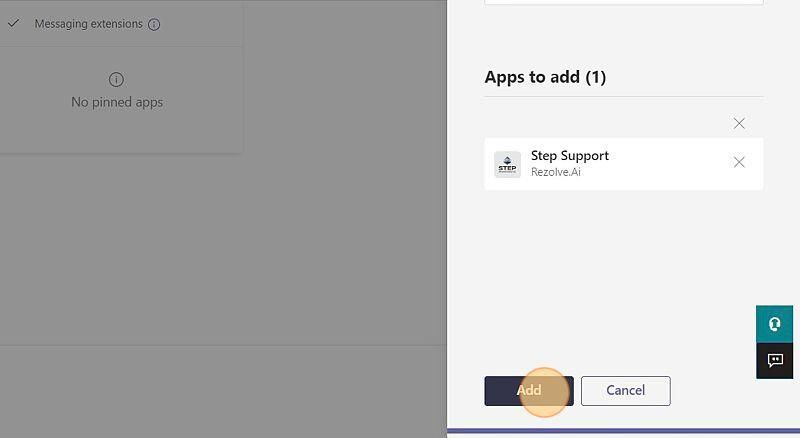
Click Add
-
Click Add again
-
Click Save
4. Pinning the App to a Policy (Optional)
To make the bot more accessible, you can pin it to the Teams menu:
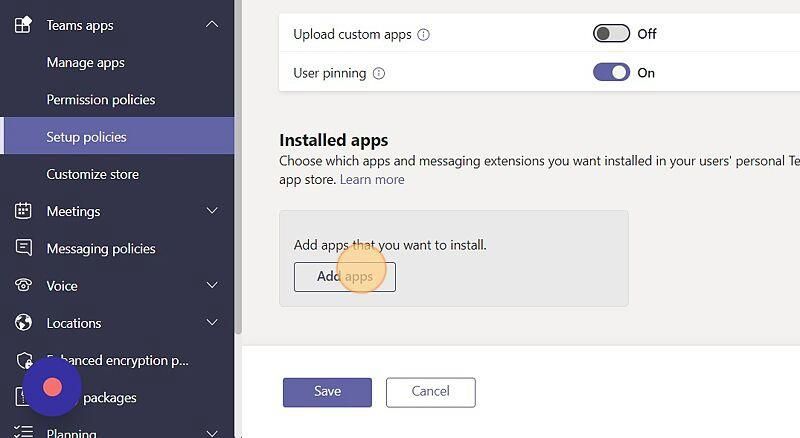
-
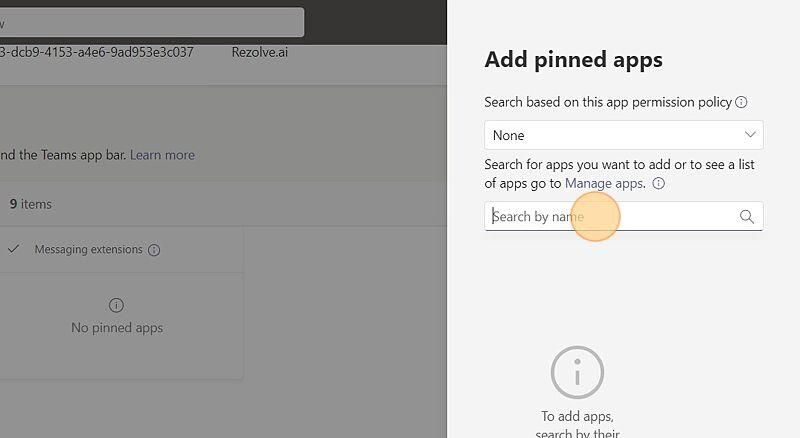
Go to Setup Policy, select the Policy, scroll down to Pinned apps section and click Add apps
-
Click the Search by name field
-
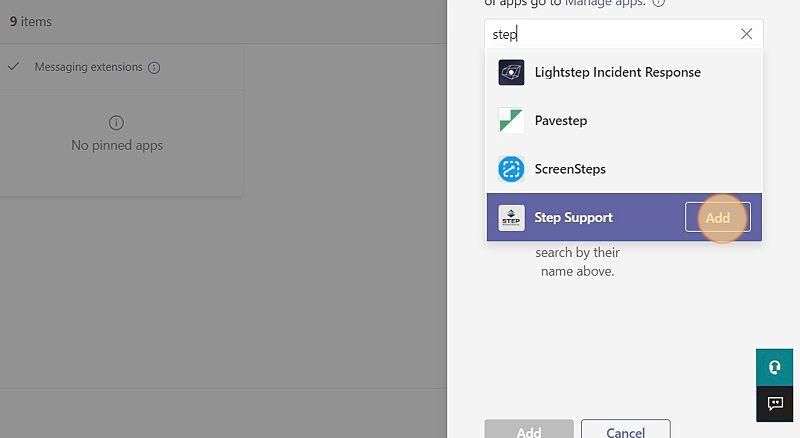
Type your bot's app name
-
Click Add
-
Click Add again
-
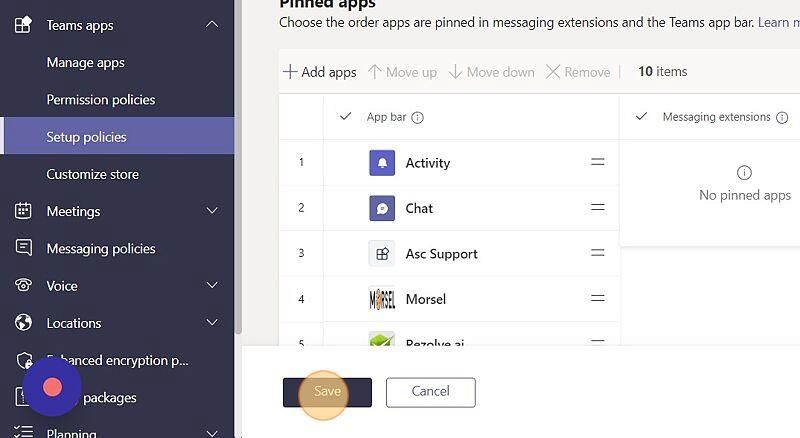
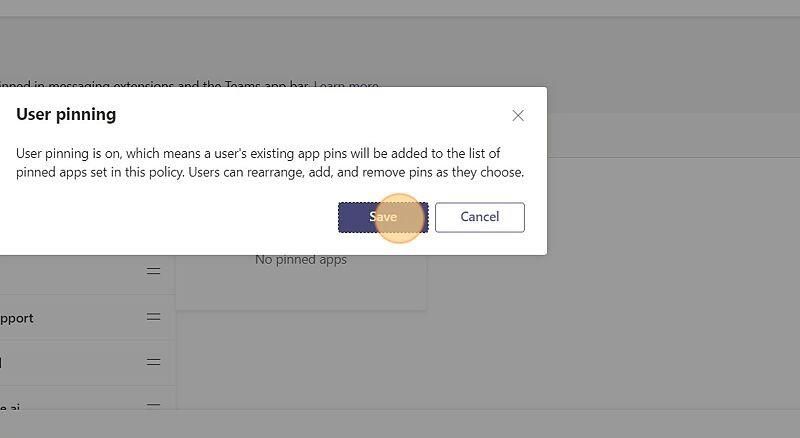
Click Save
-
If you get a confirmation prompt, click Save
5. Assigning the Policy to Individuals
-
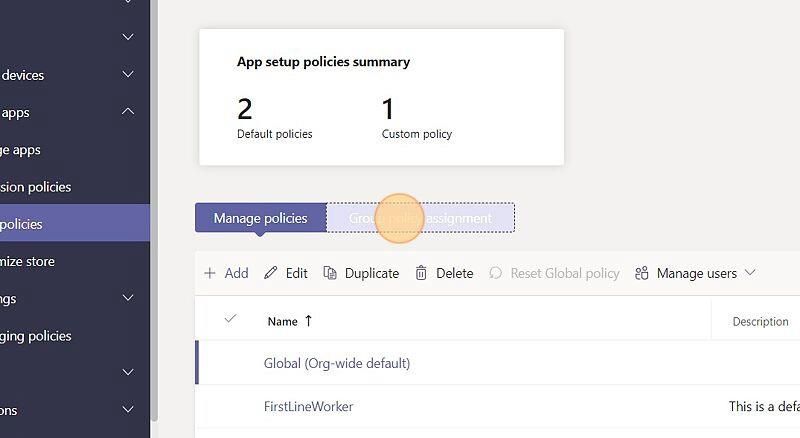
Make sure you are on the Manage policies tab and select your bot policy
-
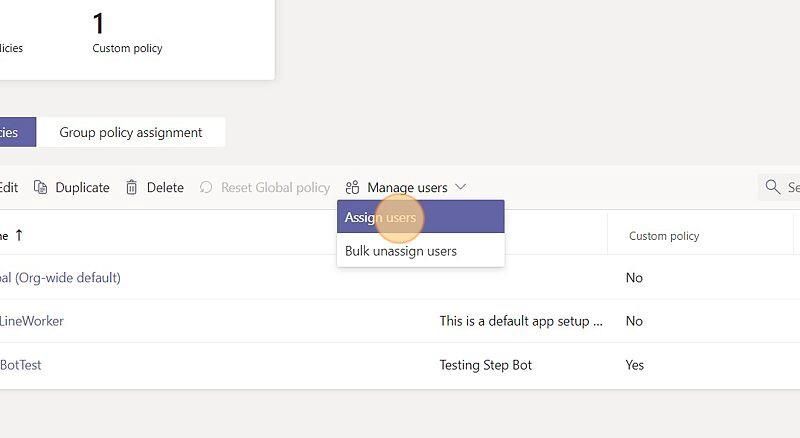
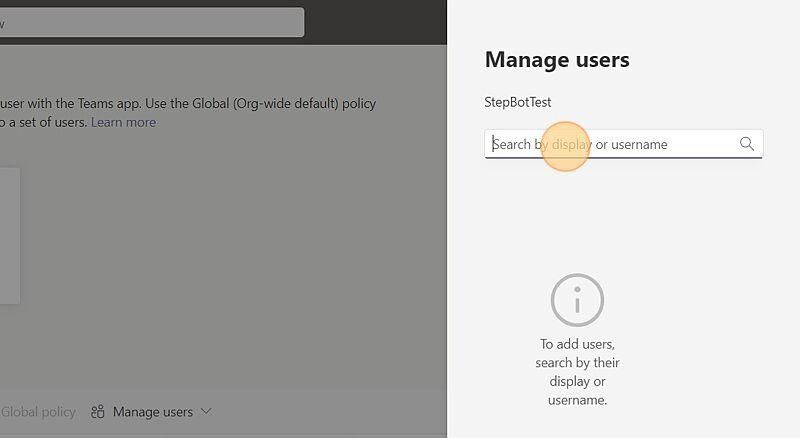
Click Manage users
-
Click Add
-
Click the Search by display or username field

-
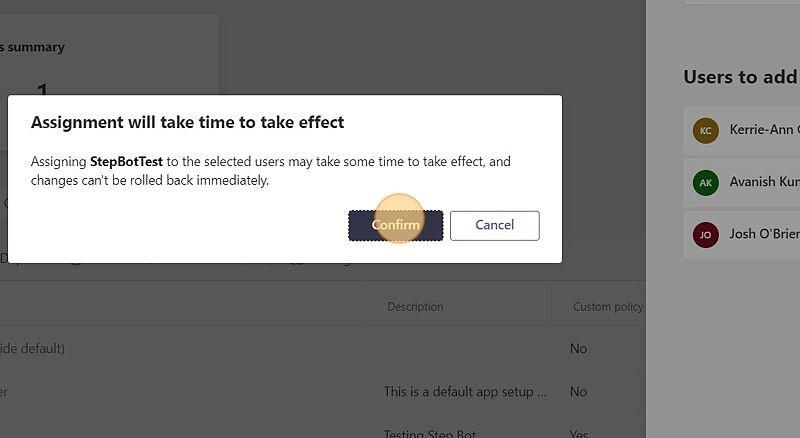
Search for the individuals you would like to have access and click Add until you are done
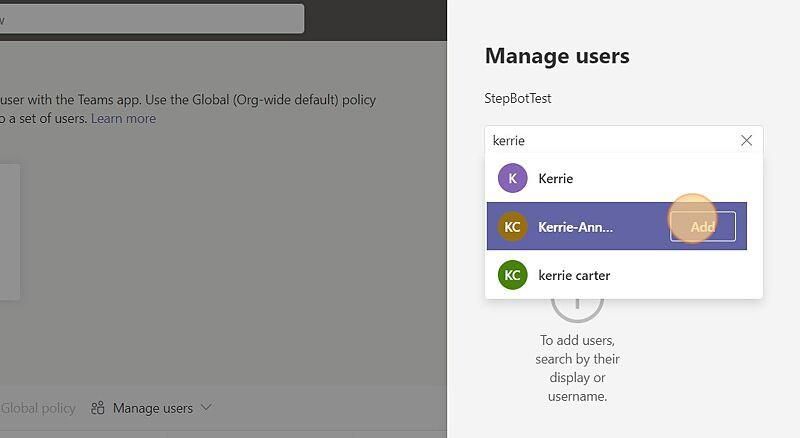
-
Click Confirm
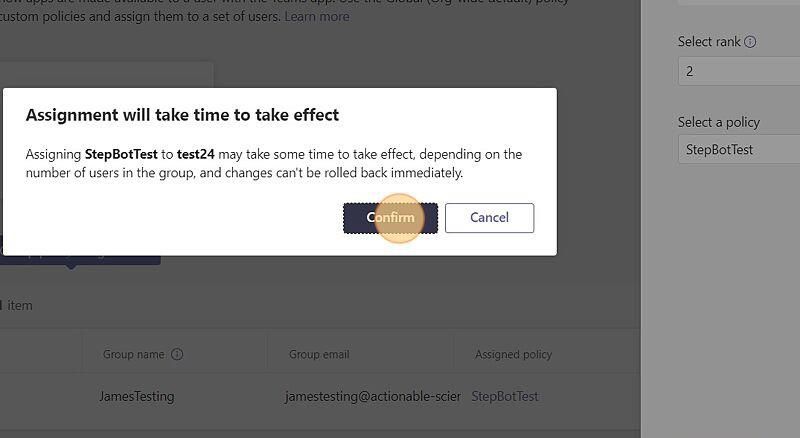
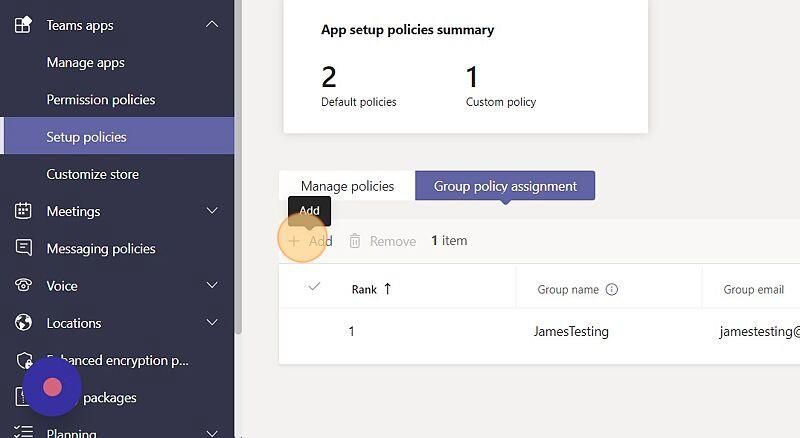
6. Assigning the Policy to Groups
-
Click Group policy assignment
-
Click Add
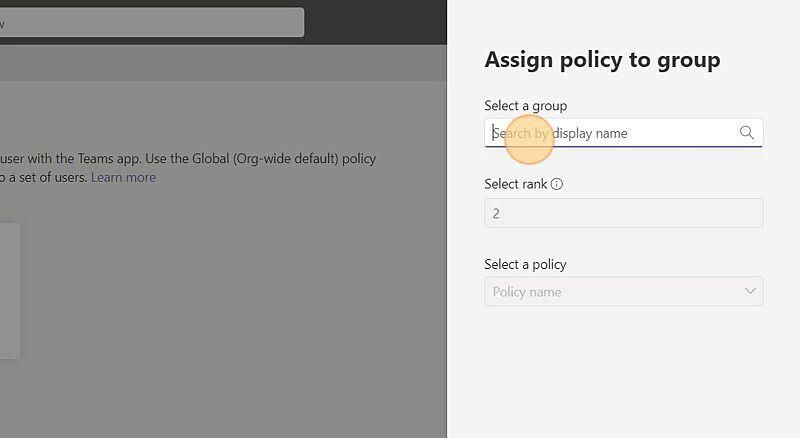
-
Click the Select a group field
-
Look for the group you want to grant access to
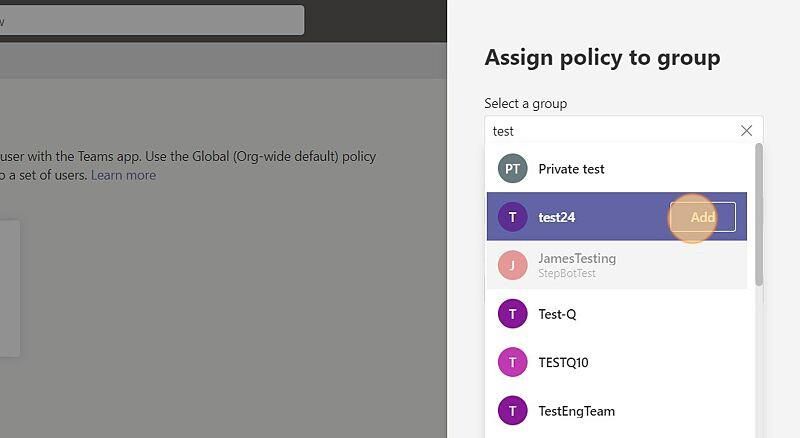
-
Select it and click Add
-
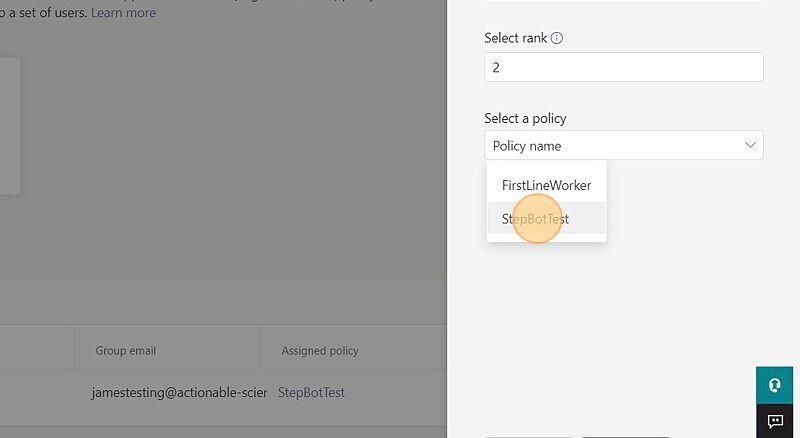
Click Policy name
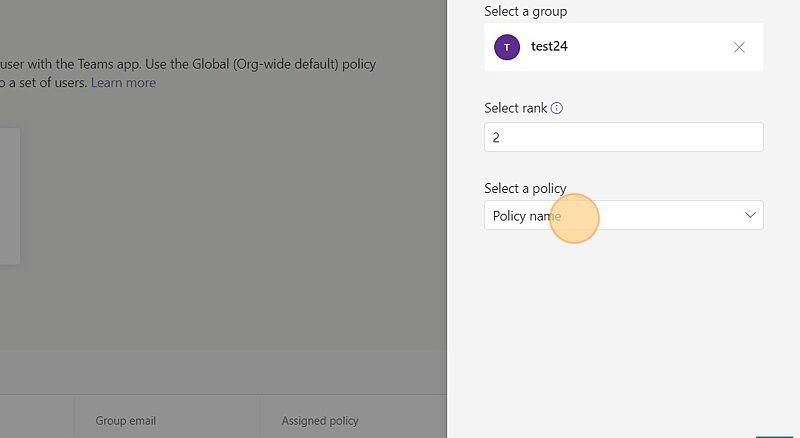
-
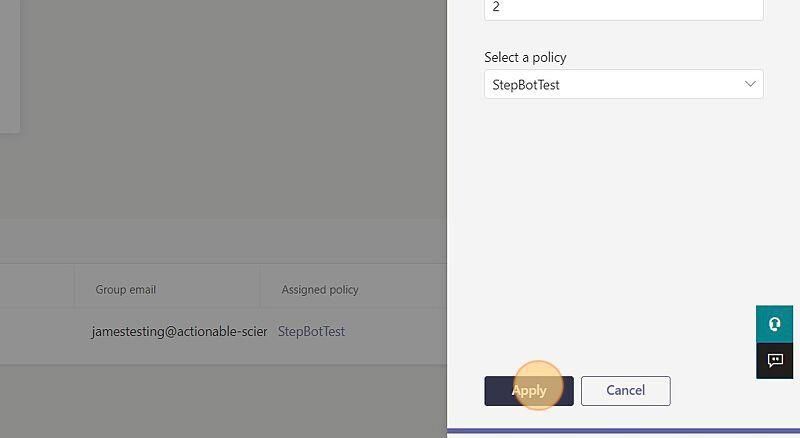
Select the policy you created for the bot
-
Click Apply
-
Click Confirm