Deploying and publishing
The generated flow lives in your folder. Two steps make it usable from a real bot: deploy it to Production, and publish a Trigger that maps natural-language requests to the flow.
Make the flow top-level
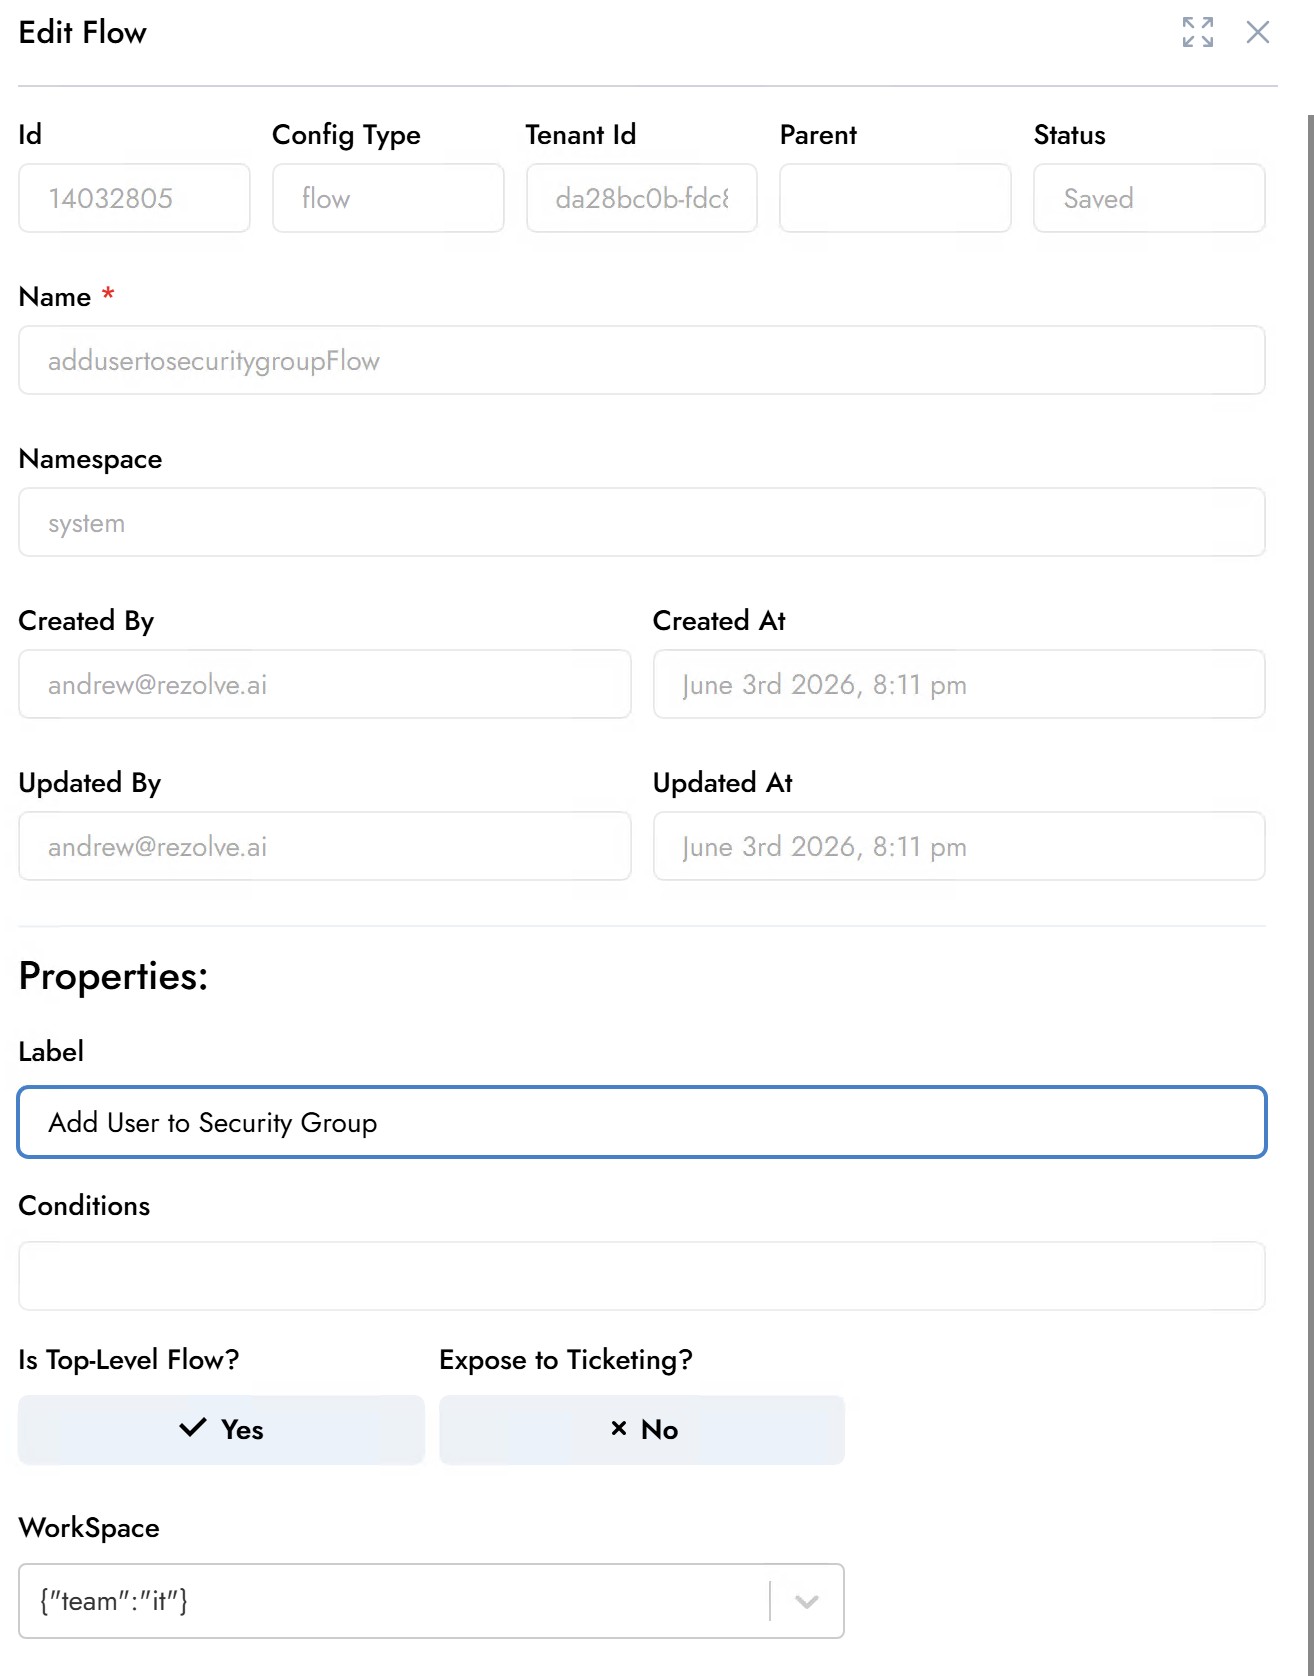
Only top-level flows can be attached to triggers. Open the flow's settings with the pencil icon next to its name and set Is Top-Level Flow? to Yes (a WorkSpace assignment appears); then Update. If you skip this, the flow will not appear in the trigger's flow list.
Deploy
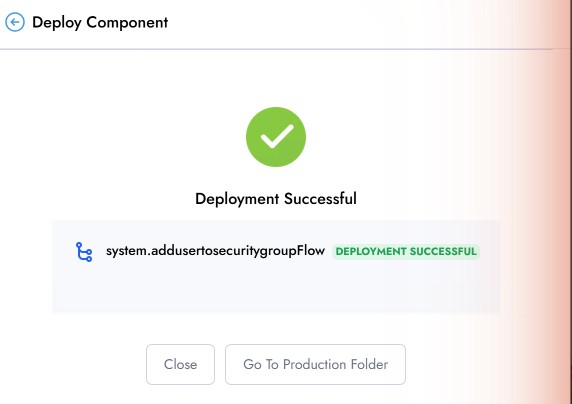
Click Deploy Flow in the editor toolbar. Creator Studio saves all components, publishes them to Production, and confirms with a deployment report. If a previous version already exists in Production, choose Overwrite to replace it. Re-deploy after any change you want live - including the top-level setting above.
Create and publish a trigger
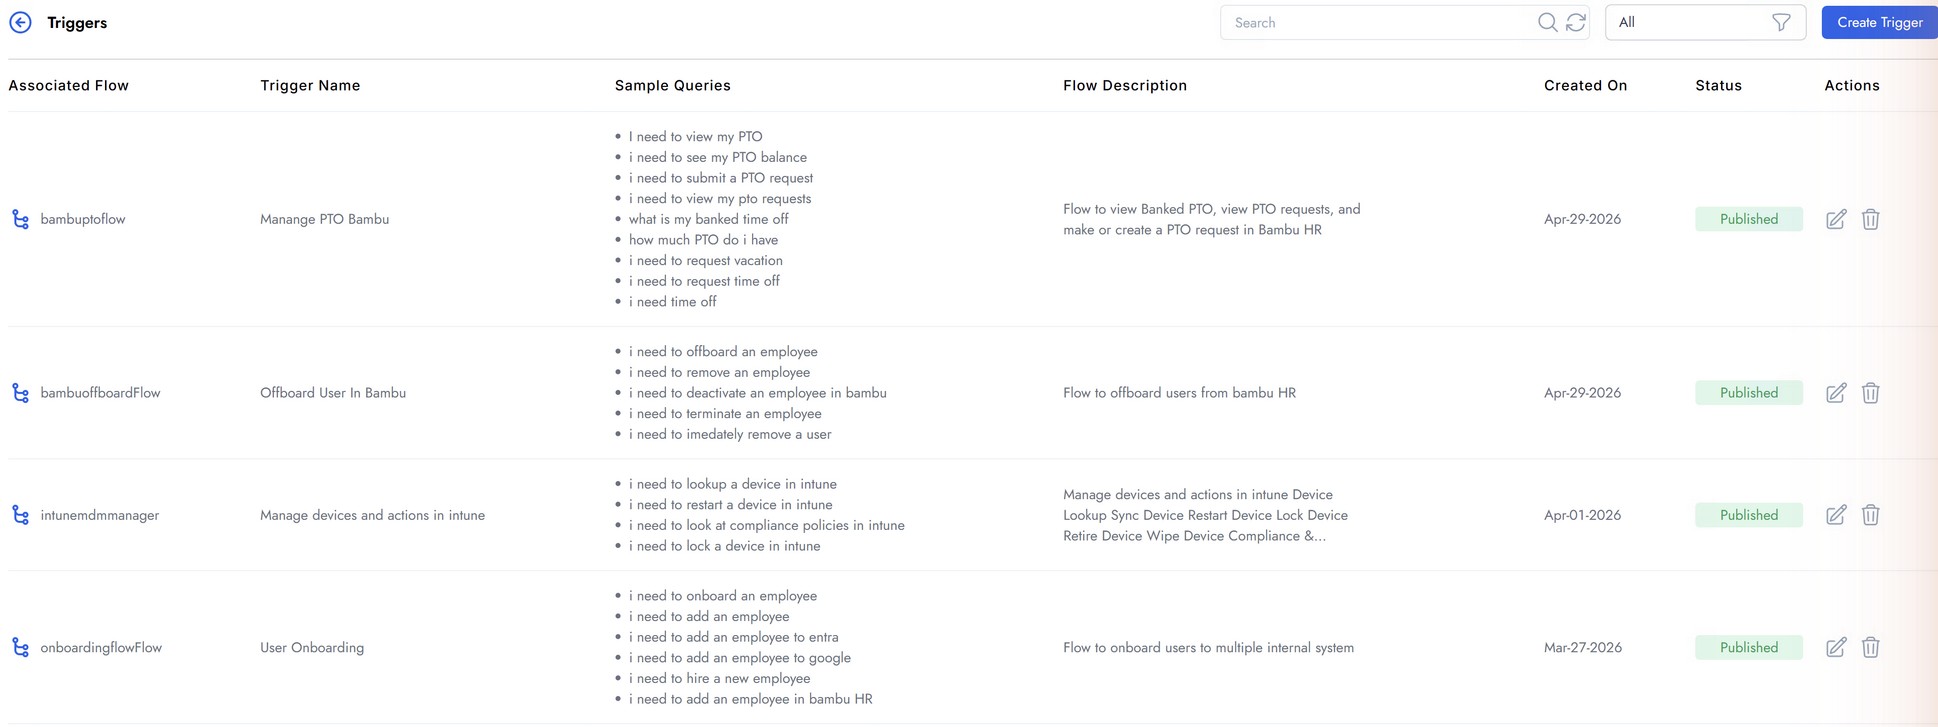
Triggers map natural-language requests to your flow. Open Manage Triggers from the Creator Studio header to see every trigger, its sample queries, and its status.
Click Create Trigger and fill the form:
- Associate Flow - pick your flow. Only deployed, top-level flows are listed.
- Trigger Name - a short label, e.g. Add User to Security Group.
- Flow Description - one or two sentences the intent engine uses to understand what the flow does.
- Sample Queries - three or more phrases users would actually type ("i need to add a user to a security group", "add someone to an entra security group"…). Remove any empty rows; blank queries block publishing.
- Audience - optionally restrict who can use the trigger.
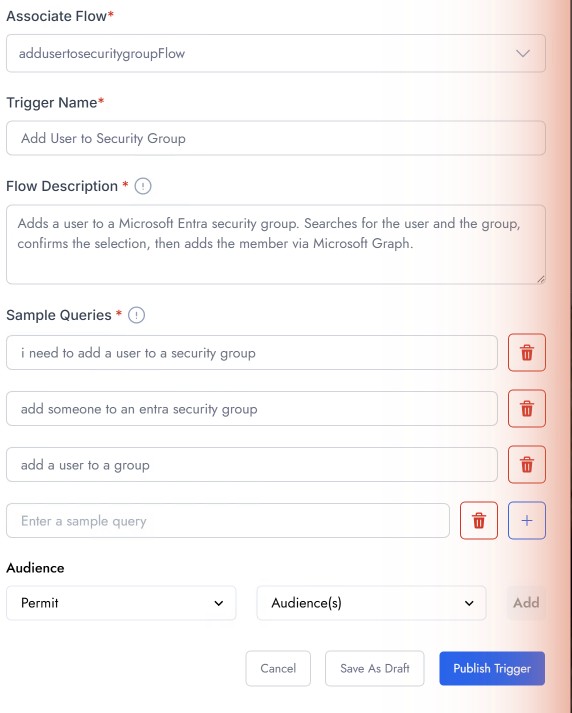
Click Publish Trigger. Publishing is asynchronous - a request ID is shown while it processes, and the list may show Draft until you refresh the page, after which the trigger shows Published.

What's next
With the flow deployed and the trigger published, you are ready to test the whole experience in Microsoft Teams.