Managing Folders
Folders allow users to clone or edit entire flows or even individual components of a flow before deploying them to production. Any data inside a Folder is private, and only accessible to the user who created it.
There are three default folders:
- Production
- Service Catalog
- My Folder
You can also create your own custom folders at any time.
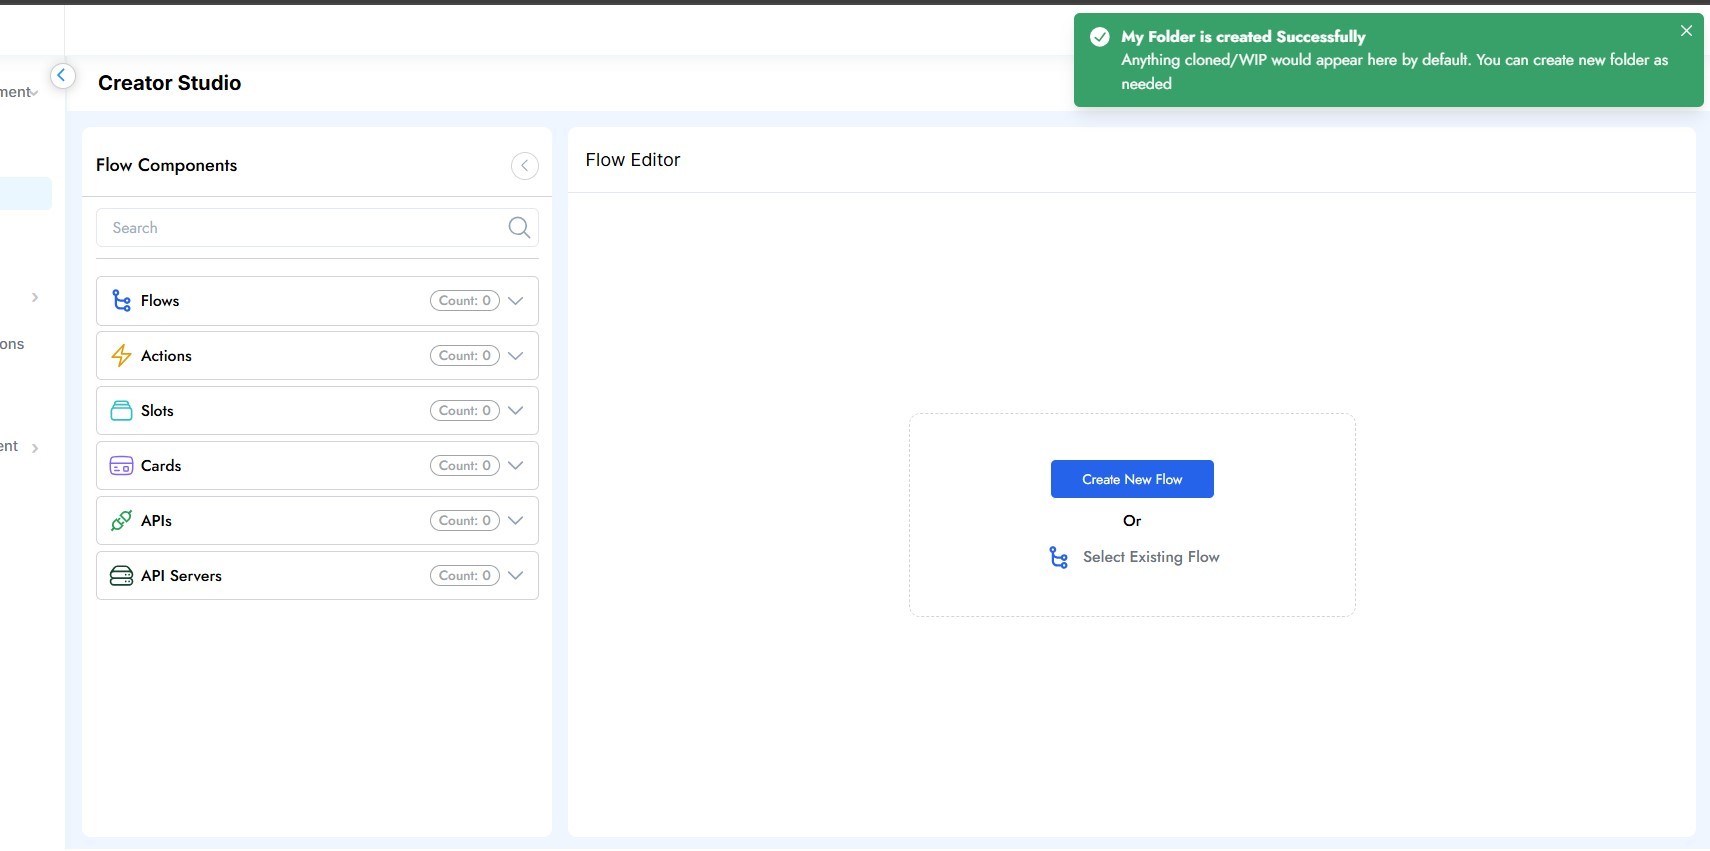
My Folder
My Folder is a default, personal workspace available to all users in Creator Studio. Each user has their own unique My Folder, ensuring that any data within it remains private. This folder acts as a personal workspace for users to create and edit flows and components as needed.
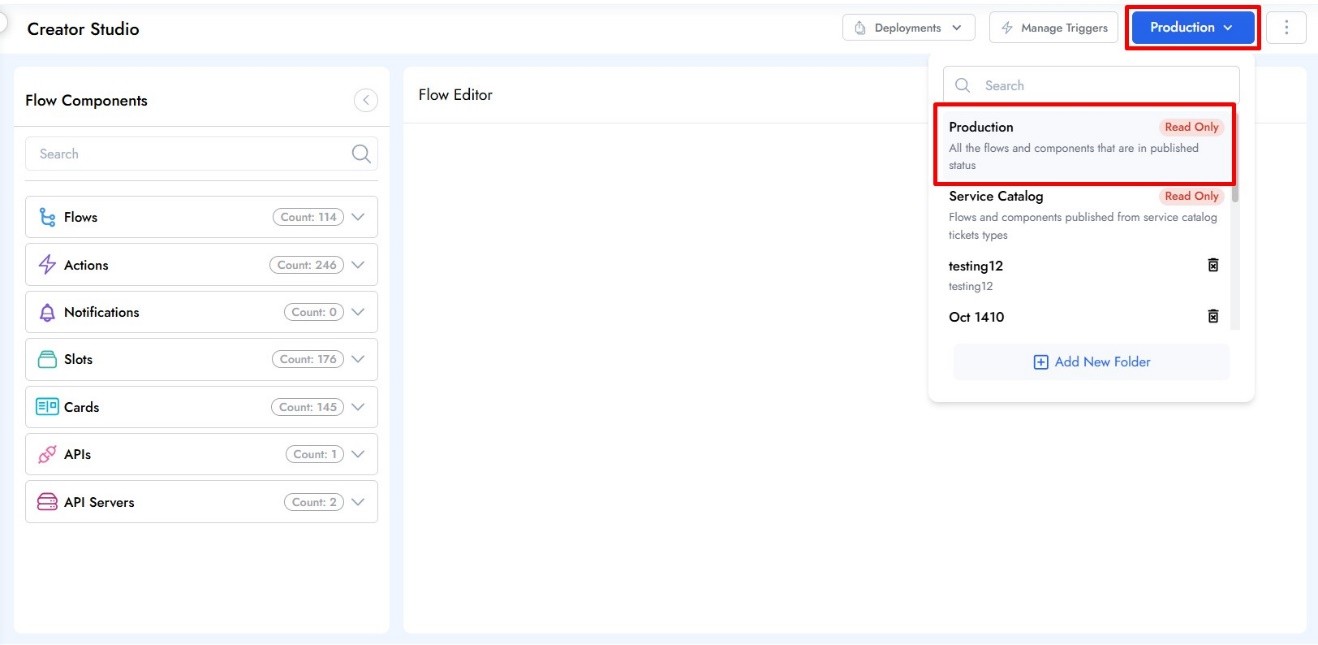
Production Folder
The Production folder contains all Flows and Components that are in a published state and accessible to end users via their Web, Teams, and/or Slack bots. This folder is read-only. To modify content in Production, you must first clone it into another folder, such as My Folder.
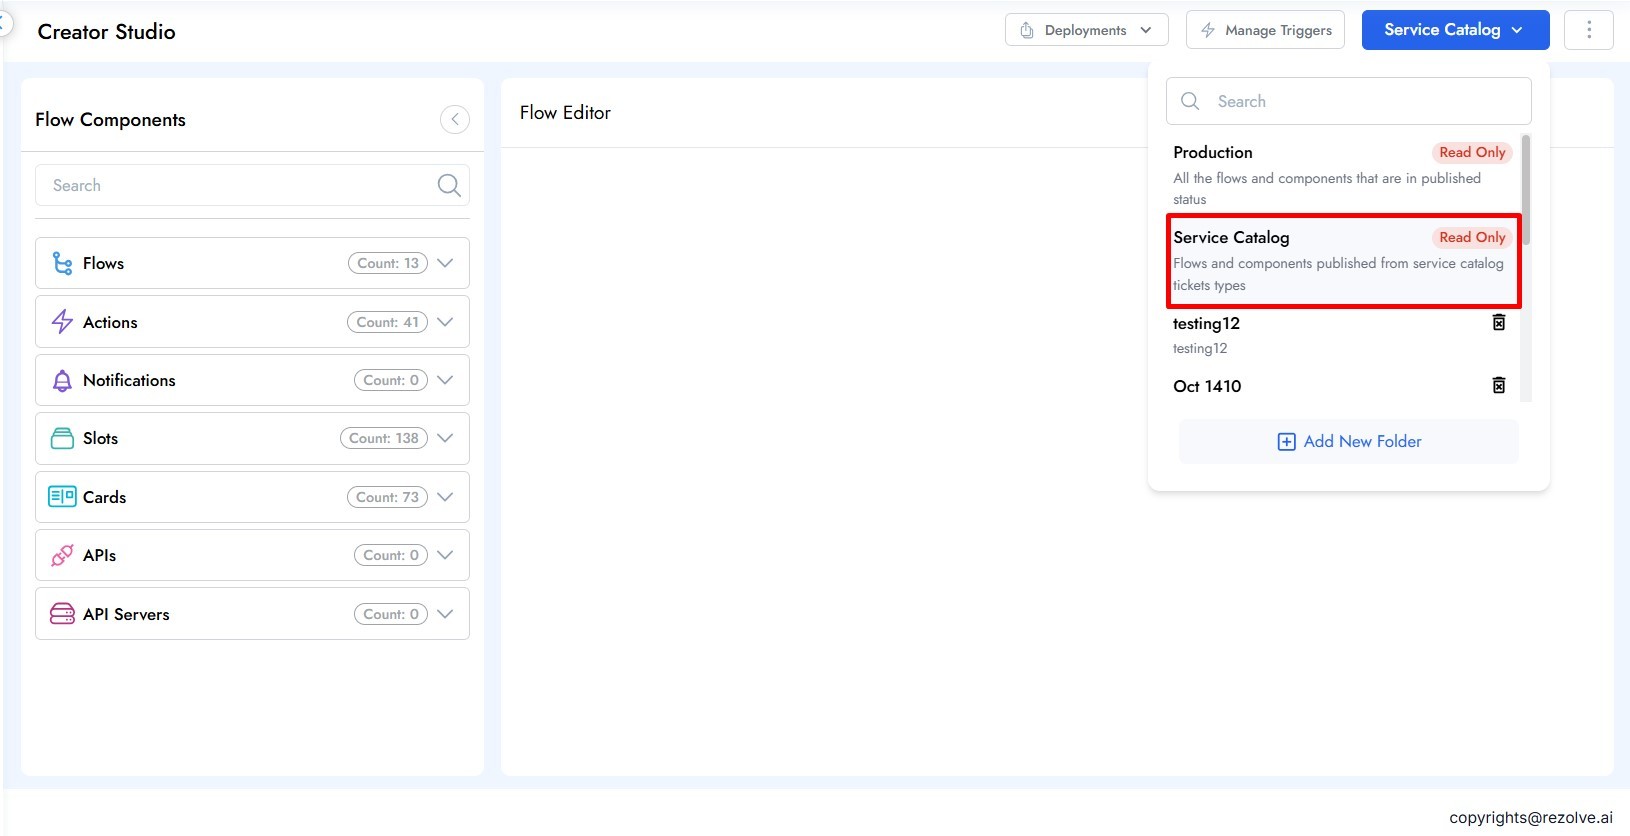
Service Catalog Folder
The Service Catalog folder contains all templates imported from the Service Catalog. Each imported template will appear as a flow with the same name. This folder is read-only. To make changes to the content, you must first clone it into another folder, such as My Folder.
Import Template
The Import Template option allows you to convert a Service Catalog template into a flow that can be triggered by the bot. By default, any imported flows will be published in both the Production and Service Catalog folders and will have the same name as the Service Catalog template, but with an "SC_" prefix. When a flow is cloned, the "SC_" prefix is removed, and the cloned flow will only retain the name of the template.
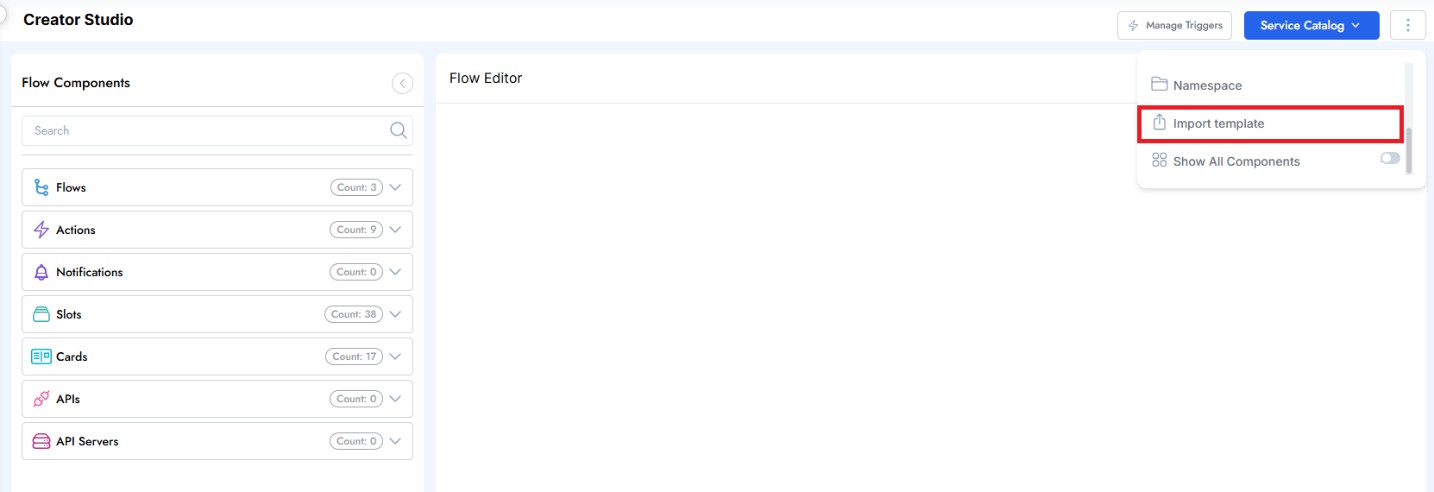
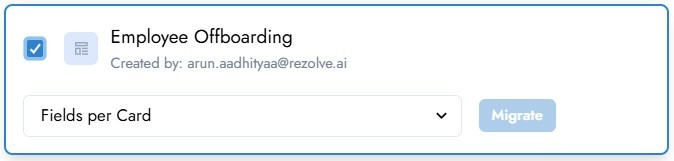
Only Service Catalog Templates in an Approved status can be imported into Creator Studio. Clicking Import Template displays a list of Approved templates available for import. Once you select a template, a dropdown menu will appear asking you to select the number of ticket fields to display in each adaptive card when the flow is run.
After making your selection, simply click Migrate and then confirm that you want to import the template.
Note:
- Reimporting a Service Catalog template will overwrite the previous version.
- A template must be re-imported each time it has been updated to reflect the latest changes.
Custom Folders

You can create a custom folder by clicking Add New Folder from the folder menu. These folders behave just like My Folder, allowing you to clone components into them for editing purposes. Just like My Folder, custom folders cannot be accessed by other users, but unlike My Folder, custom folders can be deleted. This allows users to create distinct and/or temporary workspaces for individual projects.
You can create as many folders as you want. When creating a folder, you will be asked to enter both a Folder Name and Folder Description. You cannot have two folders with the same name. Upon creating a folder, Creator Studio will automatically launch you into the new folder.
Deleting a Custom Folder
To delete a custom folder, simply click the trash icon next to the Folder Name in the folder menu. Deleting a folder will delete all the components that are inside that folder.
Cloning Components
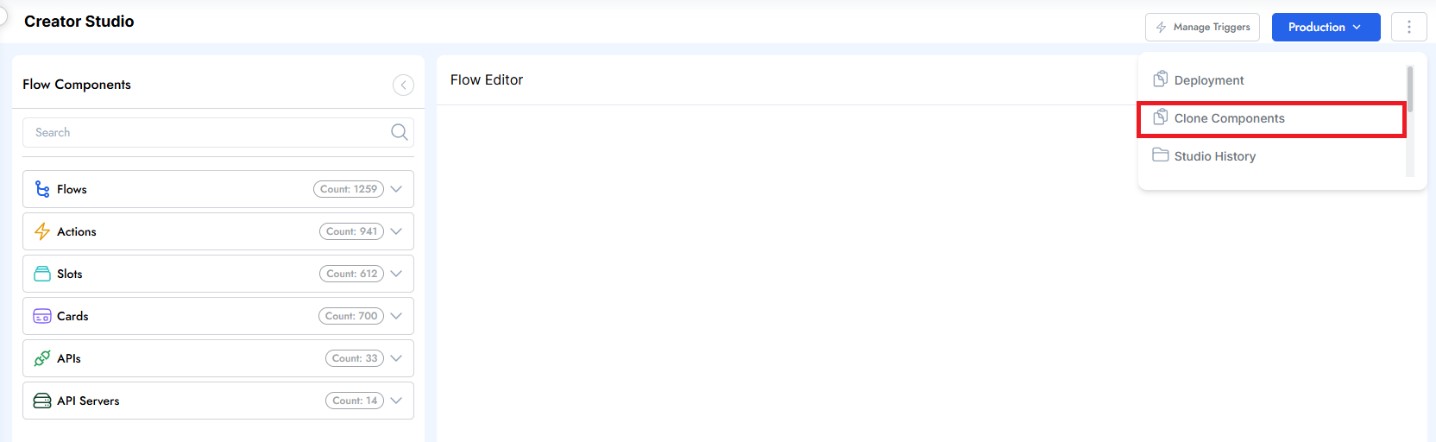
Cloning a component allows you to create a duplicate version of an existing component inside a different folder. You can then edit the new version in the target folder without impacting the original. Note that if a duplicate component is deployed to production, it will still overwrite the original version. (For more information on deployments, see sections 3.1 and 3.2.)
When cloning components, you must first select a Destination Folder. This is the location where your cloned component will be created.

You must then select the components you'd like to clone. You may clone as many components at the same time as you would like. You will see a list of flows by default, but you can search for individual components by typing into the Search field or change your filtering options by clicking the drop-down under Select Components.

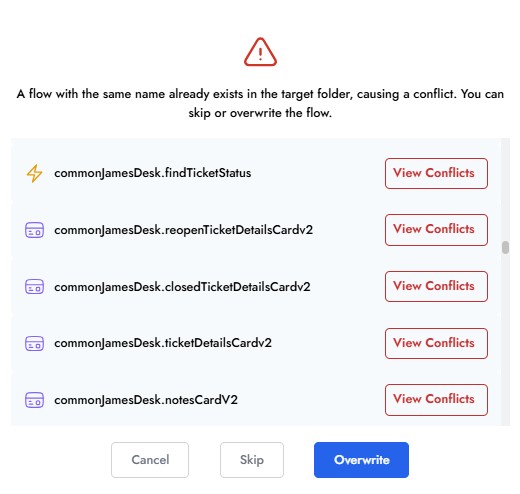
If a flow is selected, Creator Studio will automatically queue up all components being used by that flow as well, alleviating you of the need to select each component individually. After clicking "Clone" you will see a list of all components queued up to be cloned. Simply click "Proceed" to complete the process. Note that if the target folder already has a component with the same name, you will receive warning asking if you'd like to overwrite the old version.