ServiceNow Integration with Rezolve.ai Chatbot NEW
ServiceNow Integration with Rezolve.ai Chatbot
For standard ticketing integration, the following is required: • Service Account with API access enabled for Rezolve.ai • An Agent Account for Rezolve.ai In this document we will guide your ServiceNow Administrator through completing this. SETTING UP A SERVICE ACCOUNT WITH API ACCESS
-
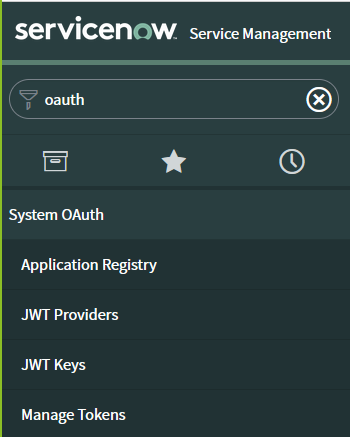
Log into ServiceNow using your administrative 3. Select Application Registry credentials 2 . In the Search of the main menu type “oauth”
-
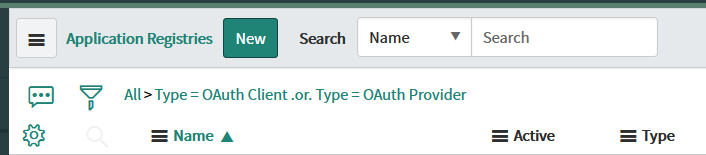
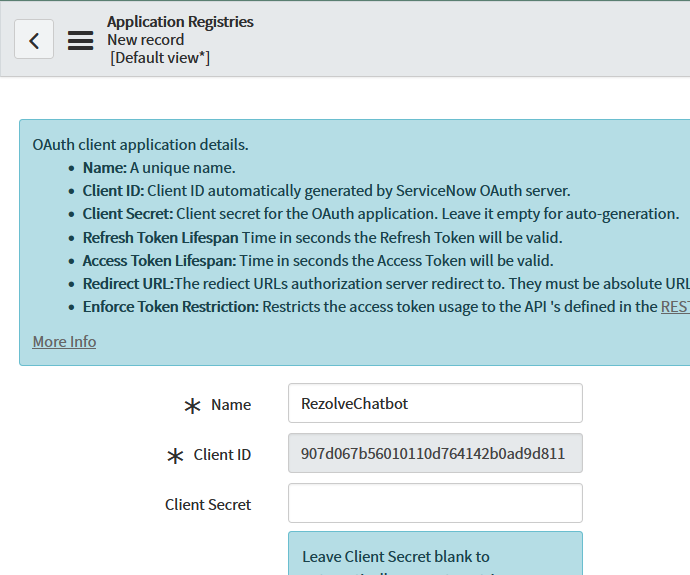
Select New on the Application Registries page
-
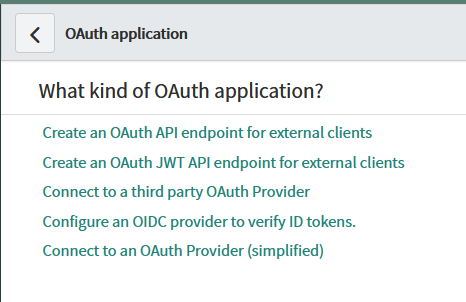
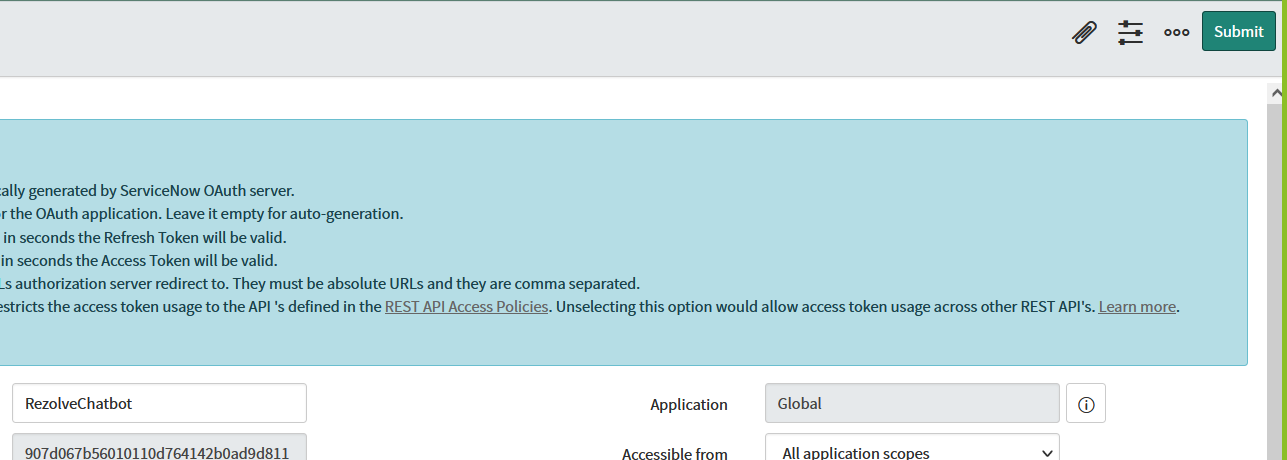
From the “What kind of OAuth application?” 6. In the name field put RezolveChatbot screen, select fist option of Create an OAuth API endpoint for external clients 7 . Click Submit
-
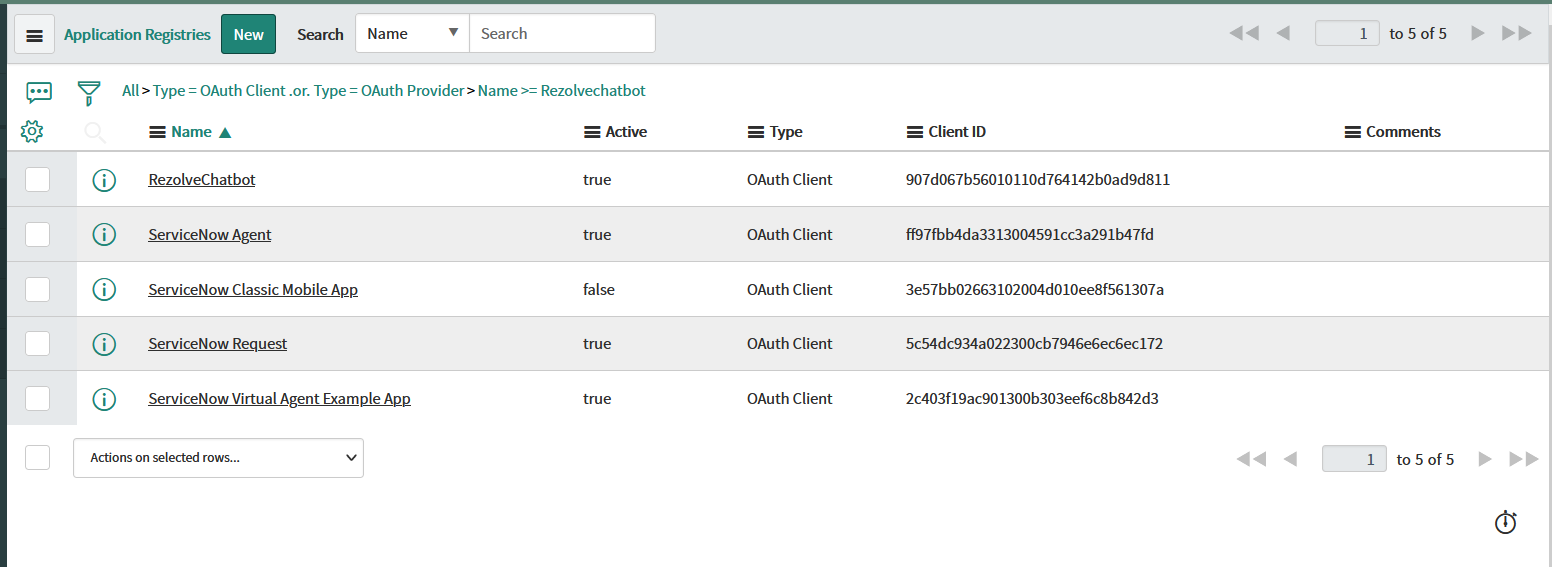
Using the Application Registry Search, look for Rezolve
-
Click on RezolveChatBot
-
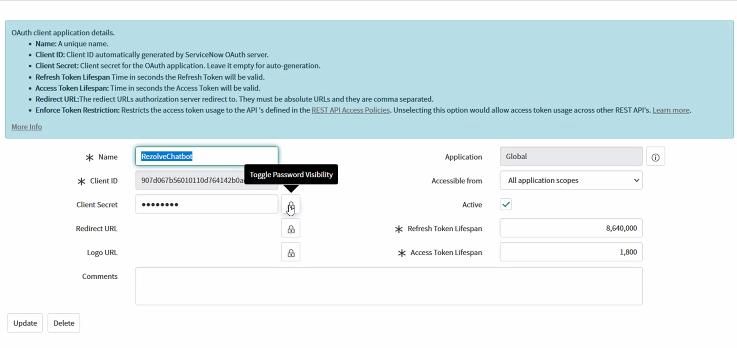
Toggle the Client Secret to visible by clicking the padlock
-
Note down the Client ID and Client Secret. You will need to provide this to the Rezolve team to complete configuration.
-
Click Update
CREATING AN AGENT ACCOUNT FOR REZOLVE.AI
-
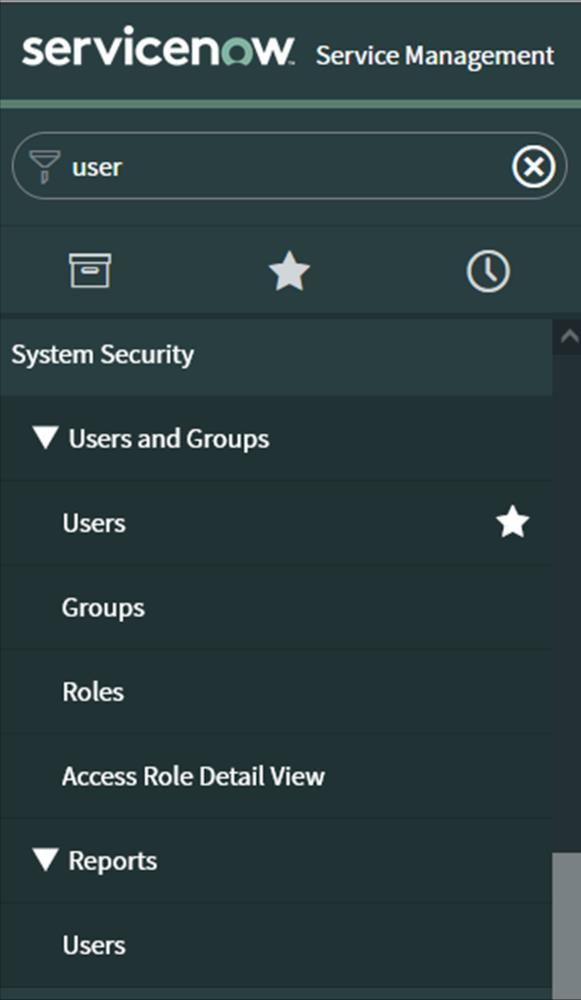
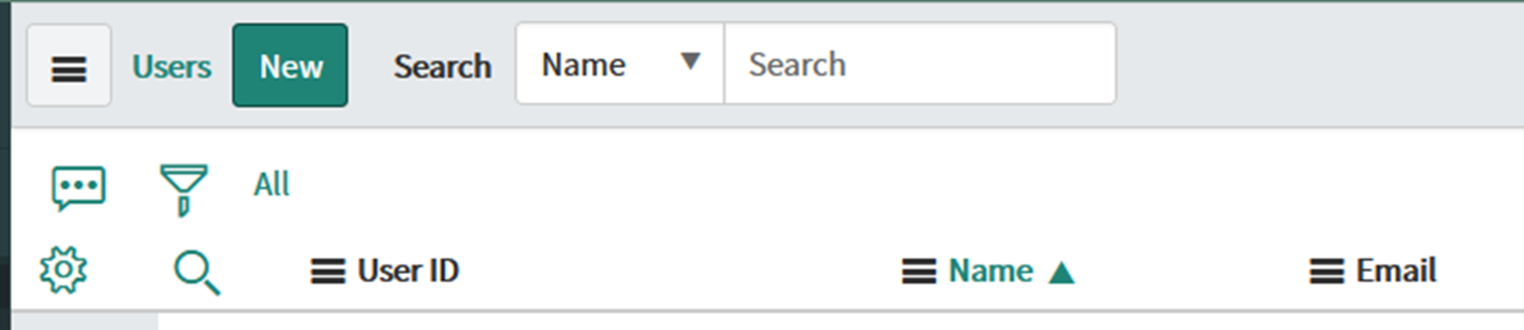
In the Search of the main menu type “user” 3. On the Users page, click New
-
Under the Users and Groups menu, click Users
-
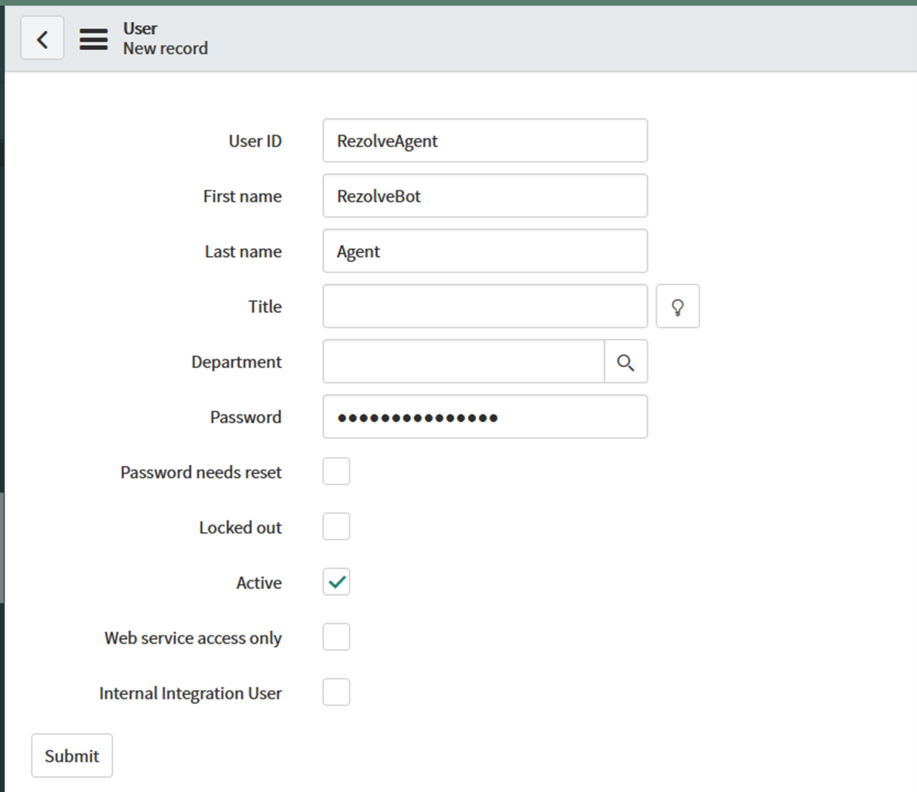
Fill out the User ID, First Name, Last Name and mark account as Active in the form
-
Generate the password and copy it.
-
You will need to provide this to the ACS the User ID and generated password.
-
Click Submit
-
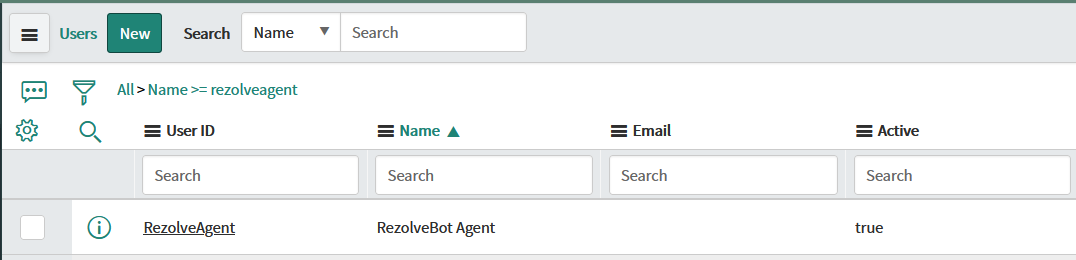
On the Users page, search for the Rezolve Agent
-
Click on the Rezolve Agent
-
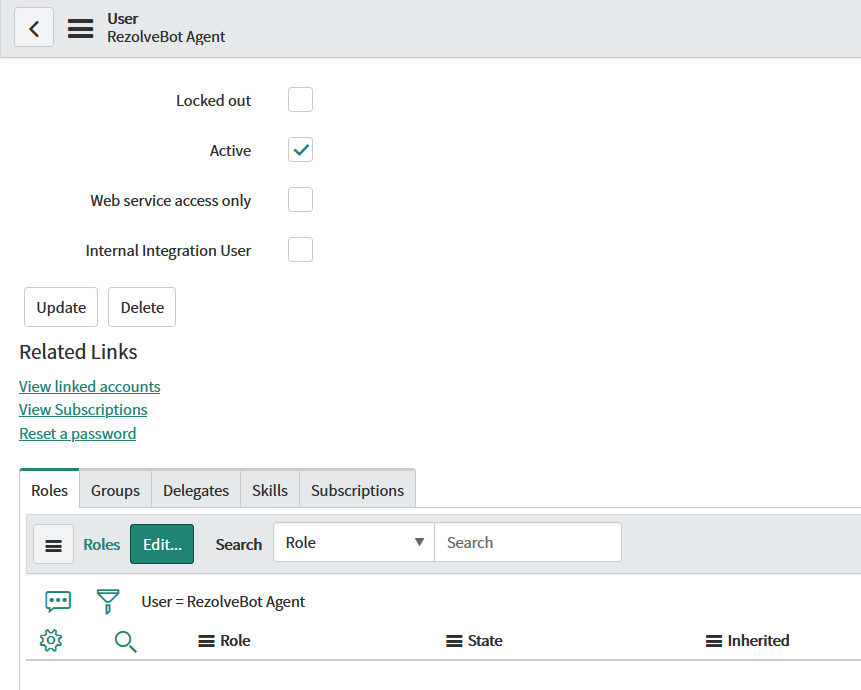
Scroll down to the tab menu and select the Roles tab
-
Click Edit
-
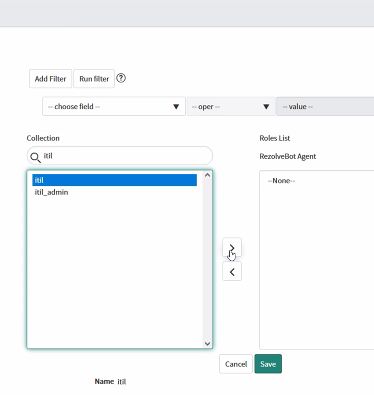
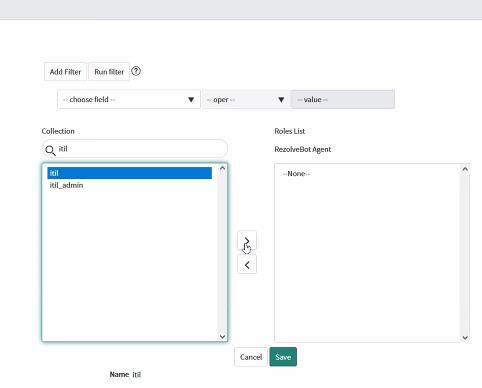
Under Collection, in the search box type “itil”
-
Select itil and click the right pointing arrow to add it to the Rezolve agent
-
Click Save
GIVING REZOLVE BOT ACCESS TO TICKET NOTES (Optional – Only if Requested by ACS if not currently enabled)
-
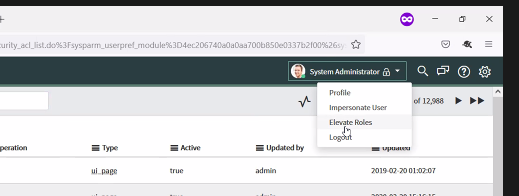
Click on your profile icon in the top right-hand corner and select Elevate Roles
-
On the Elevate Roles pop-up, make sure security_admin is checked and click OK
-
In the Search of the main menu type, “acl” 4. Select Access Control (ACL)
-
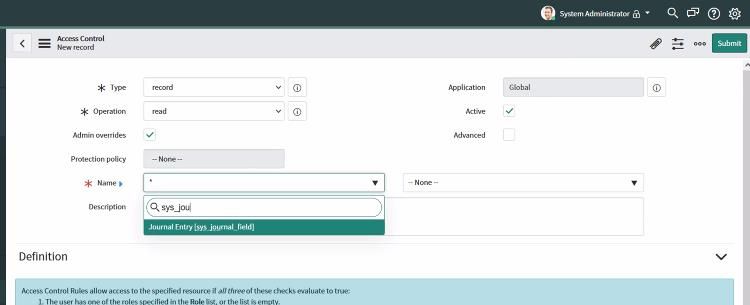
On the Access Control screen, go to the Names field and search for “sys_journal” and select Journal Entry [sys_journal_field]
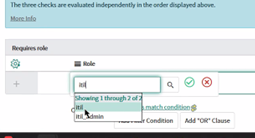
11501 D ublin Blvd STE 200, Dublin, CA 94568 info@rezolve.ai | www.rezolve.ai 7. Scroll down and expand Required Roles section 8. Double click in the Insert New Role box type “itil” 9. Select itil from the dropdown 10. Click Check icon . 11. Click Submit