Live Agent In Teams Pre-Req - Enabling Graph API Permissions on Existing SSO App
Enabling Graph API Permissions Prerequisite Instructions for Live Agent Chat in Teams
REGISTER APP IN AZURE AD To enable Live Agent in Teams app, we need to enable certain Graph API(s). We will guide you through how to do this in Azure AD. ENABLE GRAPH API Graph API Permissions Required : • ChannelMember.ReadWrite.All • Directory.Read.All • GroupMember.ReadWrite.All • Team.Create • TeamMember.ReadWrite.All • Wser.Read.All • Email • Offline_access • Openid • profile TYPE OF PERMISSIONS REQUIRED
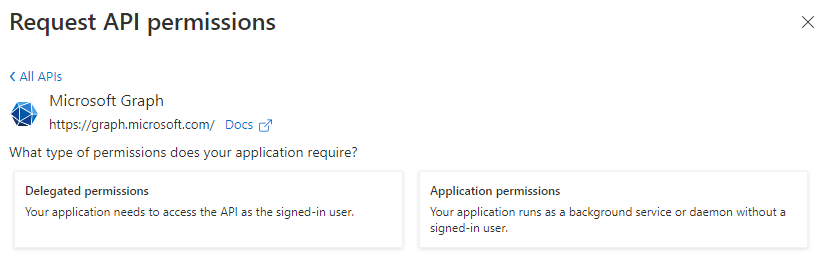
- Application permissions
- Delegated Permissions Instructions Part A
-
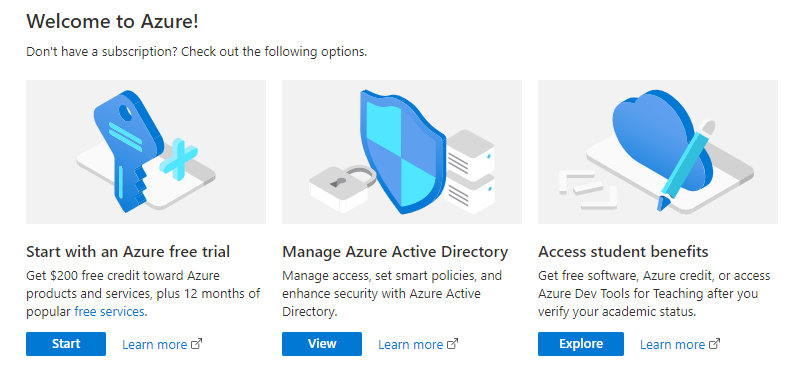
Open your Portal
-
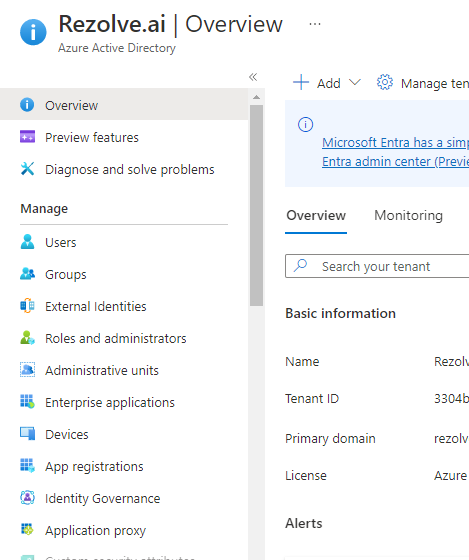
Click on the View button for Manage Azure Active Directory
-
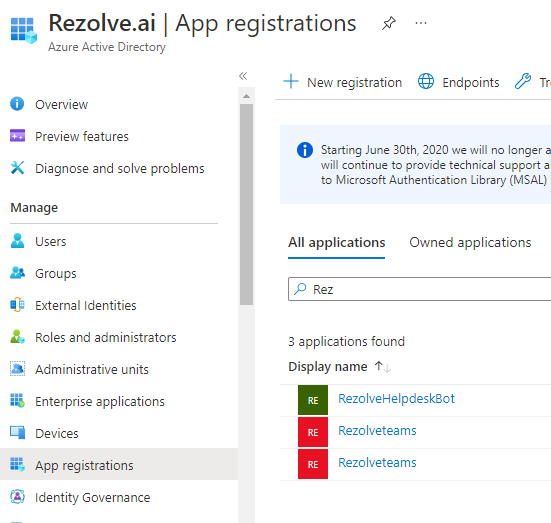
Click on App Registration
-
Search and Open the Rezolve SSO application you previously created
-
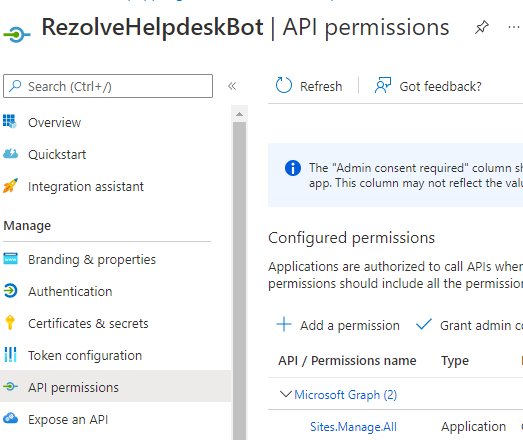
The App Overview page will open, look for API Permissions in the left hand side menu and click on it
-
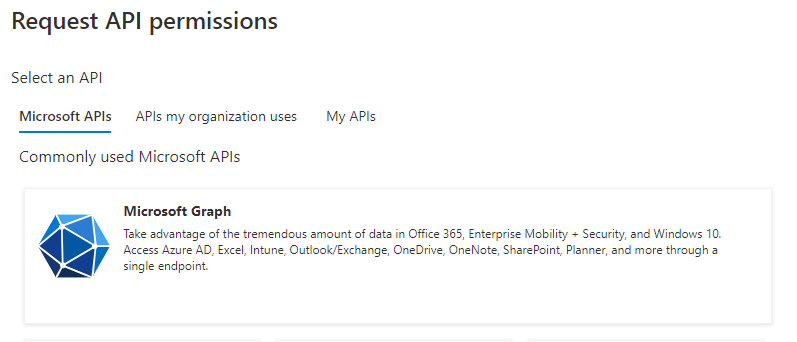
Select Add a Permission on the main part of the page
-
Select Microsoft Graph Teams and click Register
-
Click on Application Permission option
-
Type Channel in the search box, select ChannelMember.ReadWrite.All and click Add Permissions
-
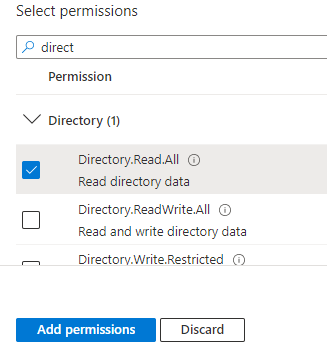
Click Add a Permission > Microsoft Graph > Application permissions again
-
Type directory in the search box, this time select "Directory.Read.All" and click Add Permissions
-
Repeat these steps to add these additional Application permissions: • GroupMember.ReadWrite.All • Team.Create • TeamMember.ReadWrite.All • User.Read.All Here is an example: This 9 d. o cu ment contains proprietary information owned by Rezolve.ai and must not be distributed outside without authorization. 11501 Dublin Blvd STE 200, Dublin, CA 94568 info@rezolve.ai | www.rezolve.ai
-
Click Add a Permission > Microsoft Graph
-
This time choose Delegated permissions
-
Type email in the search box, select email and click Add Permissions
-
Click Add a Permission > Microsoft Graph > Delegated permissions again
-
Type offline_ in the search box, this time select offline_access and click Add Permissions
-
Repeat these steps to add these additional Delegated permissions: • openid • profile
-
Close the Request API Permissions box so you are back at the Configure permissions screen
-
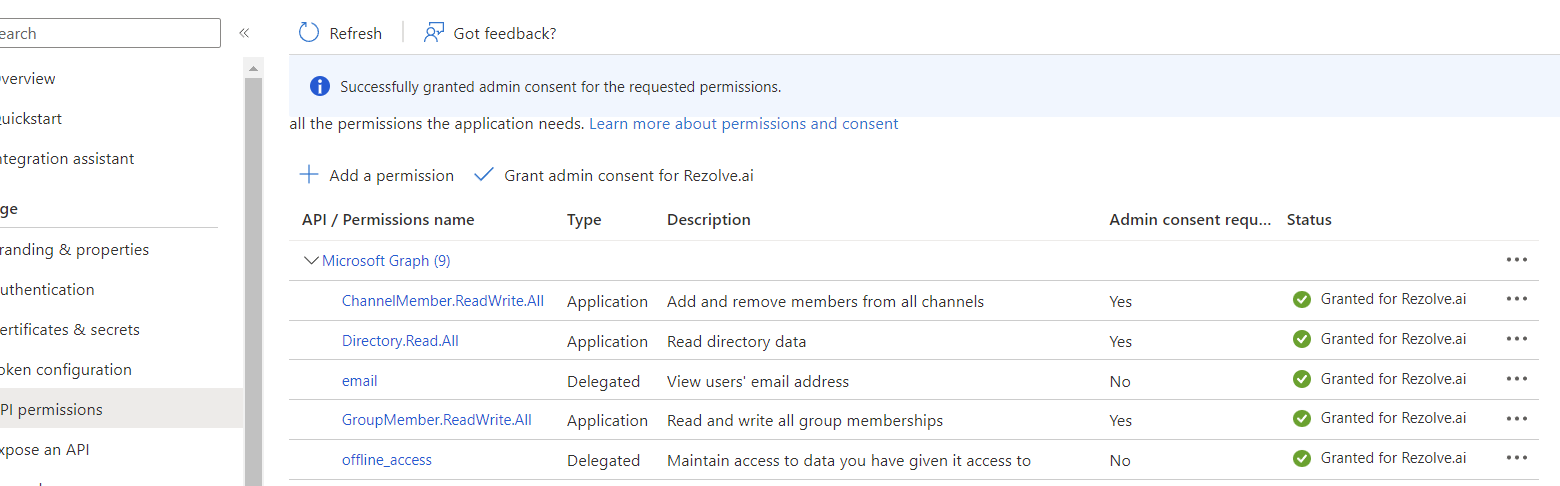
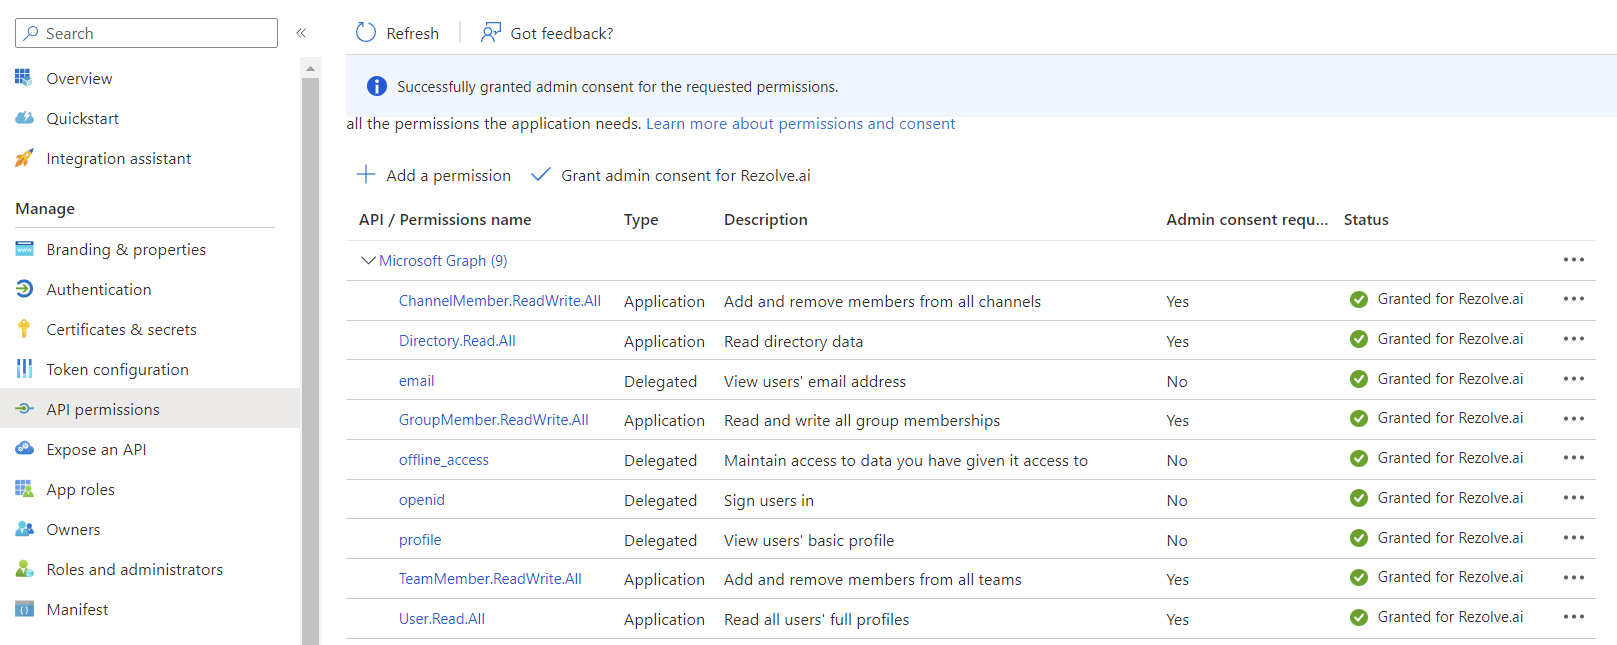
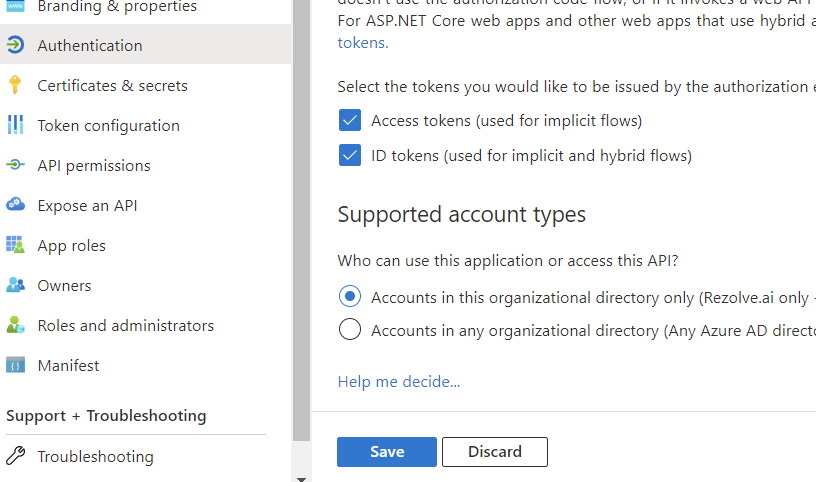
Select Grant admin consent for …
1151011 .D u blin Blvd STE 200, Dublin, CA 94568 info@rezolve.ai | www.rezolve.ai 21. Click Yes to Grant admin consent confirmation 1 2. 22. Confirm that the screen looks similar to below with your listed permissions, Admin Consent Req set to Yes and Granted for has a green check 13. 1 4.
Instructions Part B
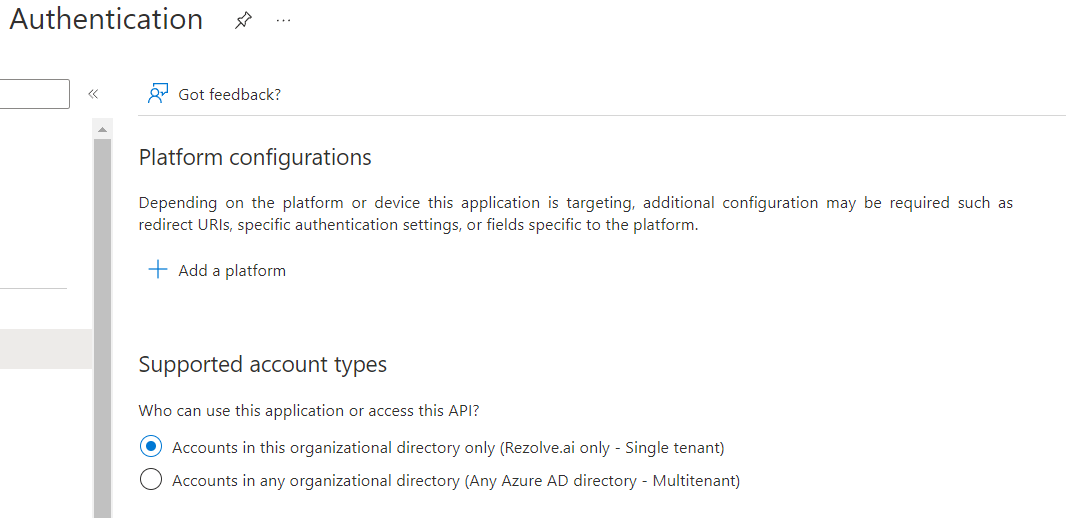
- From the menu on the Left, select Authentication
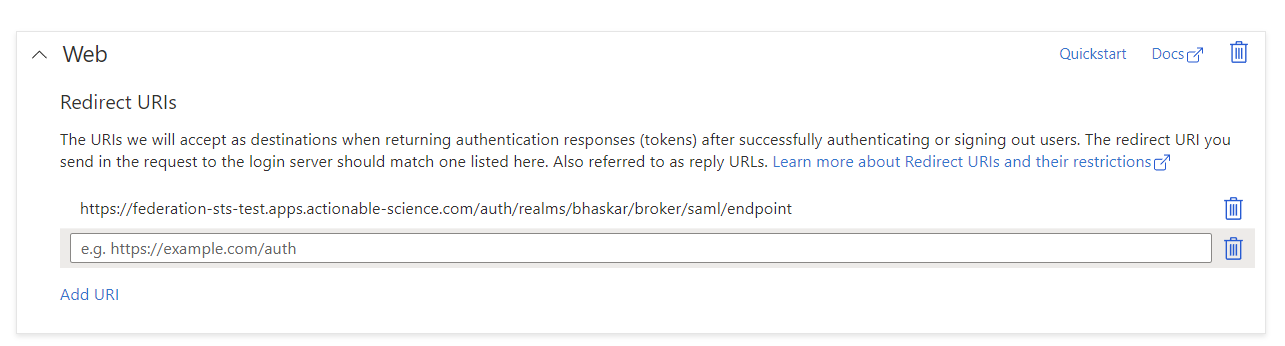
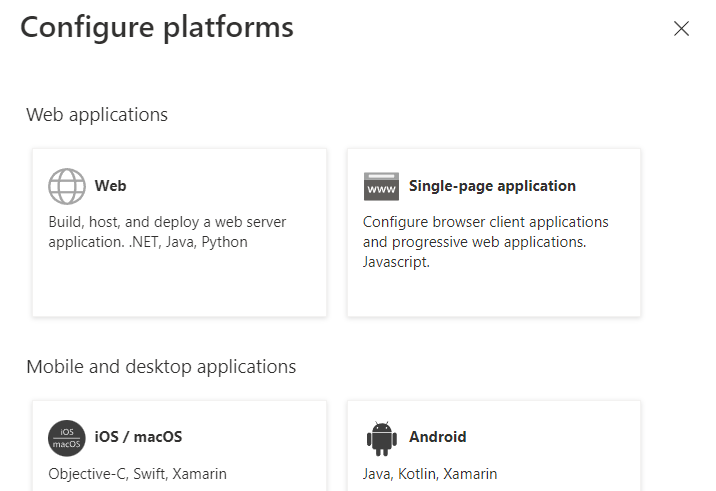
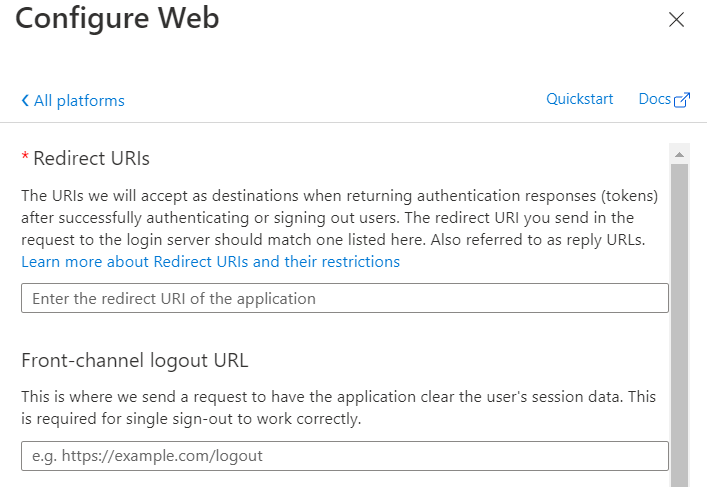
- Add the following authentication redirect URL by clicking Add URI and enter the URL provided to you by Rezolve Ie. https://$tenantname.virtualpeople.ai/virtualagent/morselfinal If you do not see the above screen, follow these additional steps: a. Click + Add Platform b. From the Configuration platforms options, select Web
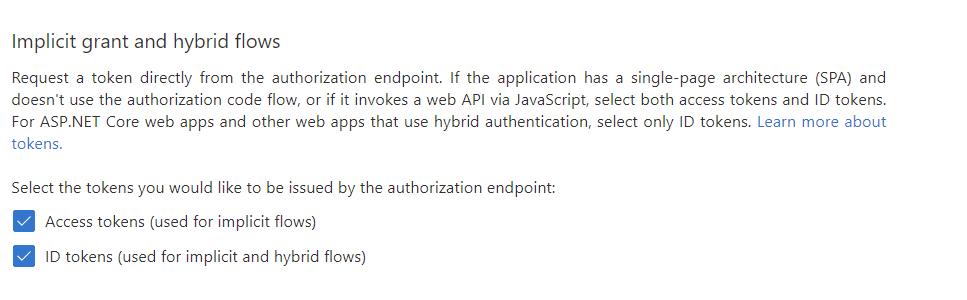
11501 Dublin3 B.l vSdc SrToEl l2 d00o, wDunb lain ,l iCttAle 9,4 c56h8e ck both boxes as shown under “Implicit grant and hybrinidfo f@lorewzos”lv e.ai | www.rezolve.ai c. Under Redirect URIs, enter the Redirect URL provided by Rezolve Ie. https://$tenantname.virtualpeople.ai/virtualagent/morselfinal d. Click Configure 3. Scroll down a little, check both boxes as shown below (found under “Implicit grant and hybrid flows”) 4. Click Save
Instructions Part C
-
Look for Certificates & secrets in the left hand side menu and select it
-
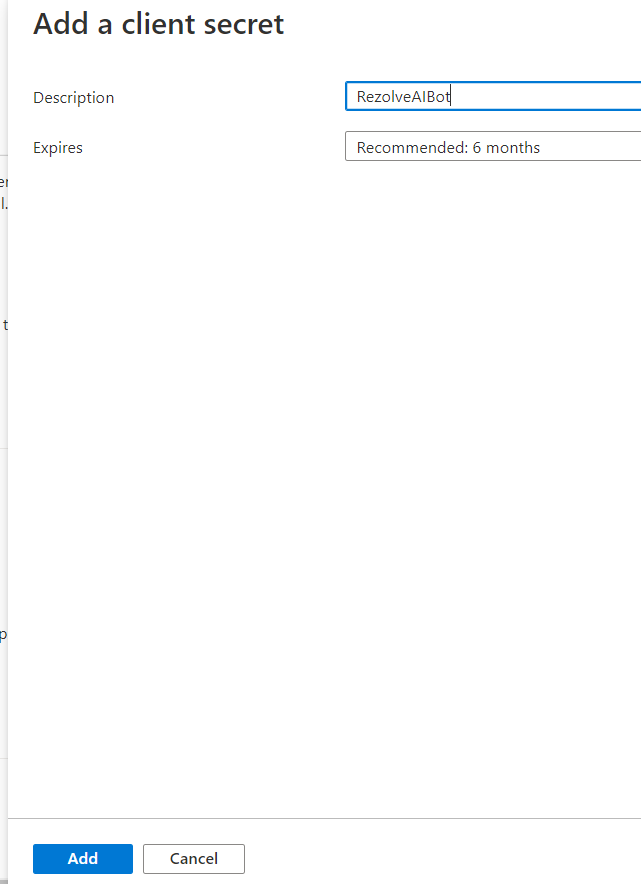
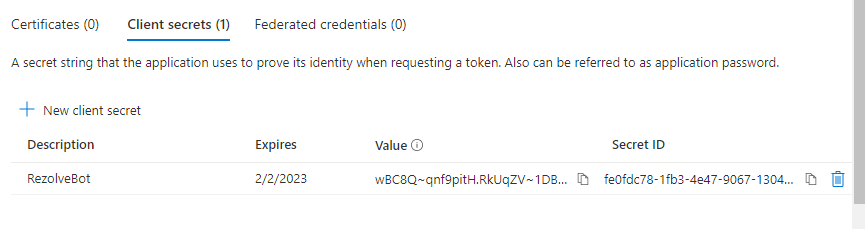
Then select New client secret on the main part of the page
-
Enter a description i.e. RezolveAIBot and click Add
-
Copy the Value and Secret ID and save them somewhere
-
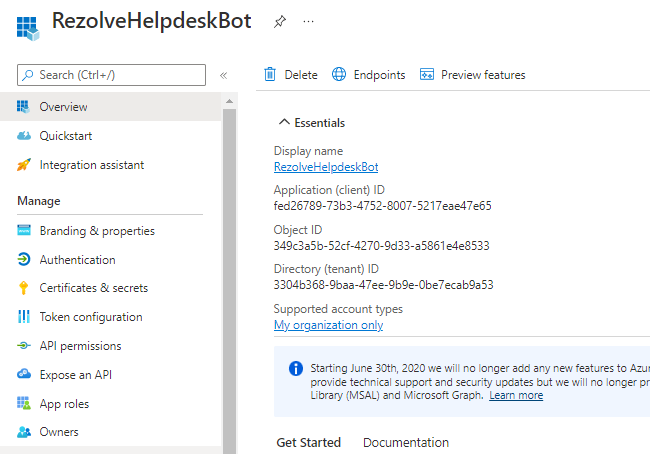
Select Overview in the left hand side menu
-
Copy the Application (client) ID and save with Client Secret ID
-
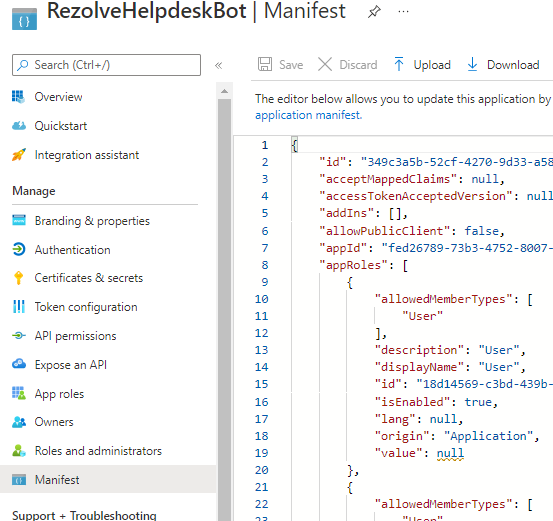
Select Manifest in the left hand side menu
-
Click on Download
-
Send the Application (client) ID, Client Secret ID and the downloaded Manifest to Rezolve