External System Synchronization
This guide provides detailed instructions for configuring and managing synchronization between the platform and your organization's user management systems, ensuring consistent user and group data across your organization.
Azure Active Directory Syncronization
Azure Active Directory (Azure AD) synchronization allows you to automatically provision and manage users in Rezolve.ai based on your existing Azure AD user database. This integration ensures that your Rezolve.ai instance always reflects the current state of your organization's user directory.
Setup Application in Azure with permissions
Before configuring synchronization in Rezolve.ai, you need to register an application in Azure AD and grant it appropriate permissions:
-
Sign in to the Azure Portal
- Navigate to portal.azure.com and sign in with an administrator account
-
Register a New Application
- Go to Azure Active Directory > App registrations > New registration
- Enter a name for your application (e.g., "Rezolve.ai Integration")
- Select Accounts in this organizational directory only as the supported account type
- Leave the Redirect URI blank (not required for this integration)
- Click Register
-
Note Application Details
- After registration, note the following information from the Overview page:
- Application (client) ID
- Directory (tenant) ID
- These values will be required when configuring synchronization in Rezolve.ai
- After registration, note the following information from the Overview page:
-
Create Client Secret
- In your application page, go to Certificates & secrets > Client secrets
- Click New client secret
- Add a description and select an expiration period
- Click Add
- IMPORTANT: Copy the generated secret value immediately; you won't be able to see it again
-
Configure API Permissions
- In your application page, go to API permissions
- Click Add a permission
- Select Microsoft Graph > Application permissions
- Add the following permissions:
User.Read.All(Read all users' full profiles)Group.Read.All(Read all groups)Directory.Read.All(Read directory data)
- Click Add permissions
- Click Grant admin consent for [Your Organization] to approve these permissions
Setup Synchronization on User Management.
Once you've registered your application in Azure AD and obtained the necessary credentials, you can configure synchronization in Rezolve.ai.
Rezolve.ai provides the ability to manually sync Azure AD users at any time:
-
Access Sync
- Navigate to Admin app > User Management > Import Users
- Click the Import from Azure AD button
-
Preview and Validate
- The interface will display a preview of changes before they are applied
- Review the list of users that will be:
- Added (new users)
- Updated (existing users with changed attributes)
- Deactivated (if configured in overwrite behavior)
-
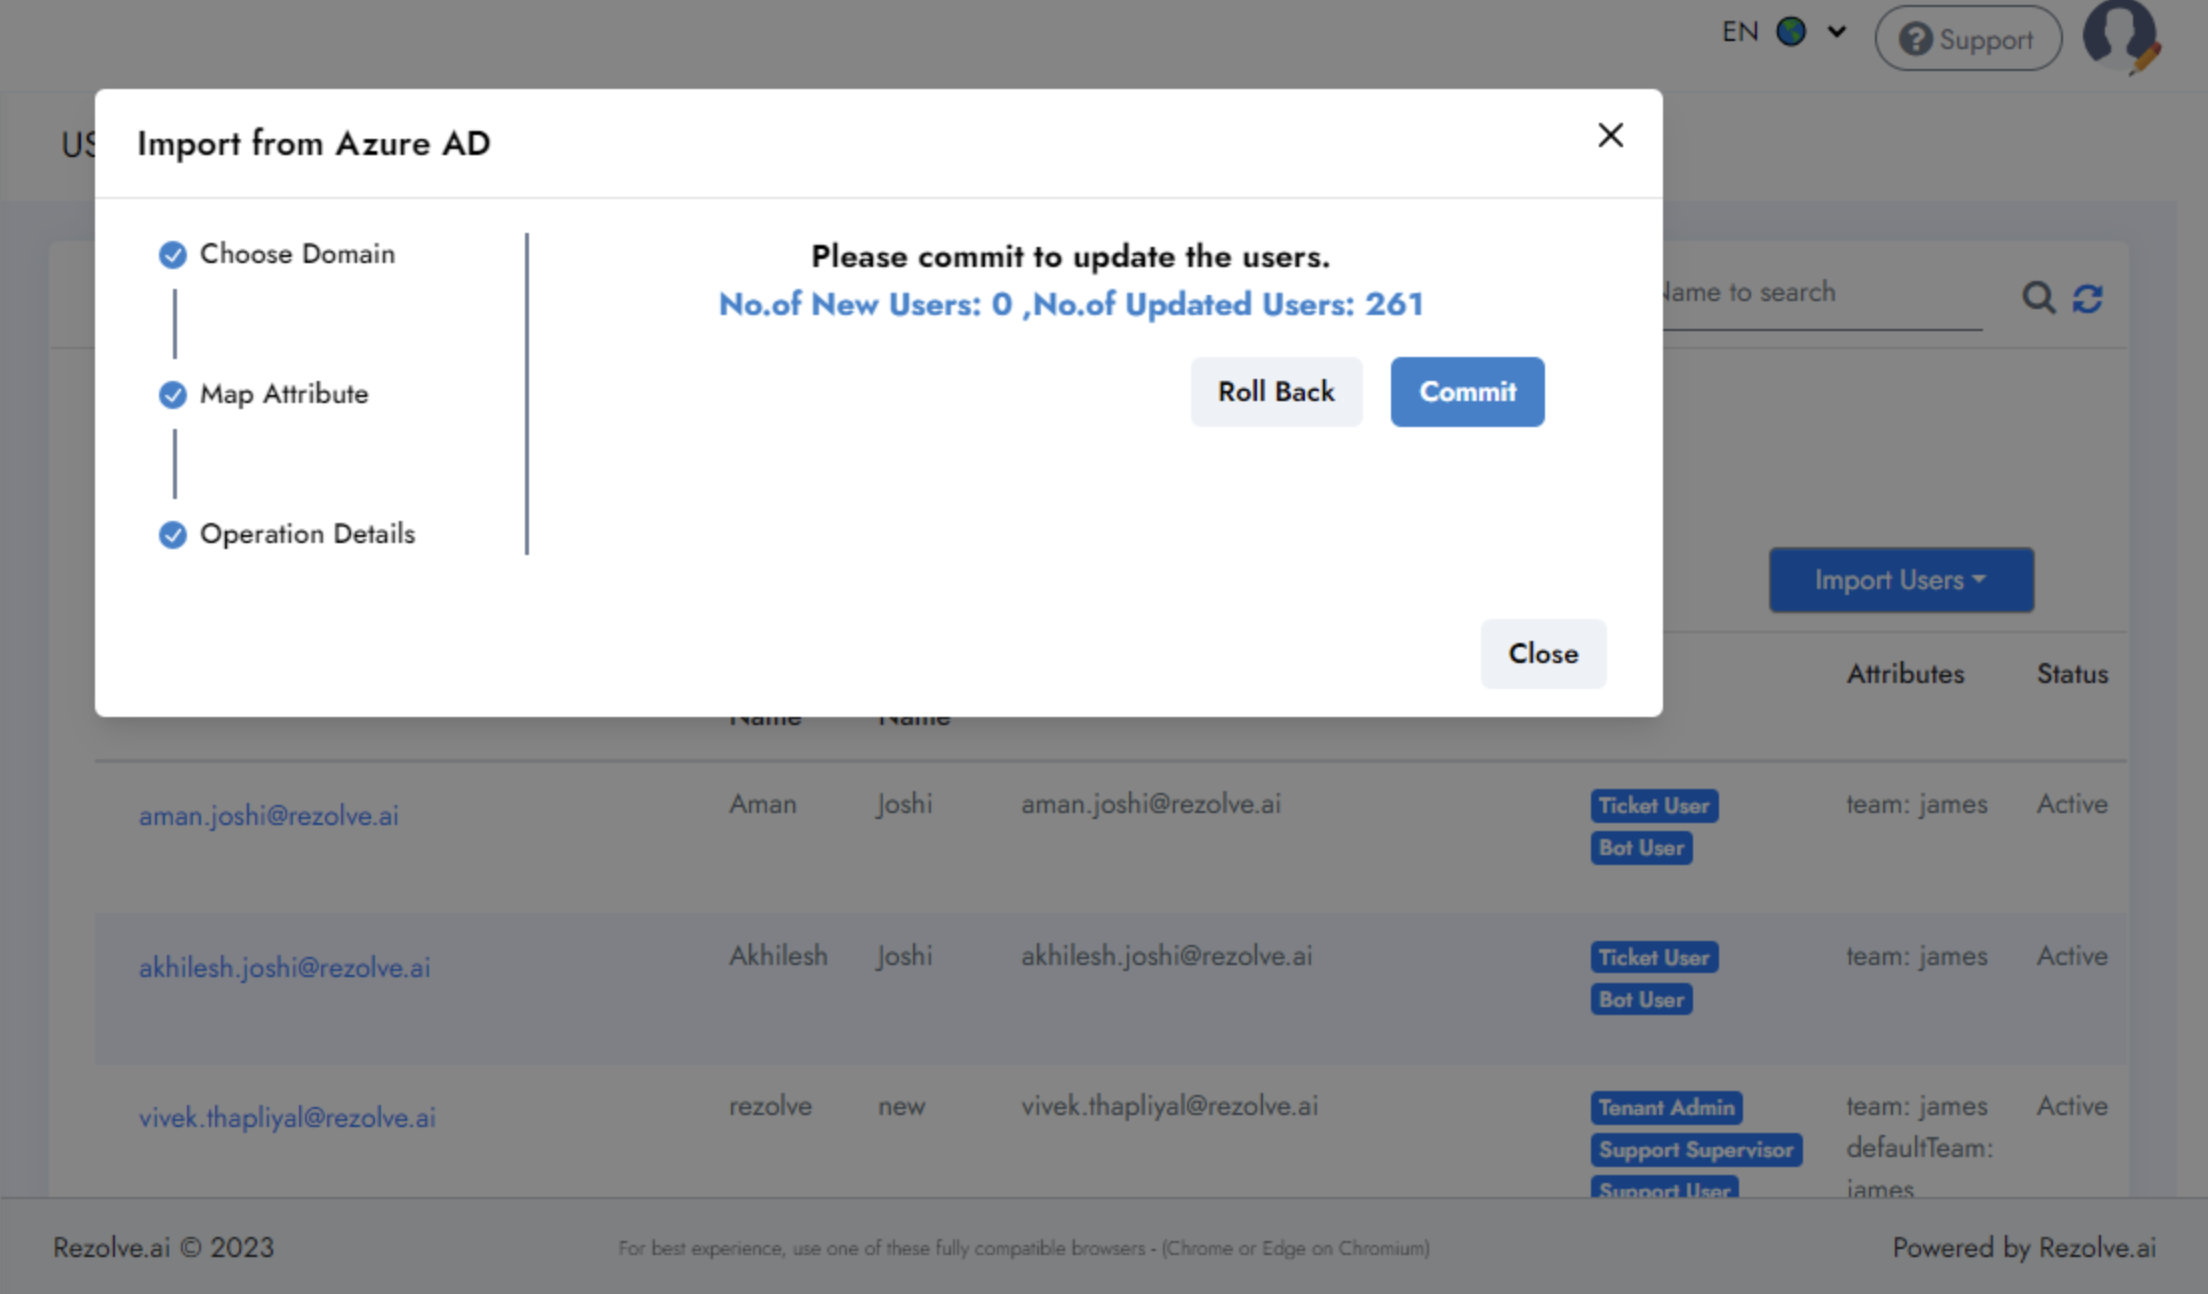
Confirmation Process
- A confirmation dialog will appear showing the total number of users to be inserted or updated
- Review the summary information carefully
- Click Confirm to proceed with the synchronization or Cancel to abort
- Synchronization Progress
- A progress indicator will show the status of the ongoing synchronization
- Wait for the process to complete before making additional changes