Integrations Overview
Prismatic Configuration
Initial Setup
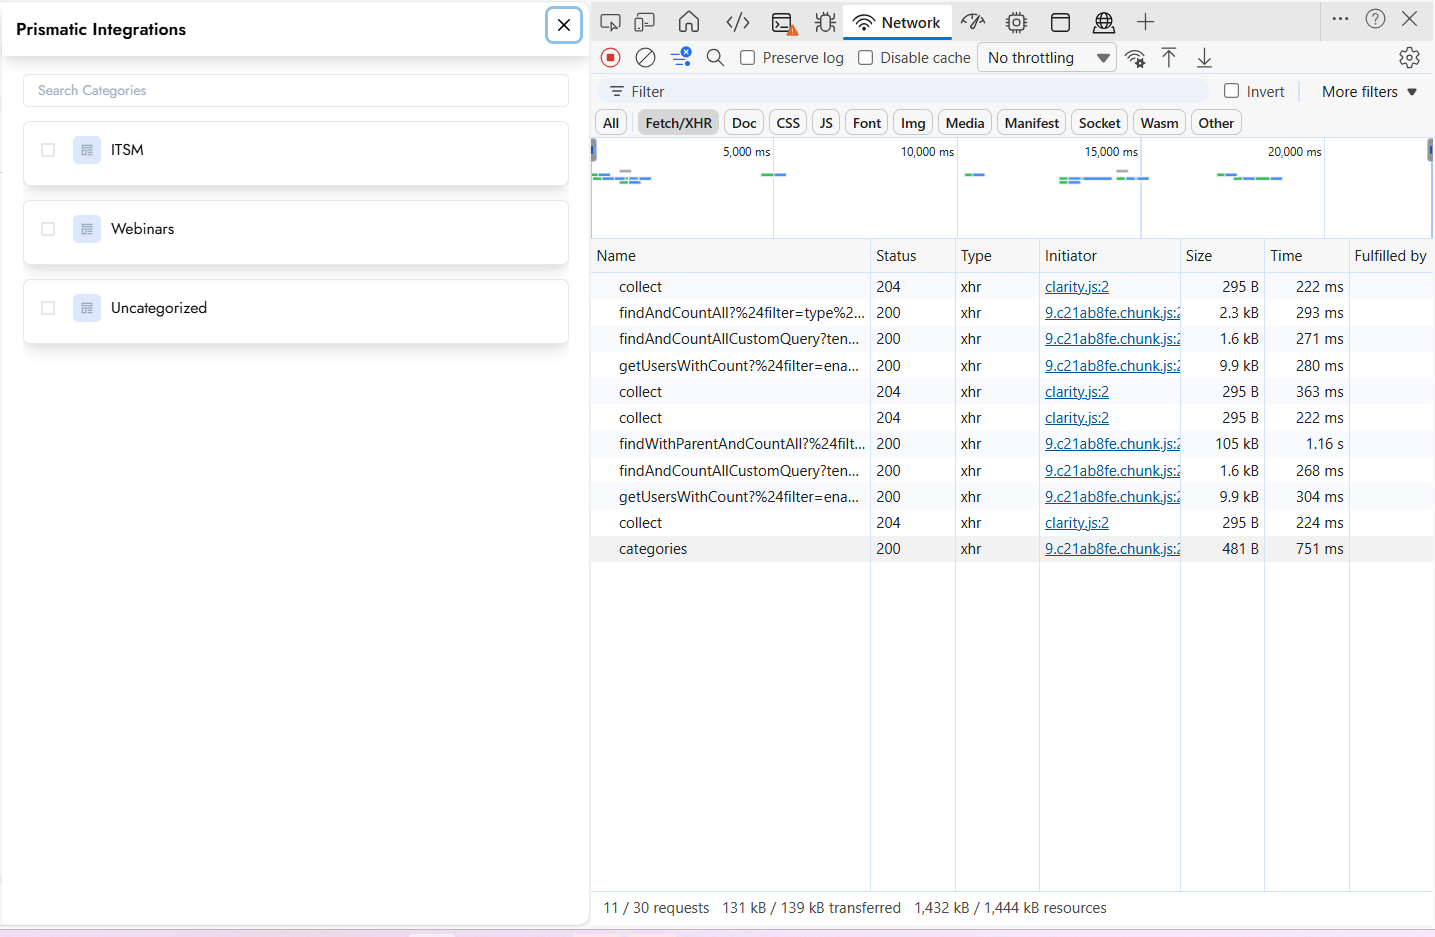
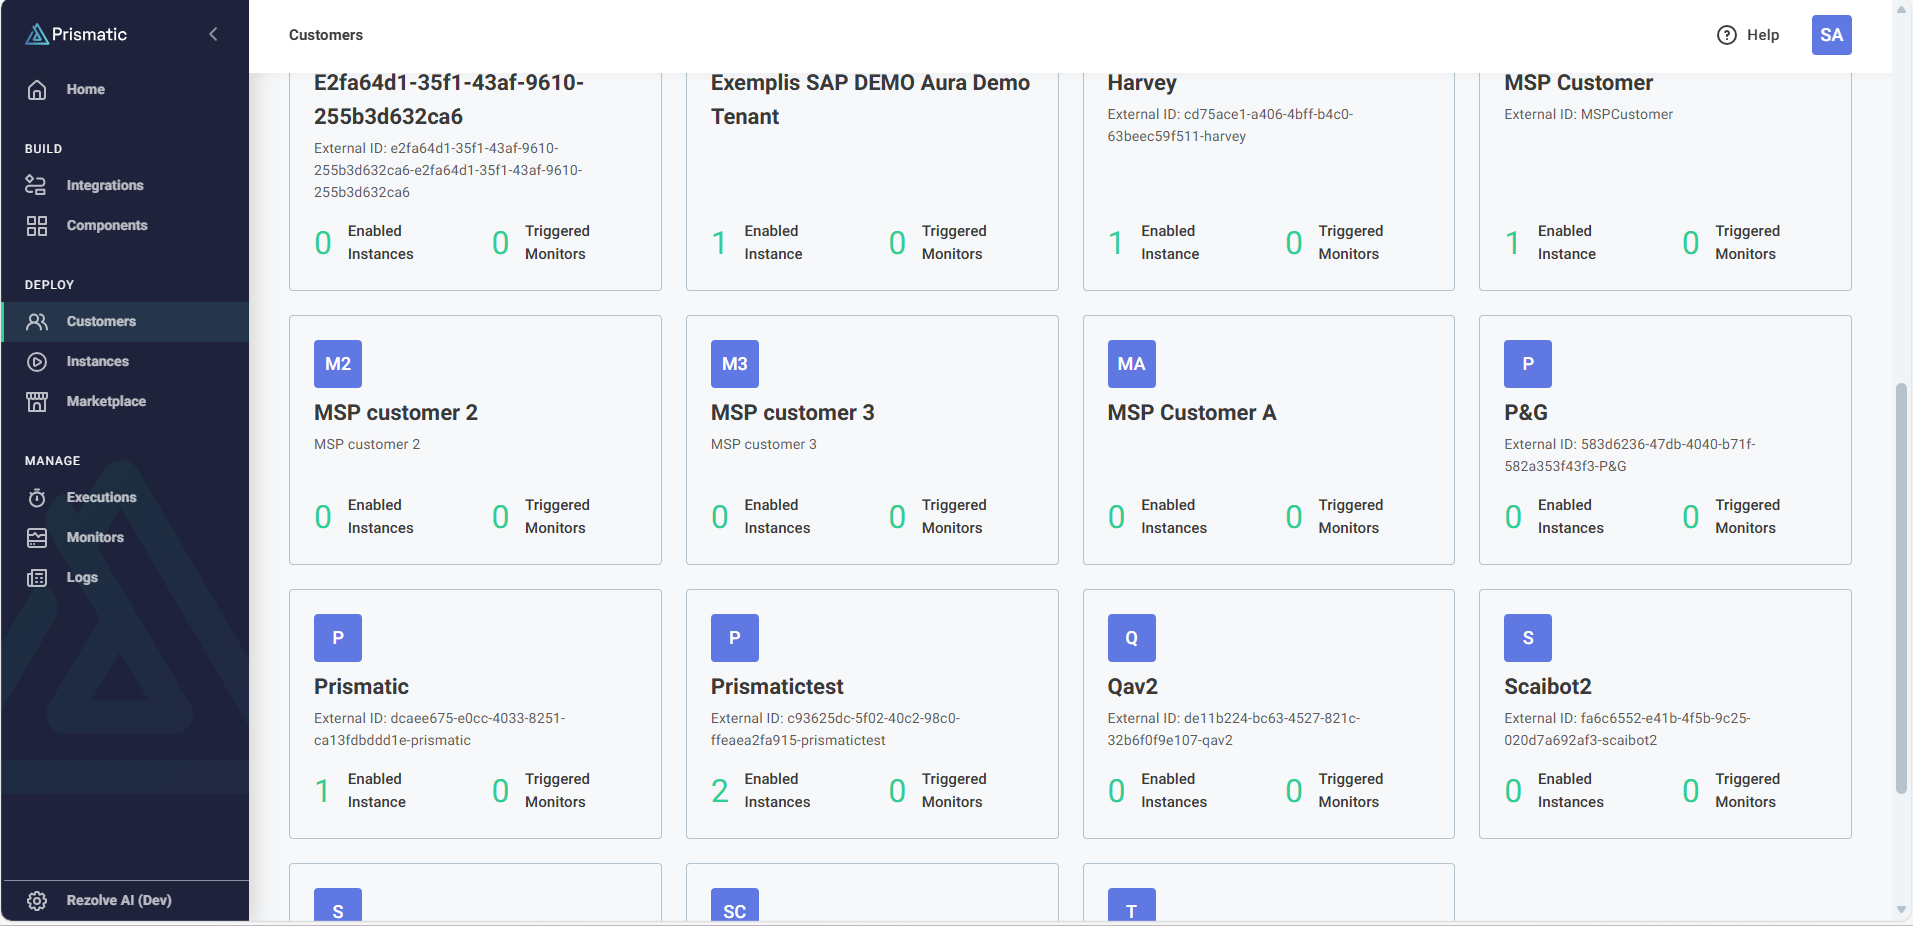
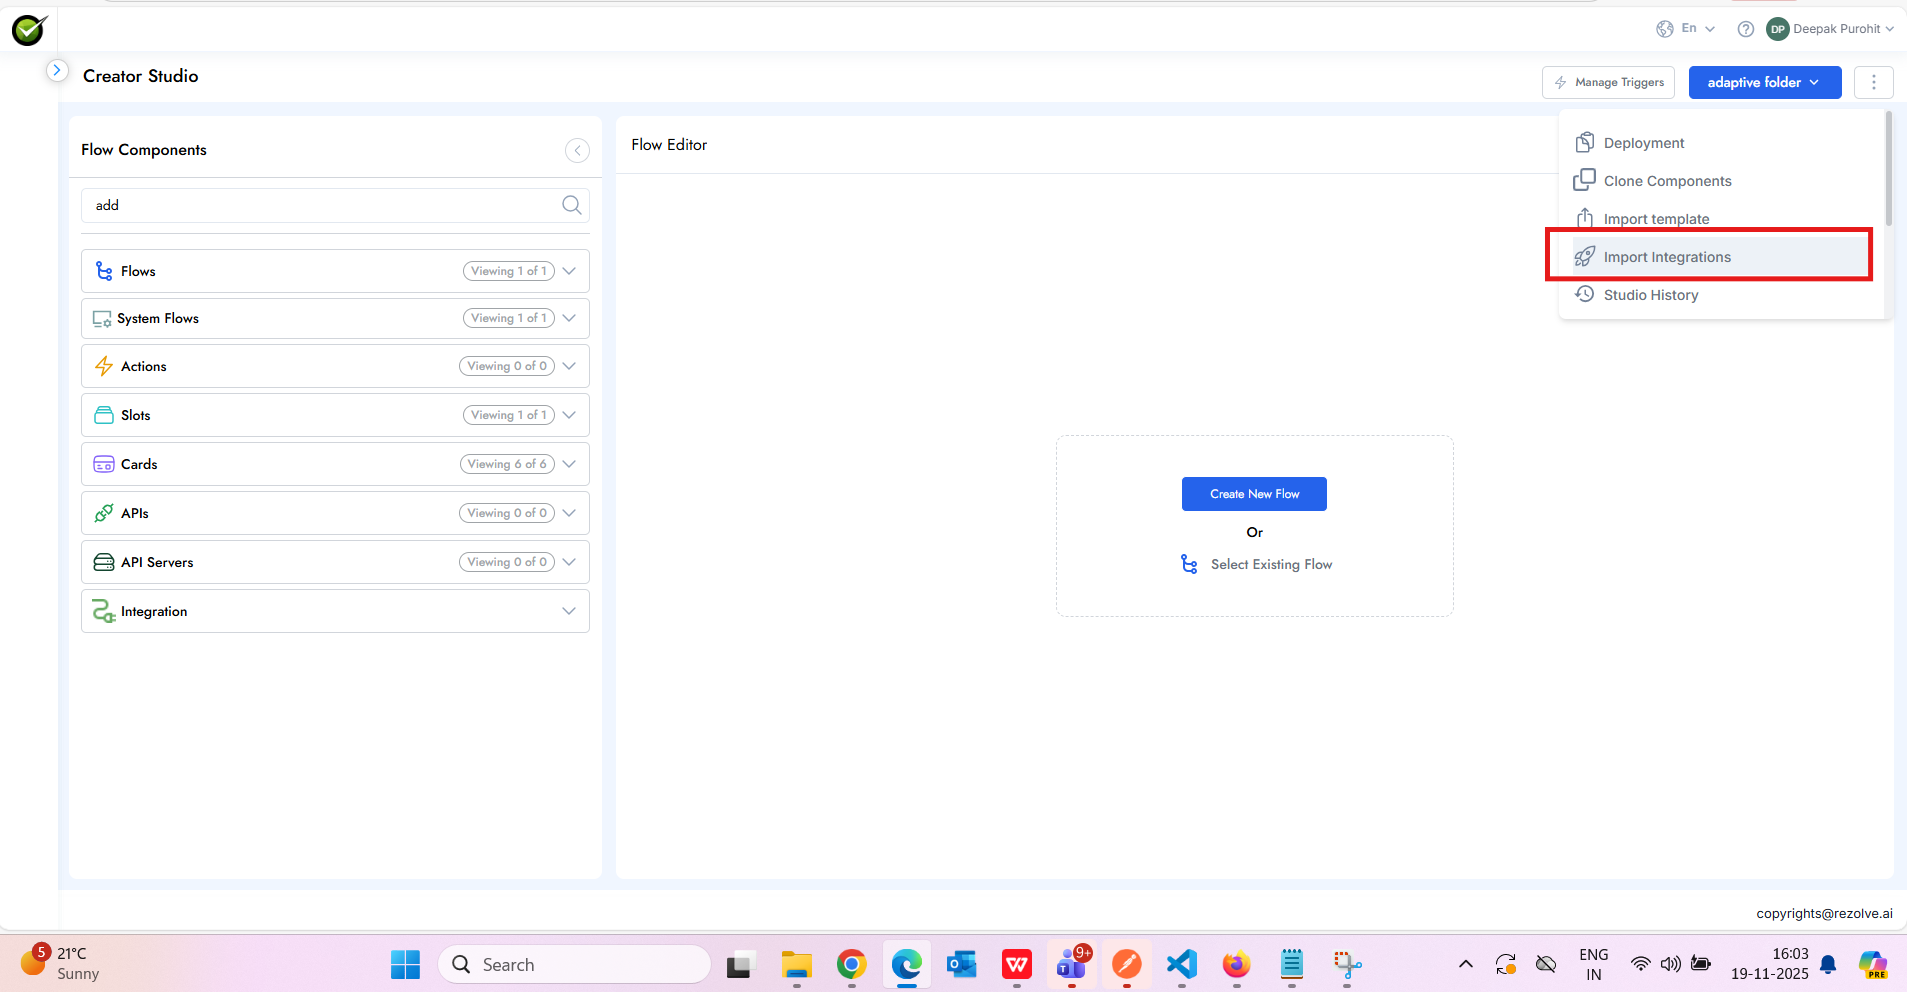
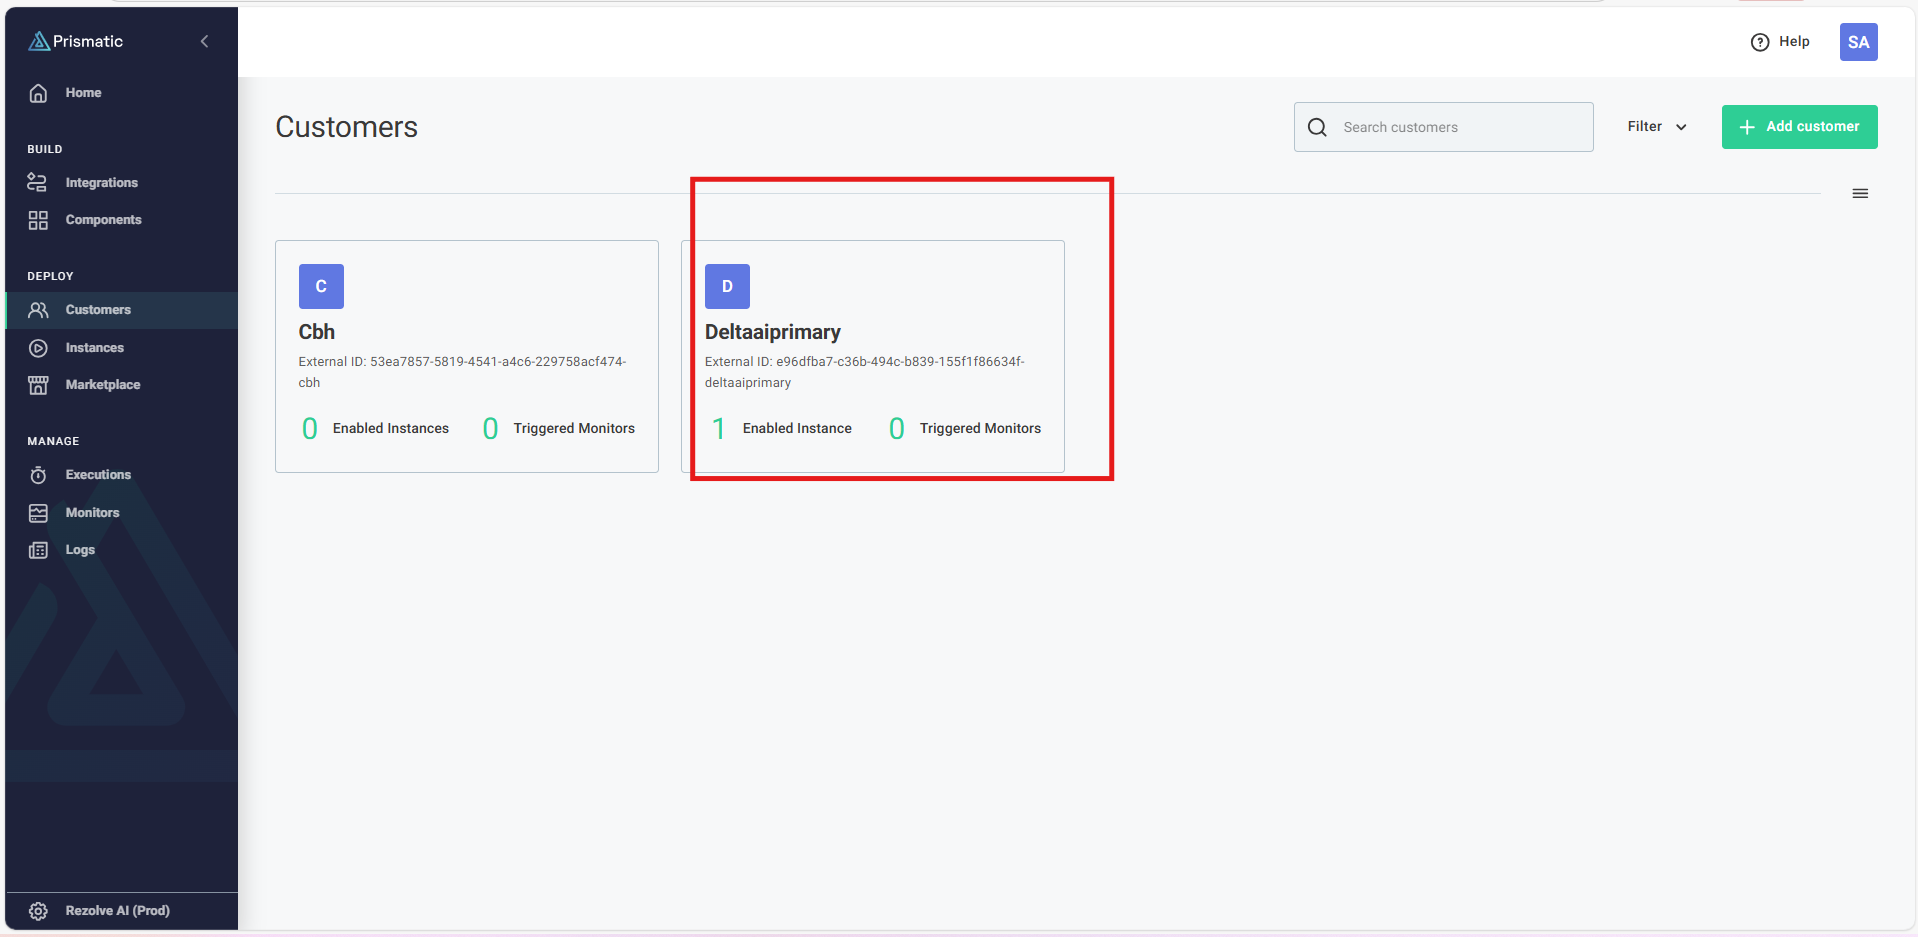
When a user navigates to Creator Studio and selects "Import Integration" within any custom folder, the system triggers the categories API call. As soon as that call is executed, a customer record is automatically created in Prismatic, but it is created with zero instances.
Integration Categories
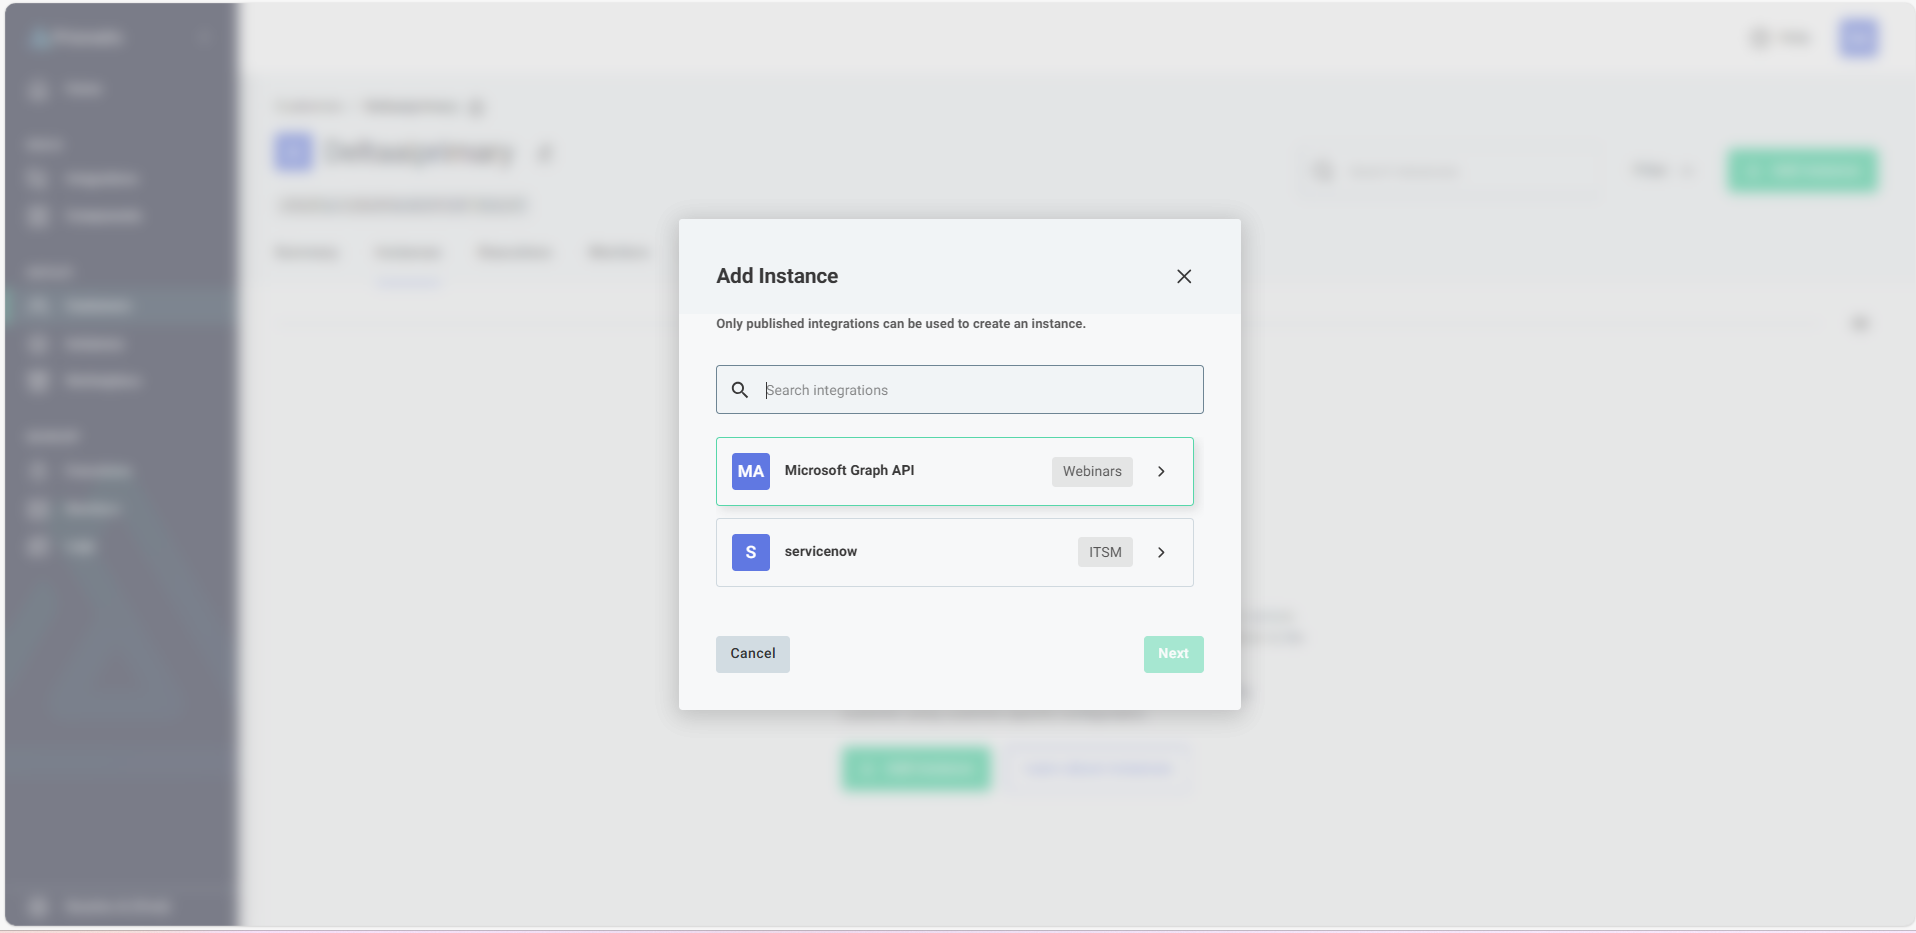
All integrations are created in Prismatic within different categories. Within an integration, categories can either be selected or newly created. Once a category is assigned, the integration should appear under that specific category.
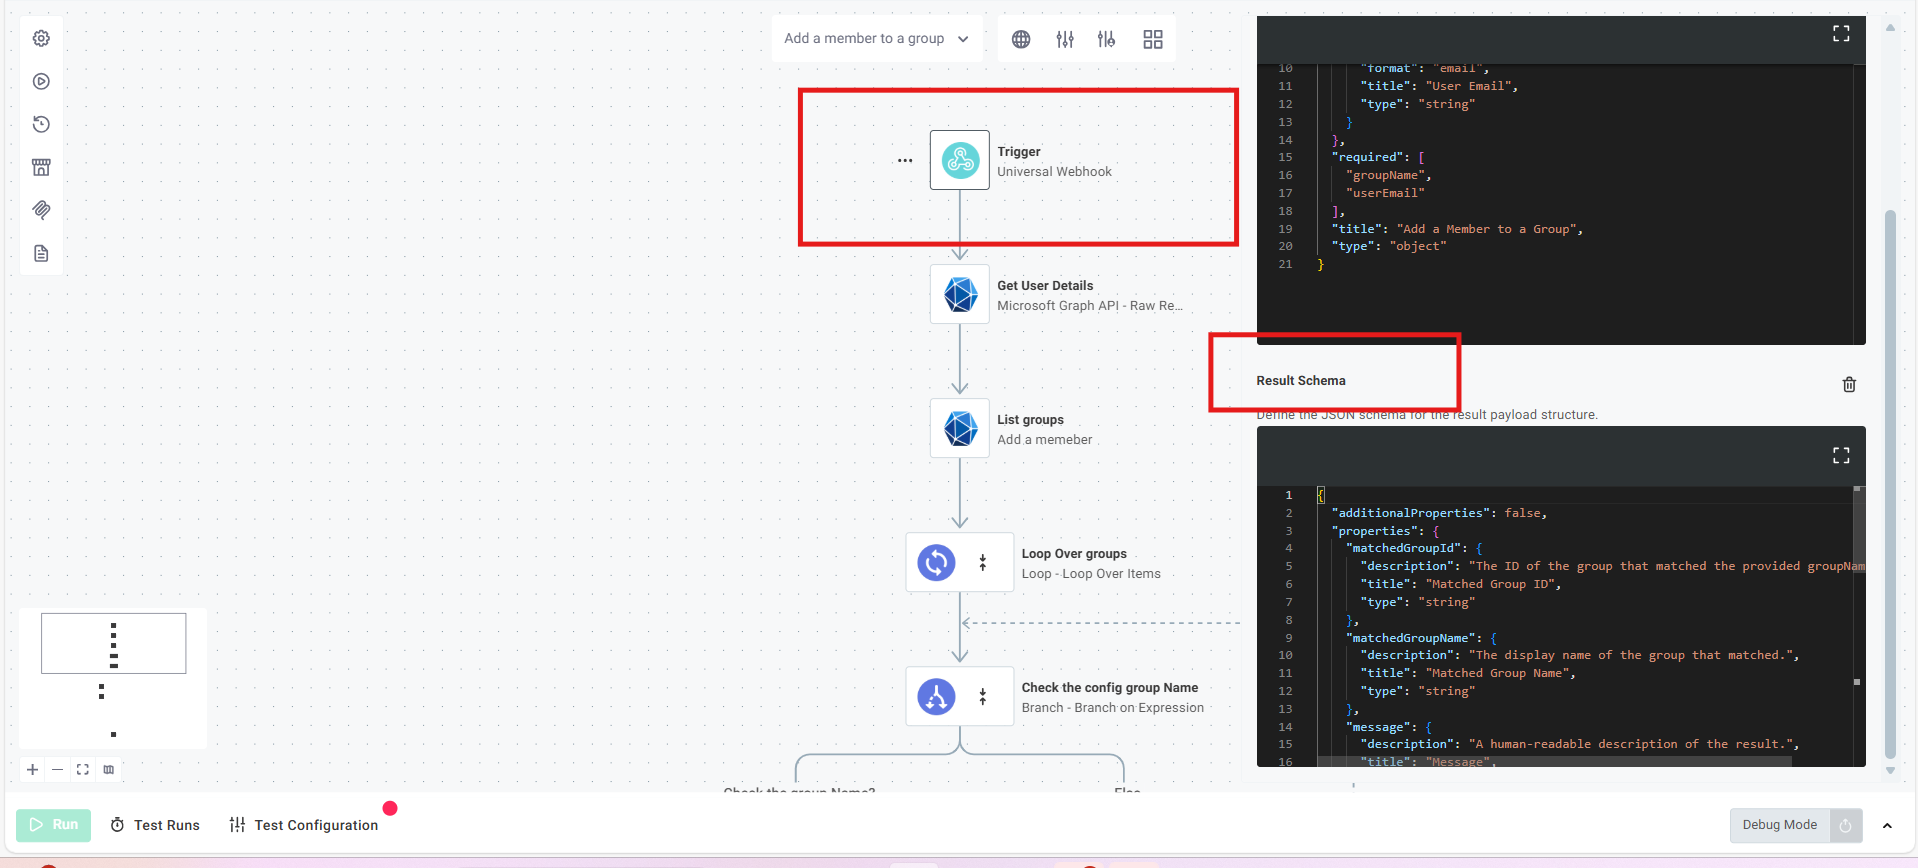
Importing Integration in Prismatic
Follow these steps to import an integration:
- Click on Import Integration - Navigate to any custom folder and click on "Import Integration"
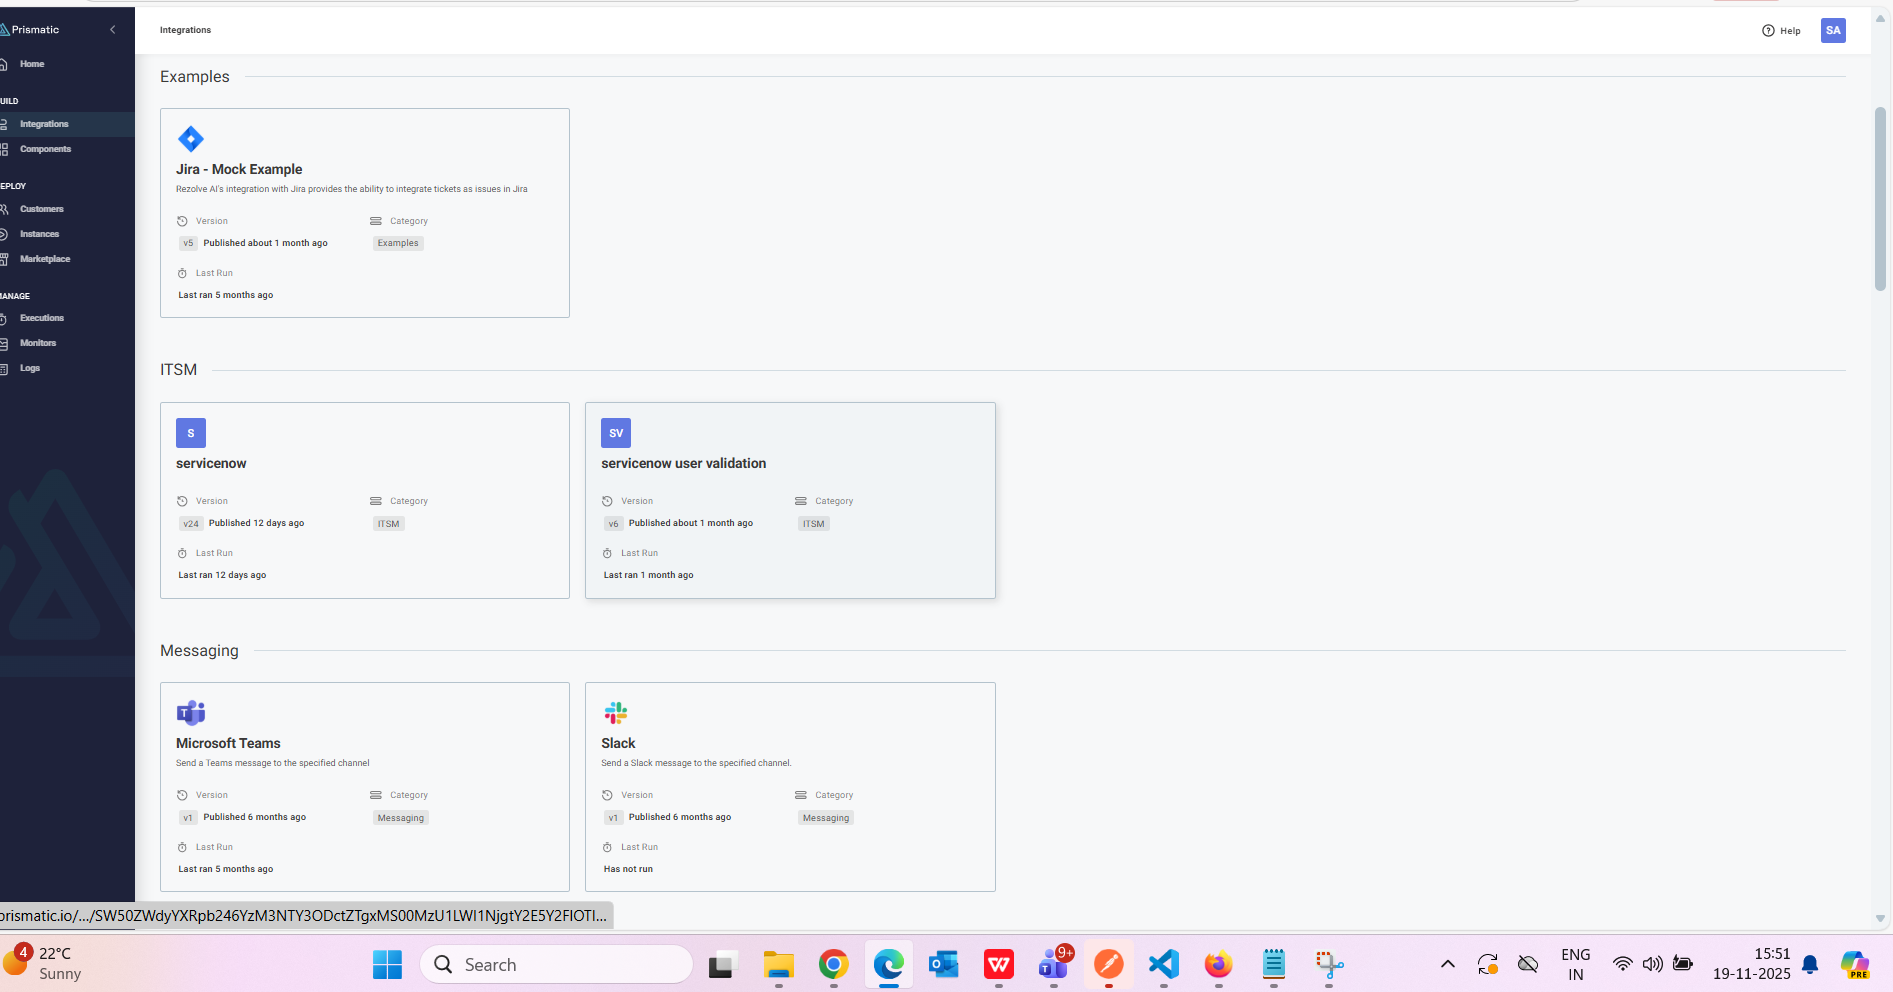
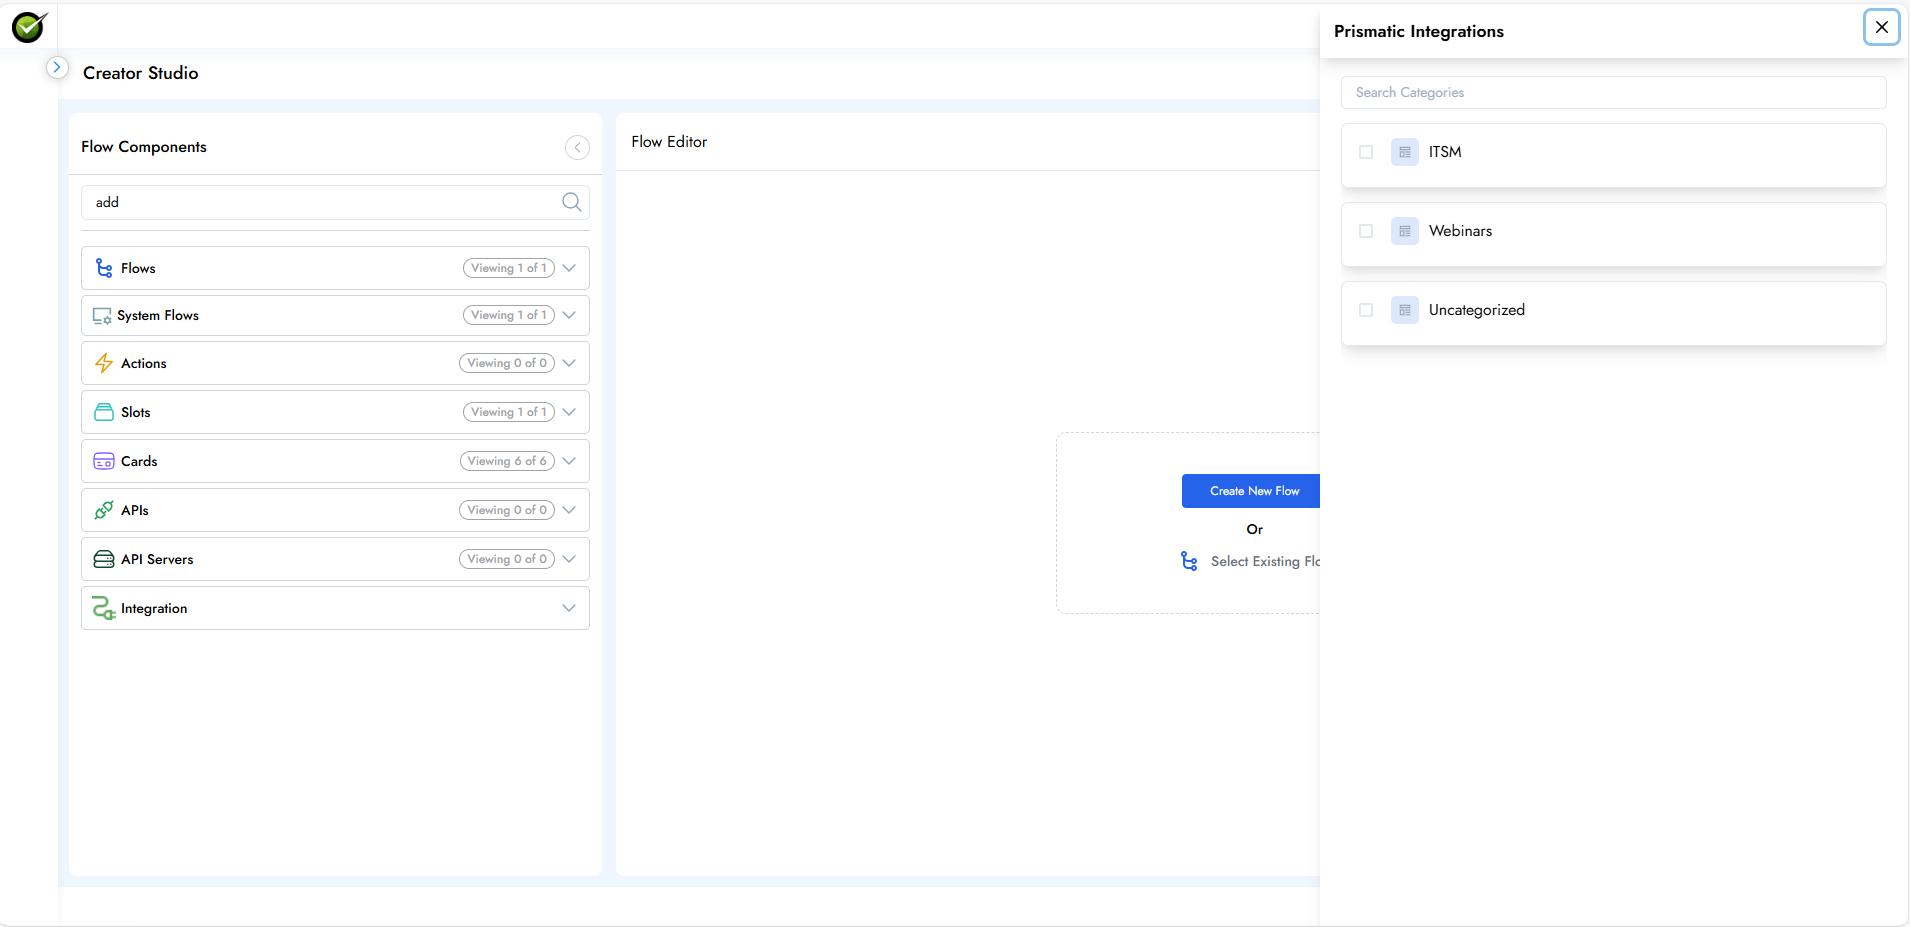
- Select Category - All the categories created in Prismatic will be displayed. Select any one category and click on "Next"
- Select API - All the APIs configured in that category will appear. Select any one of the APIs
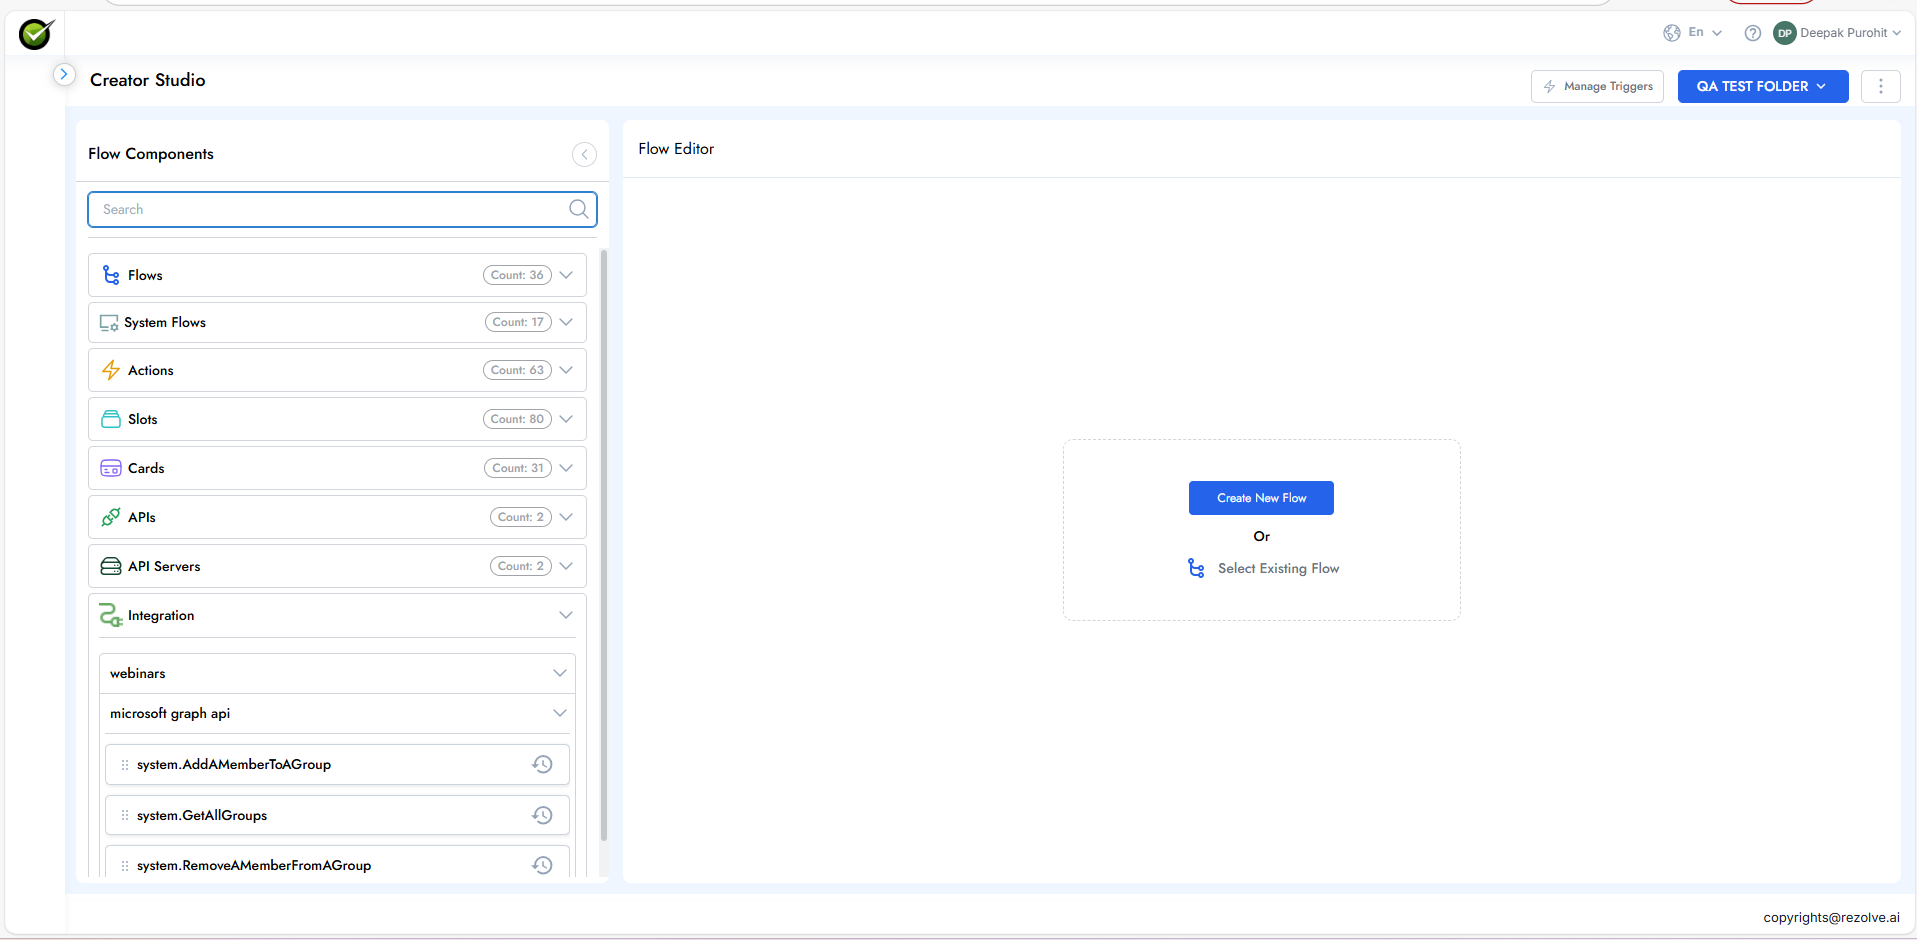
- Select Flows - All the flows created in the specific integration will appear. Click on "Next" to import the integration successfully

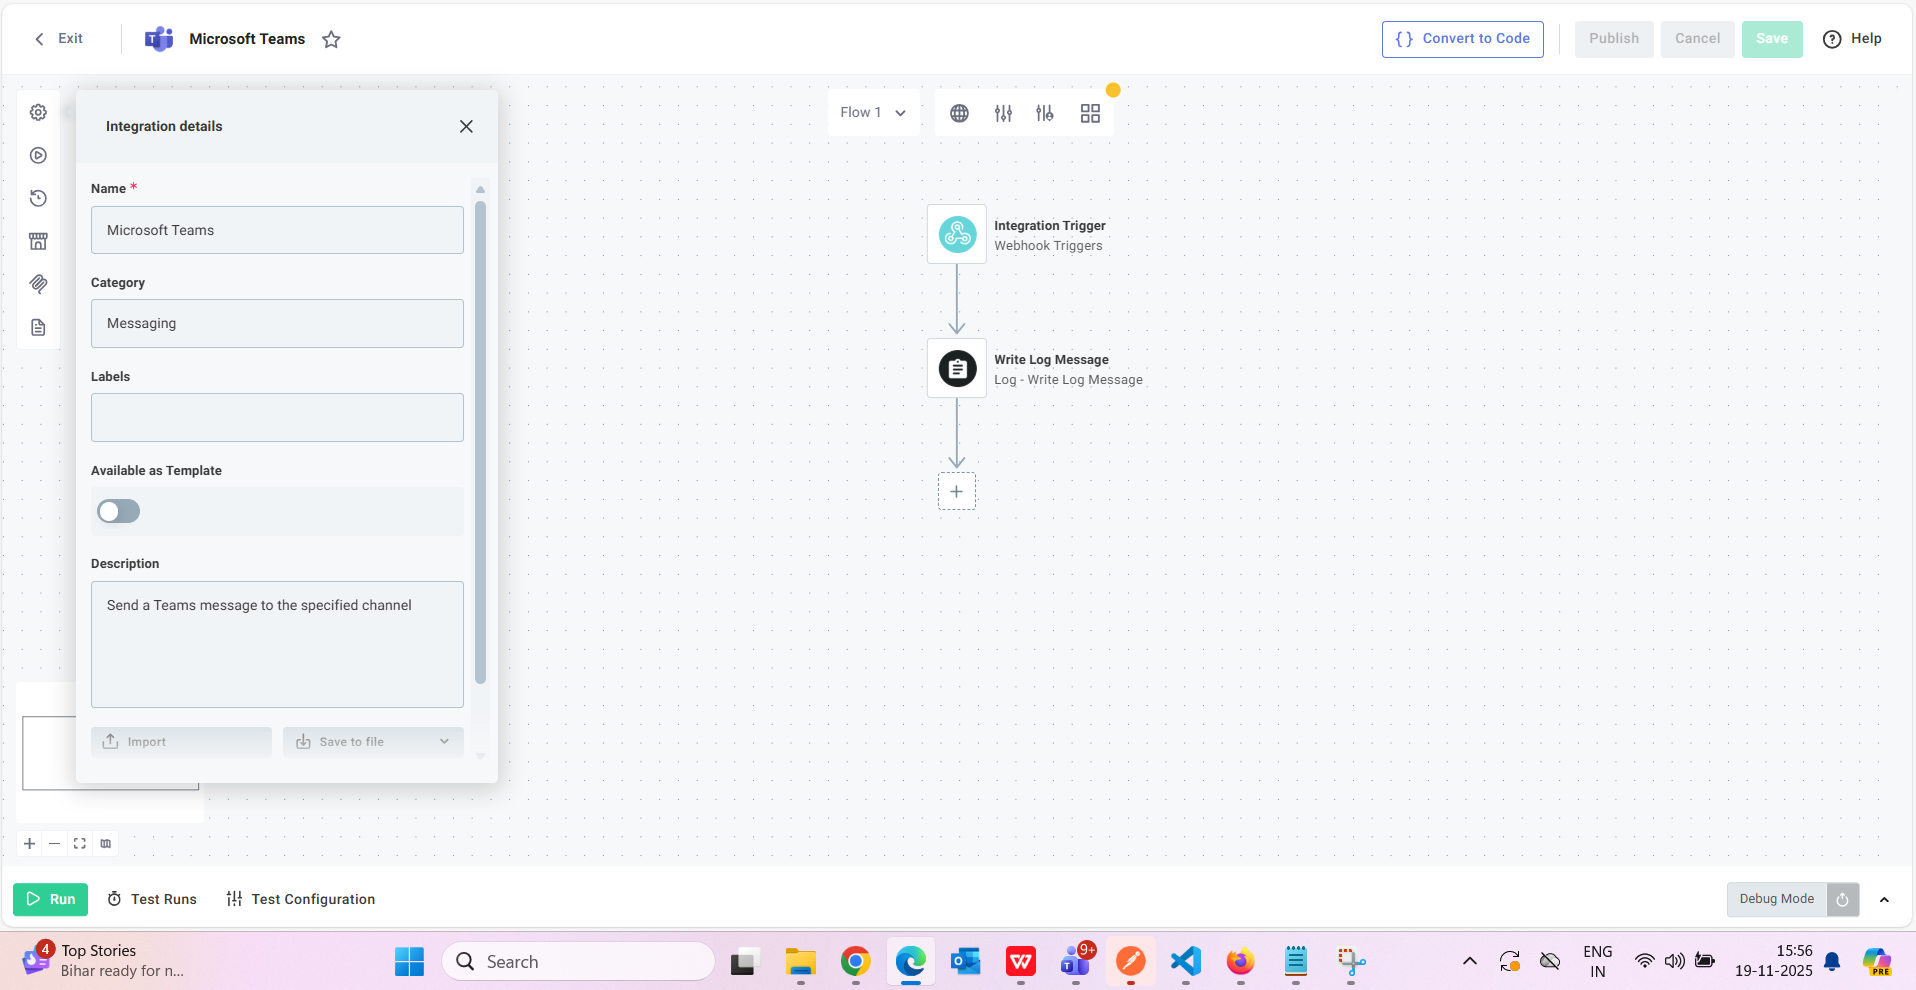
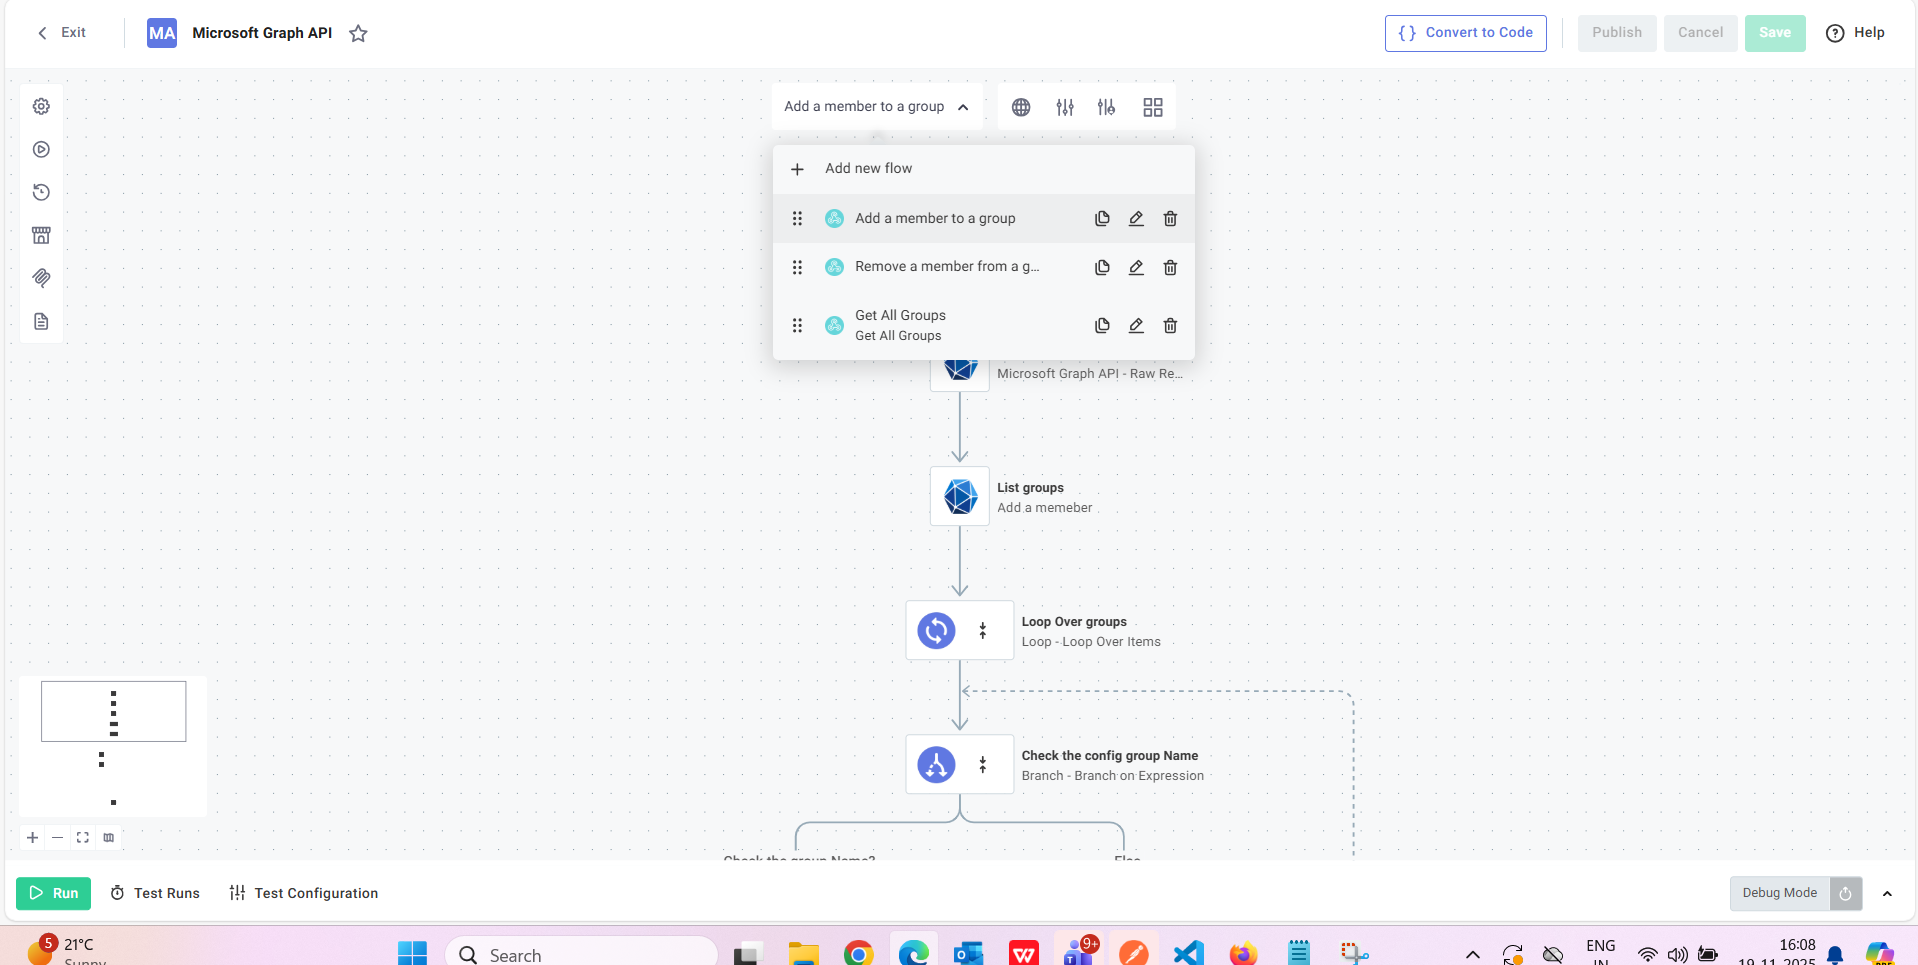
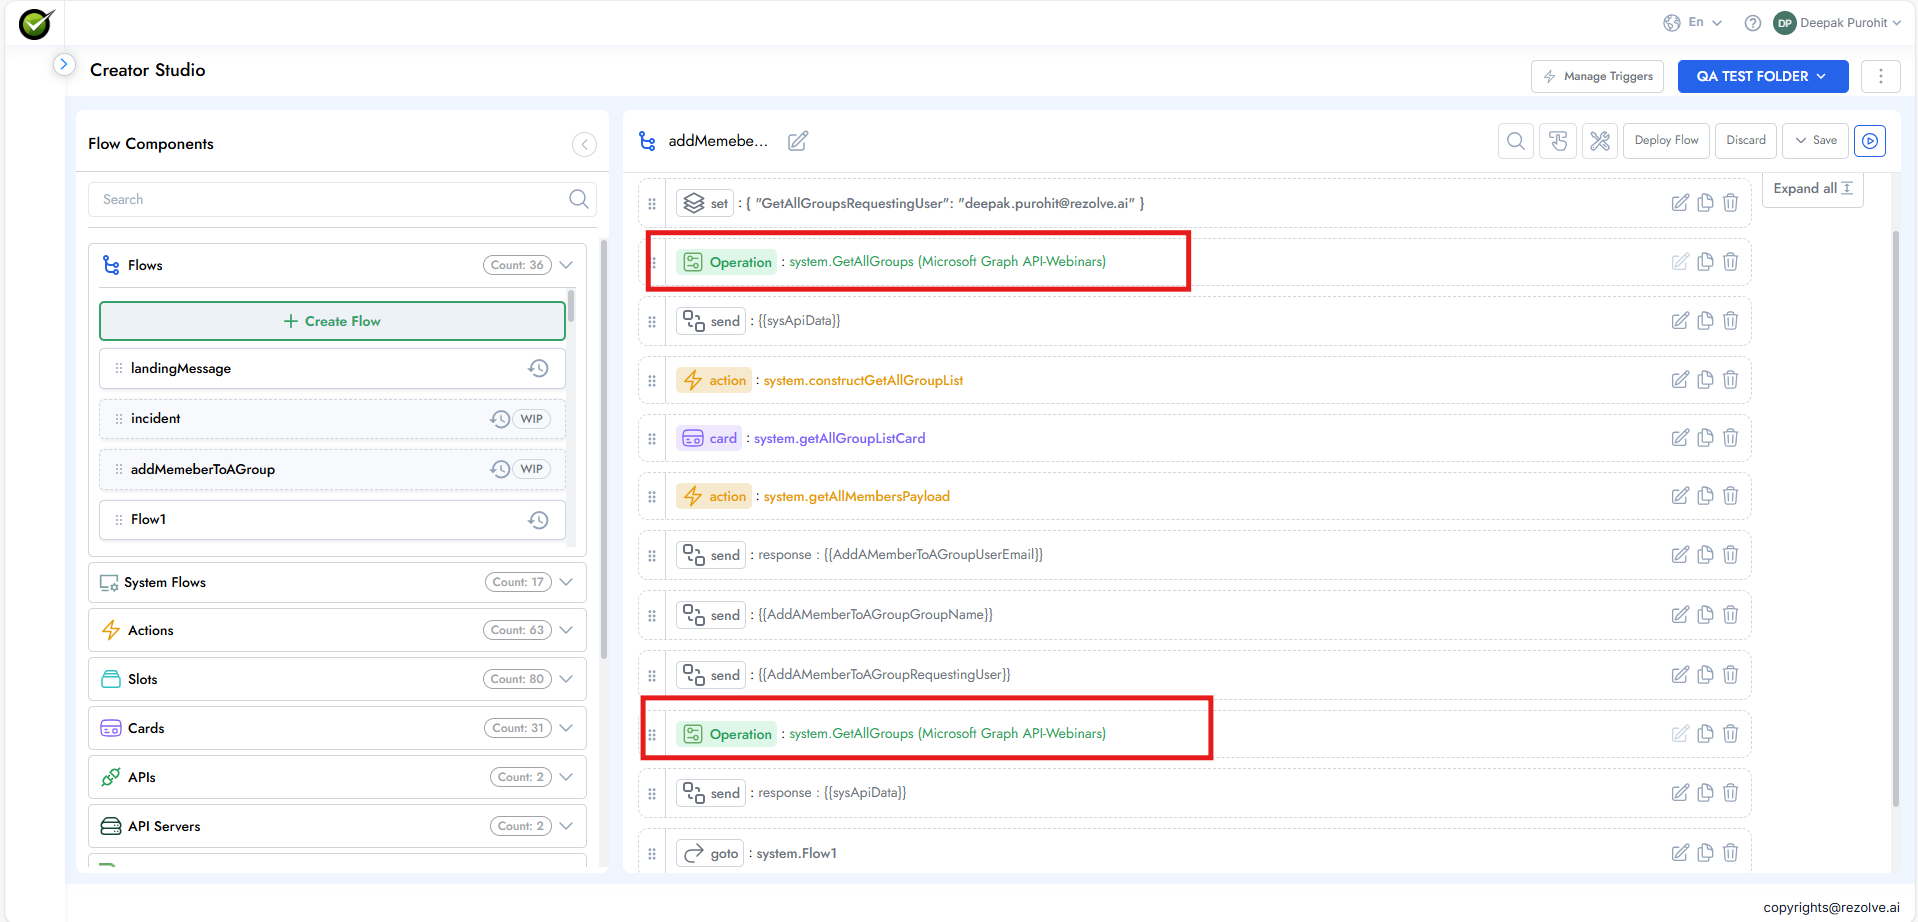
All the flows created inside an integration appear in the interface. New flows can be added, and existing flows can be cloned, edited, or deleted.

Creating Flows for Imported Integrations
Step 1: Add Flow to Designer
- Drag and drop the flow from the left panel to use it as an operation inside a flow

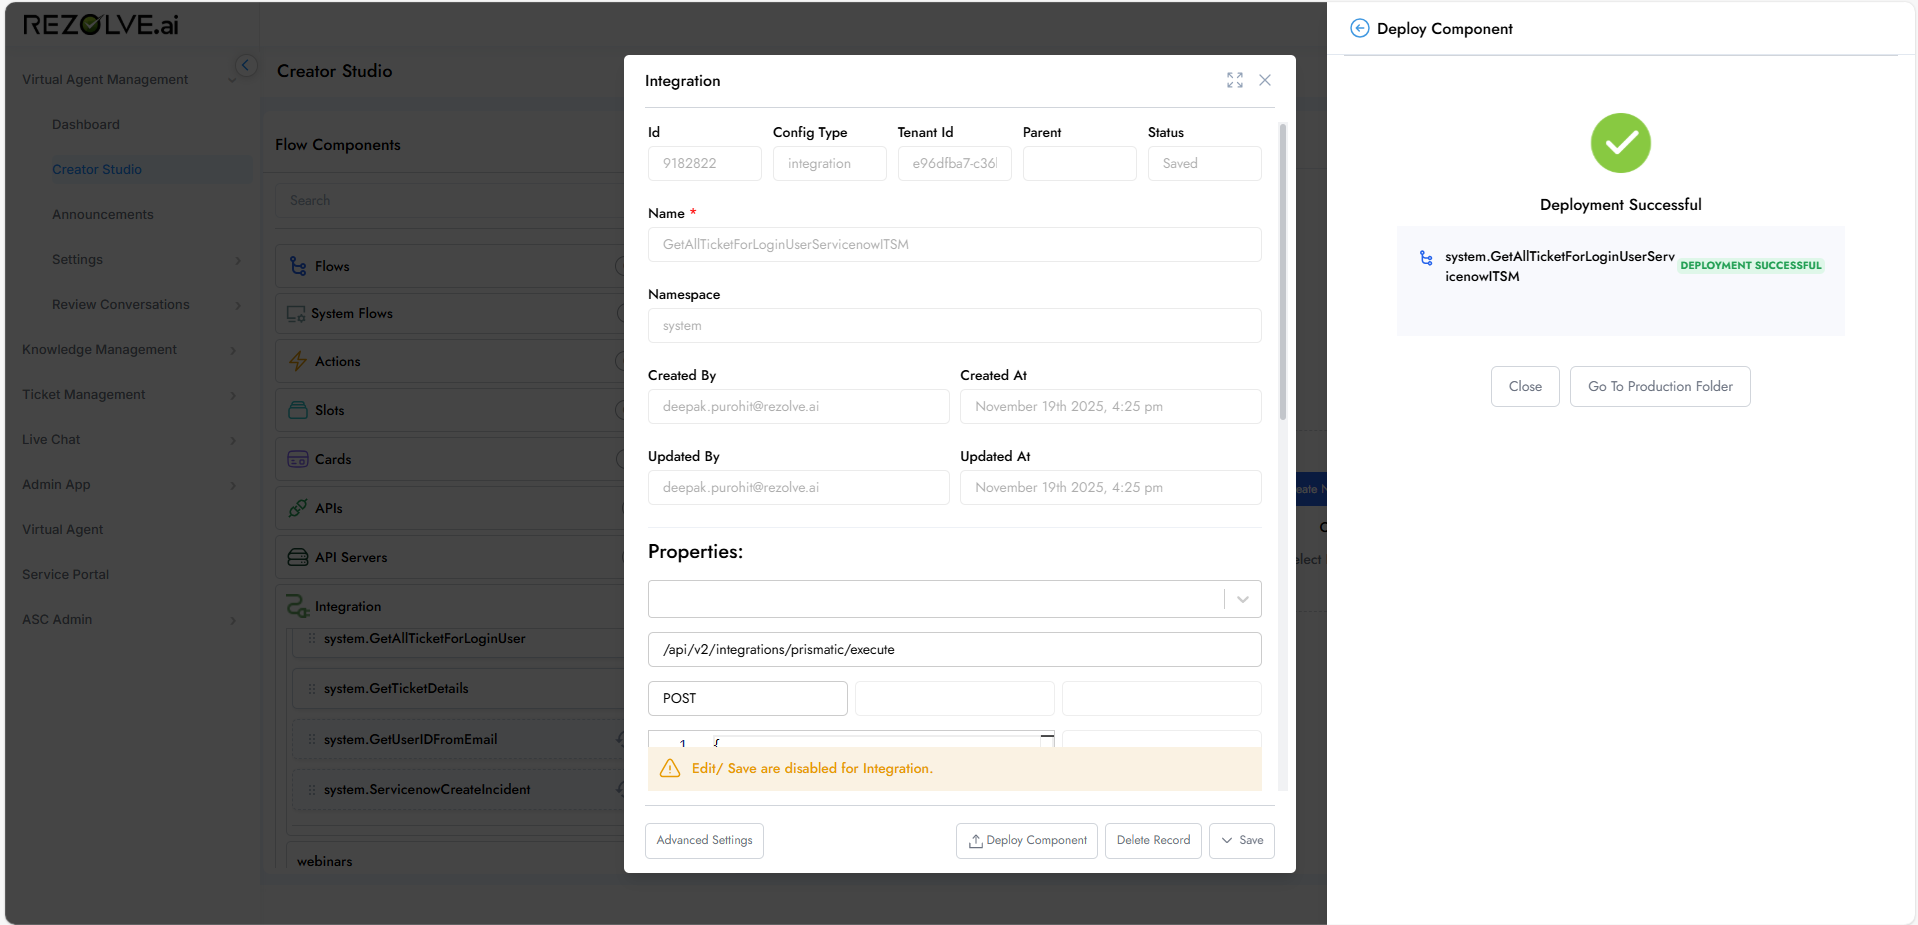
Step 2: Deploy to Production
- Post importing the integrations, they are marked as WIP (Work in Progress)
- Deploy them to production
- Then deploy the flow to production
Triggering the Flow in BOT
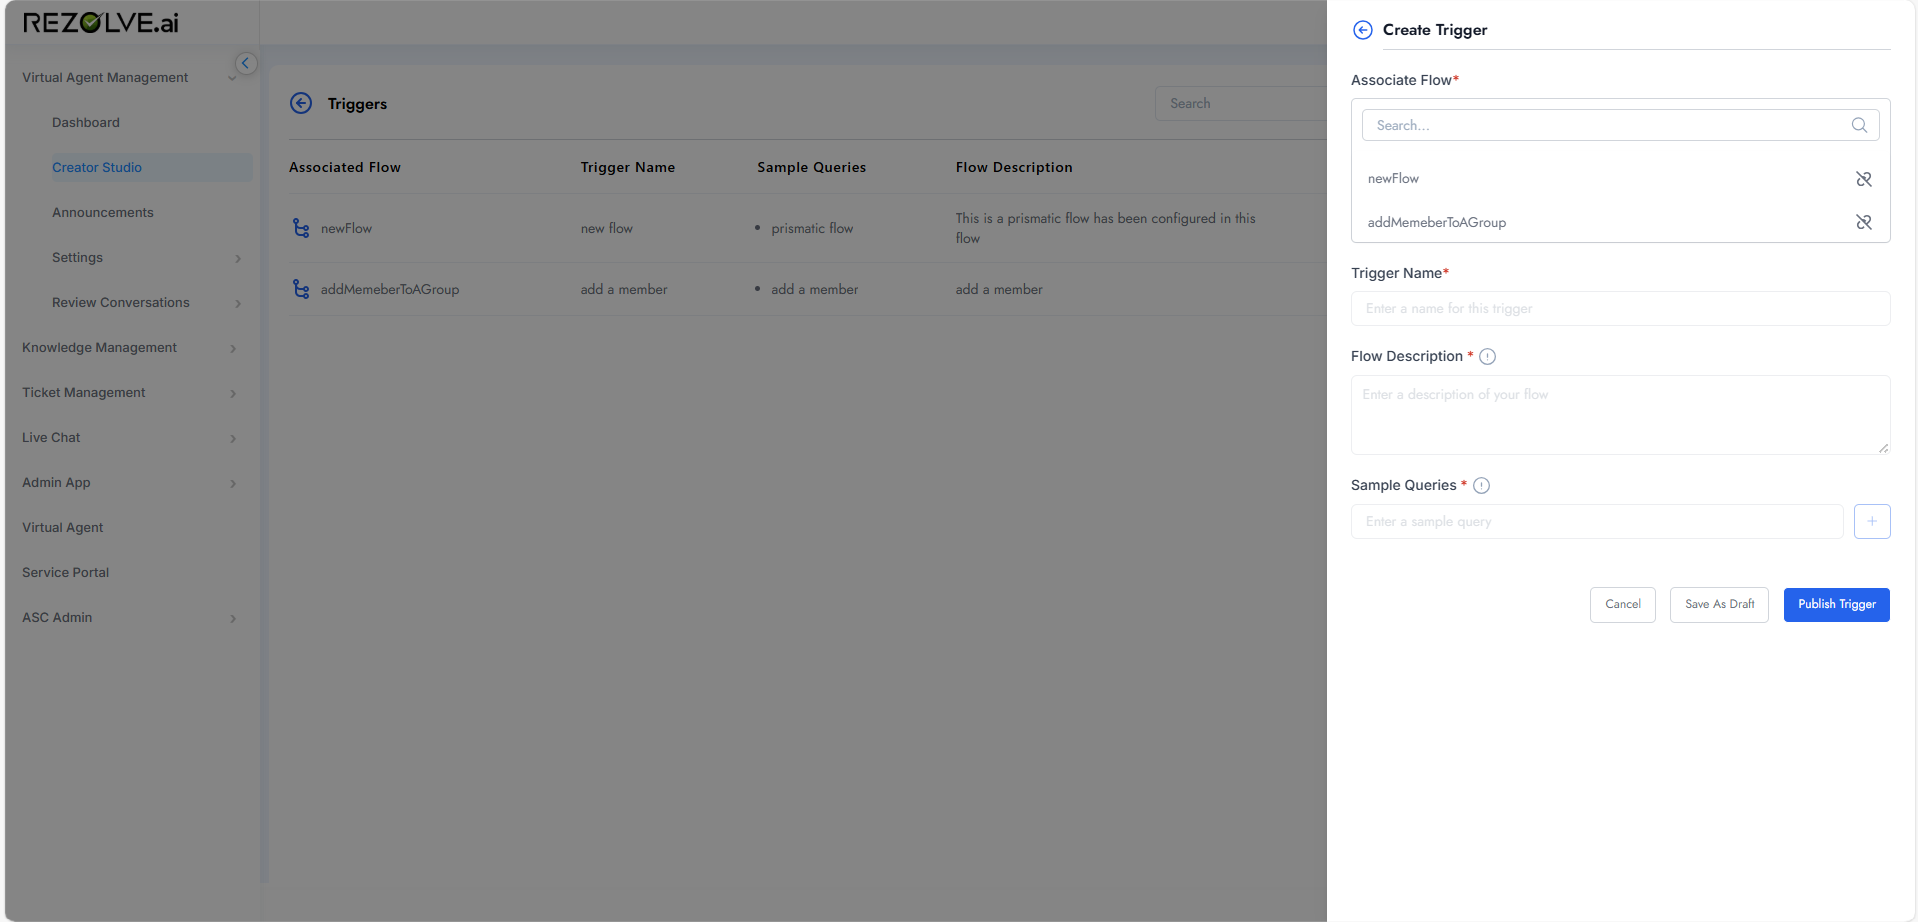
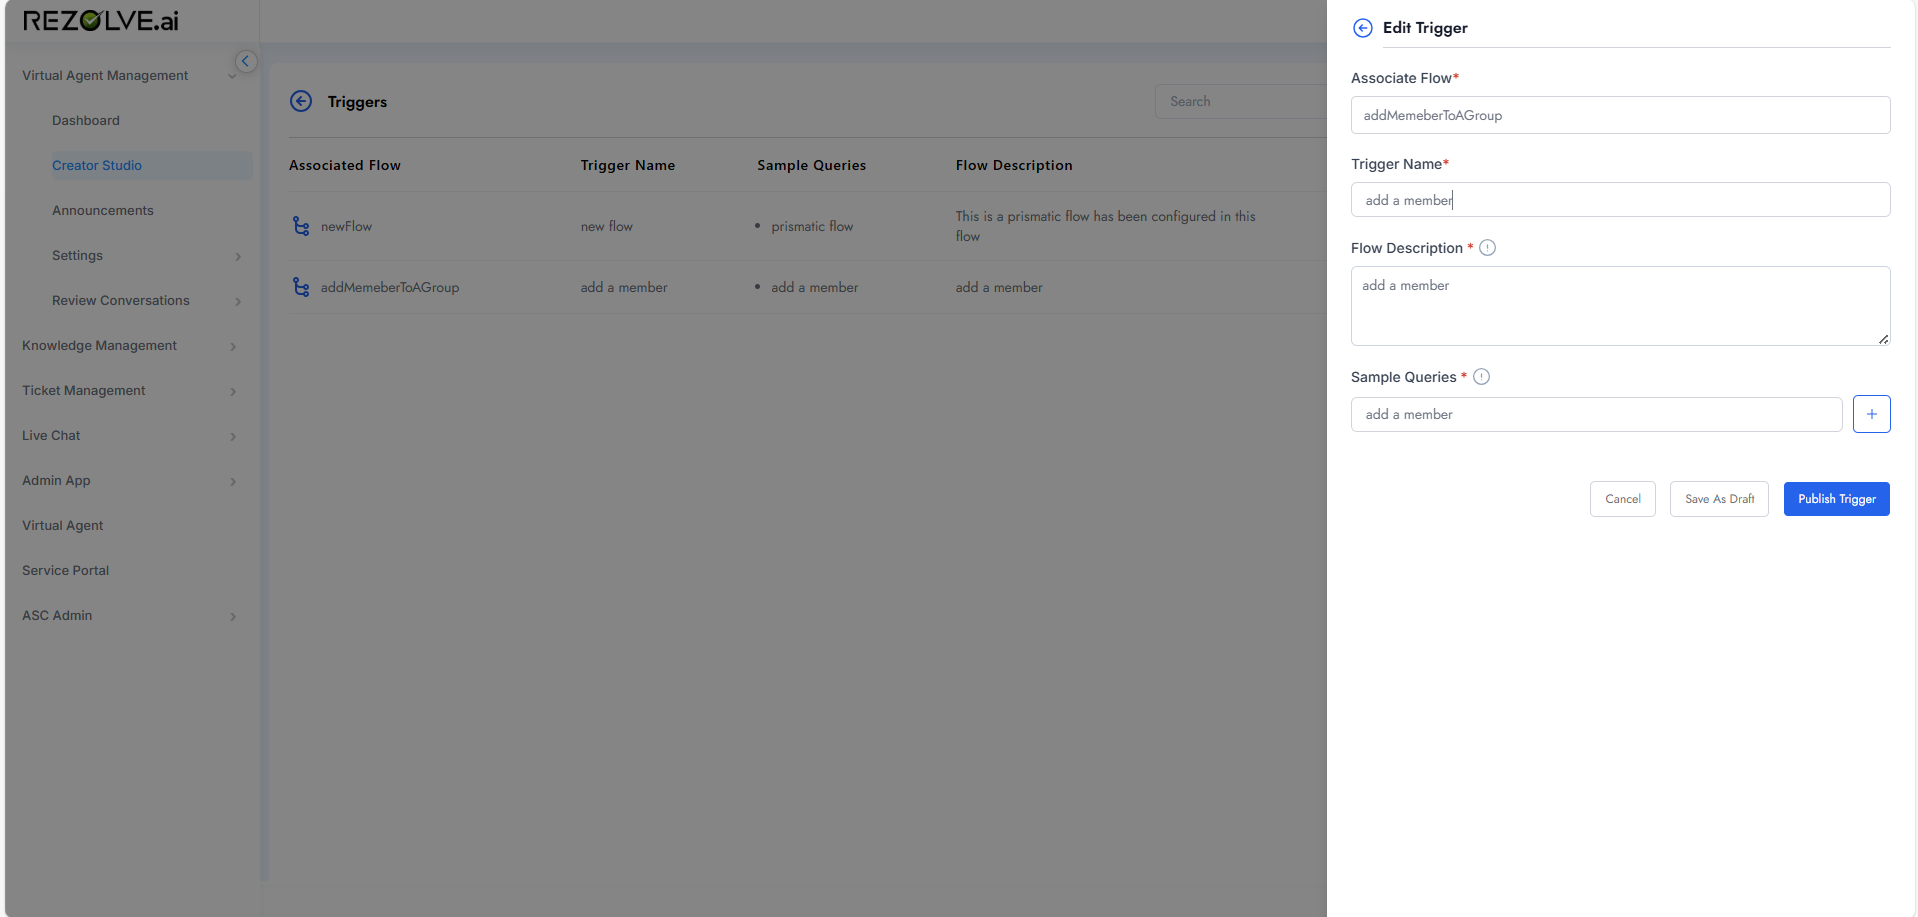
Method 1: Create Triggers to Call the Flow
- Edit the Flow - Enable "Top Level Flow" for the flow
- Manage Triggers - Click on "Manage Triggers" and create triggers. All flows with "Top Level Flow" enabled will appear
- Add Trigger Details - Add trigger name, description, and queries selecting a particular flow
- Test in Virtual Agent - Go to Virtual Agent, click on "Ask a Question" and add your trigger words
Method 2: Add Flow to Landing Message
Keep the flow at the top in the landing message, which triggers the flow in the bot by default.
Instance Management in Prismatic
Initial State
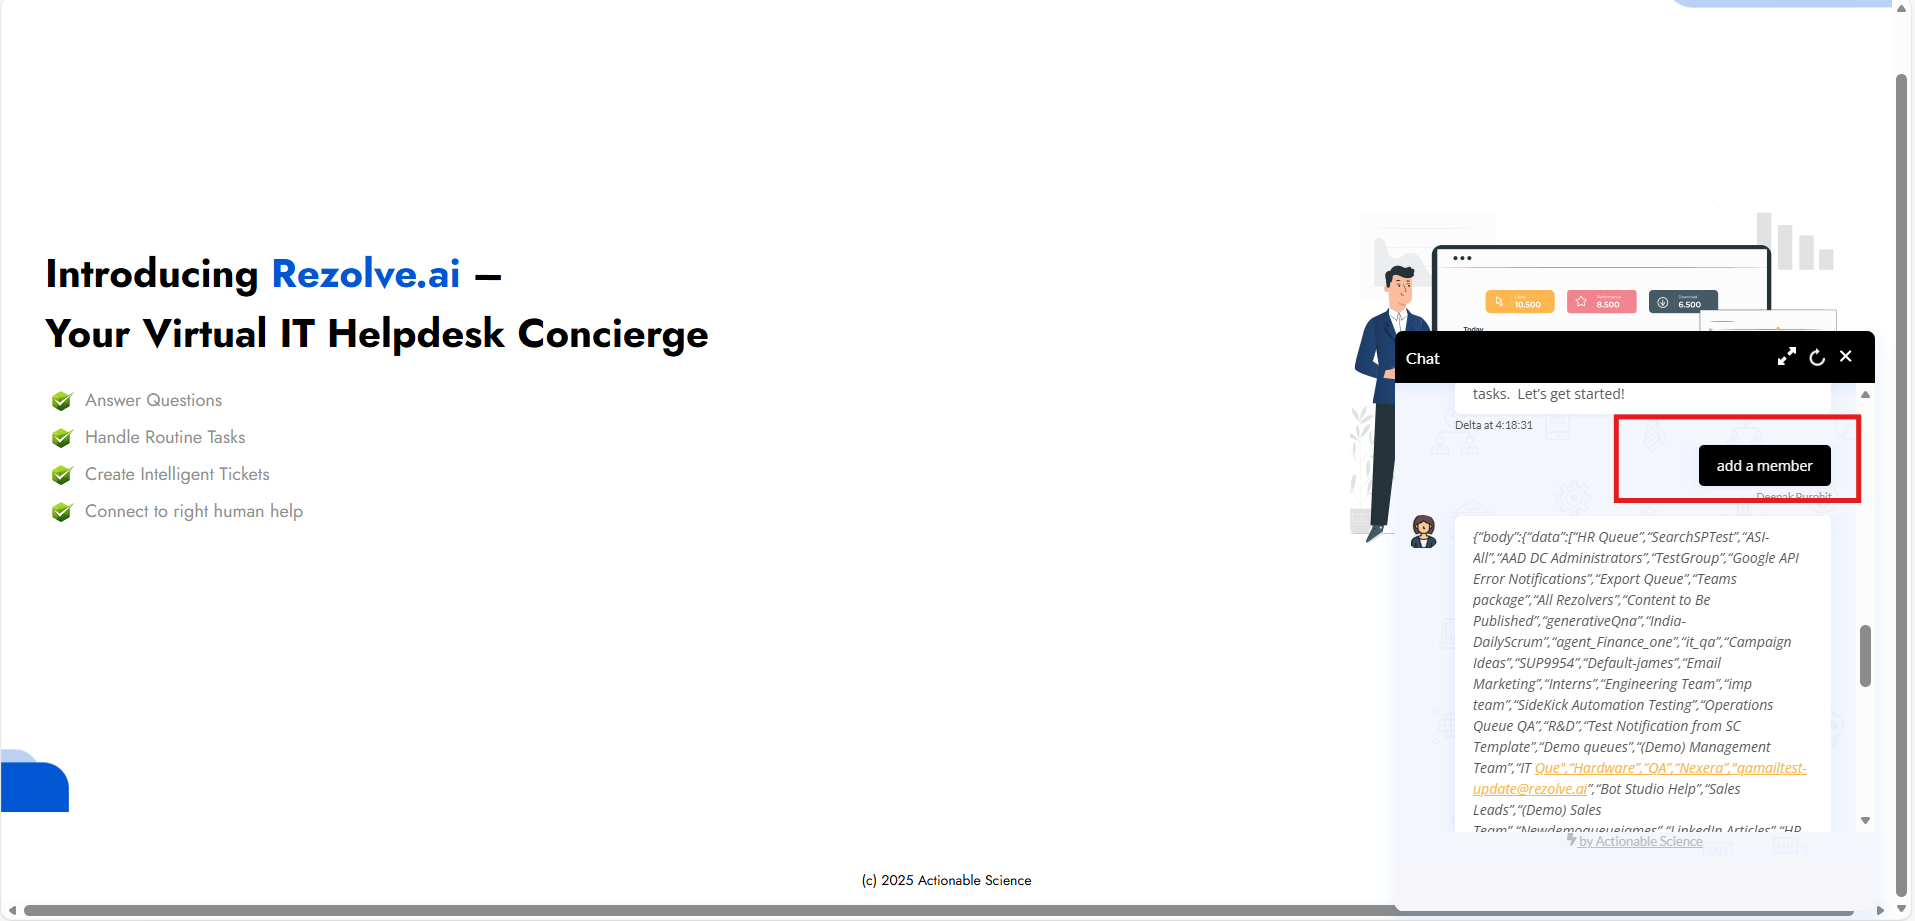
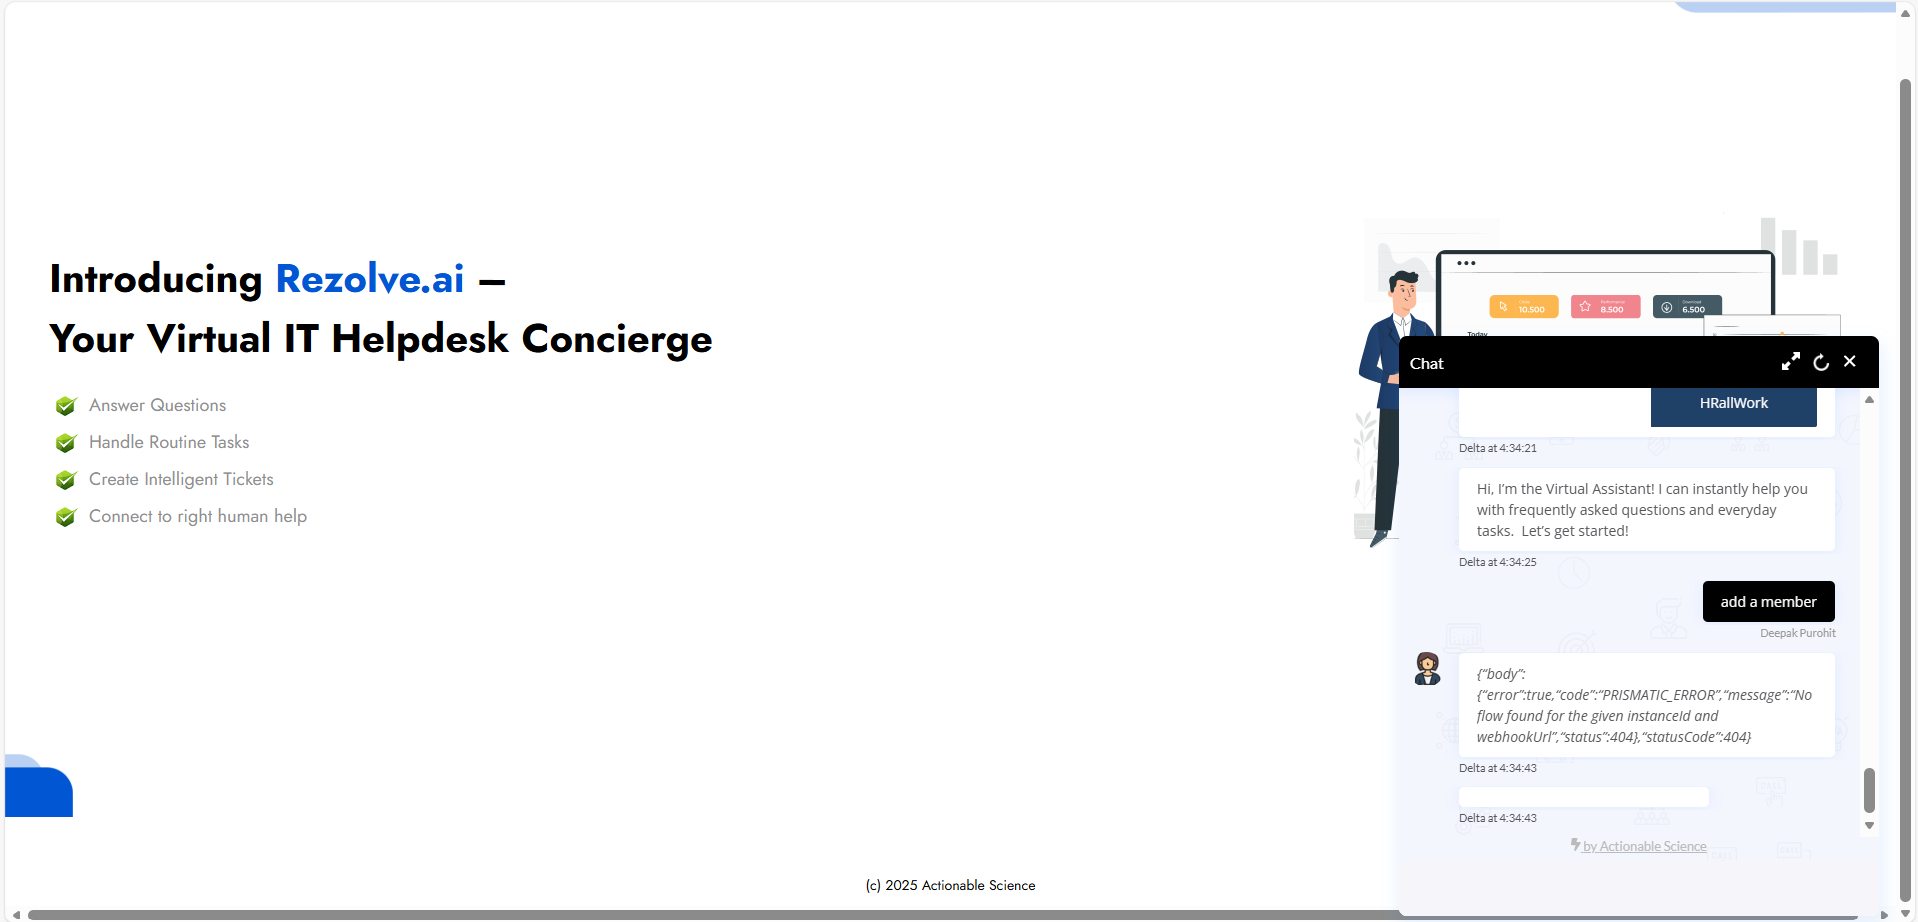
Initially, when a customer is created in Prismatic with no instance enabled, the bot fails stating the same.
Creating an Instance
Follow these steps to create an instance:
- Select an API - Choose an API to create an instance for
- Add Credentials - Add Client ID and Secret
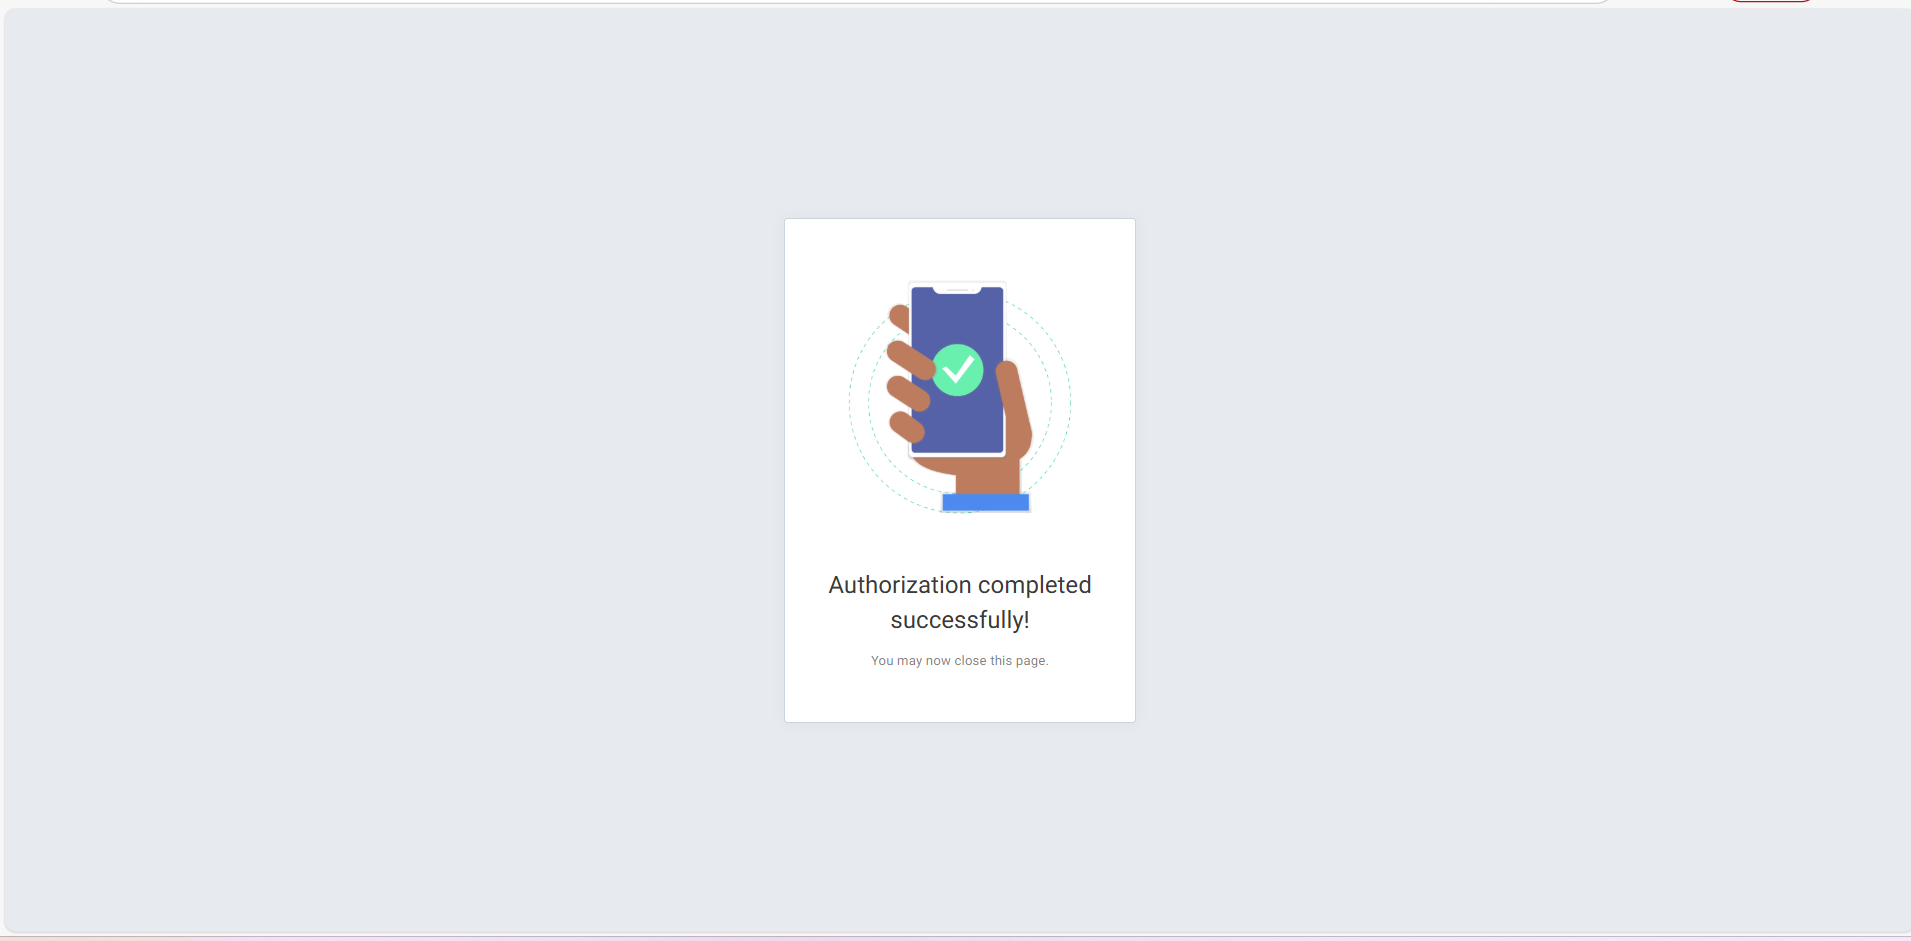
- Authenticate - Click on "Connect" and authenticate
- Enable Instance - The instance is now enabled
Once the instance is enabled, the bot will answer based on the configured flow.
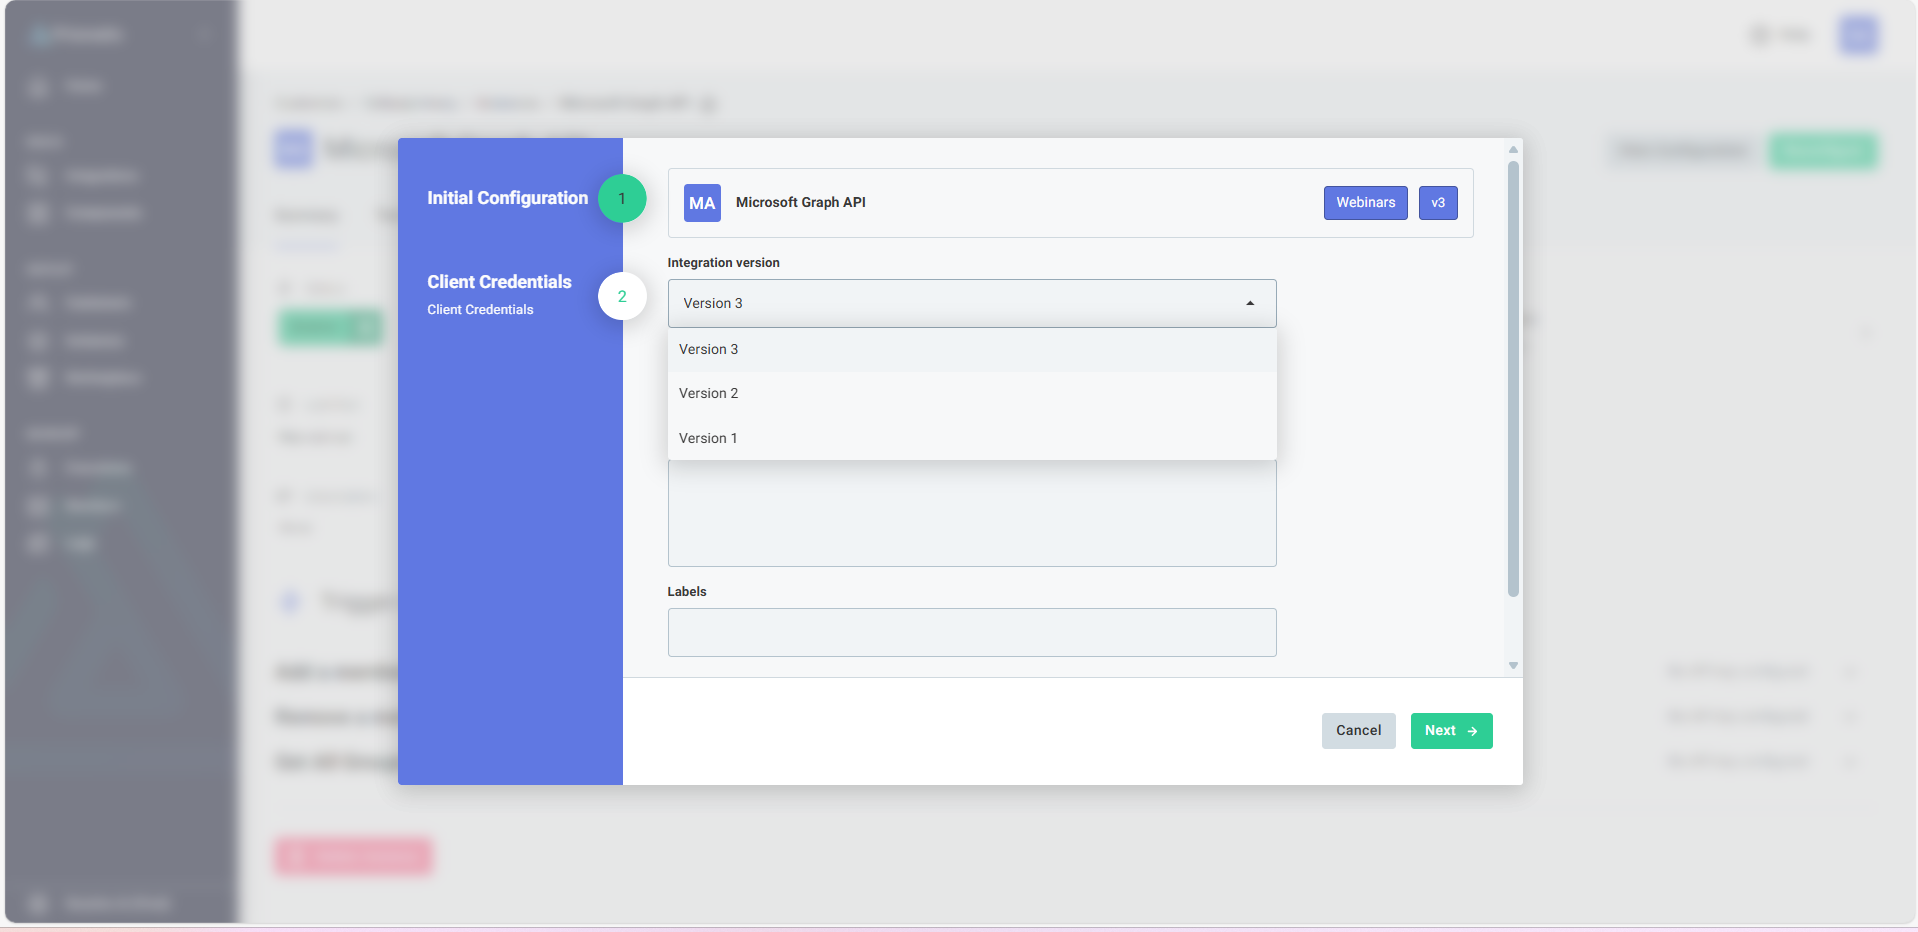
Versions in Integration
Any change made in the integration is considered as a new version. The bot responds based on the existing version only, unless the instance version is changed.
Output Schema in Integration
The output schema defines the structure of data returned by the integration. This schema is used to map integration responses to bot flows and other system components.
